This application includes a complete vectorizer to convert a raster image (bitmap type) into vector objects. After the vectorization, you will be able to quickly convert the vector objects into design objects of different types.
|
As the software can digitize from raster images and vector images with ease, using both classic digitizing and several auto-trace methods to digitize, then converting raster images to vector images may be an unnecessary step for many designers. In fact, some auto-trace methods can accurately convert regions of raster images into vector objects during the digitizing (object creation) process. This tool is useful if you want to edit and combine the vector object before the digitizing process. |
Vectorizer
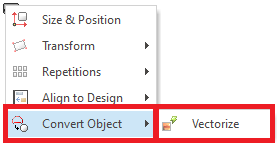
➢Select the image. ➢Click on the "Convert to Vector" button, on the tooltab IMAGE, "Convert" group. |
|
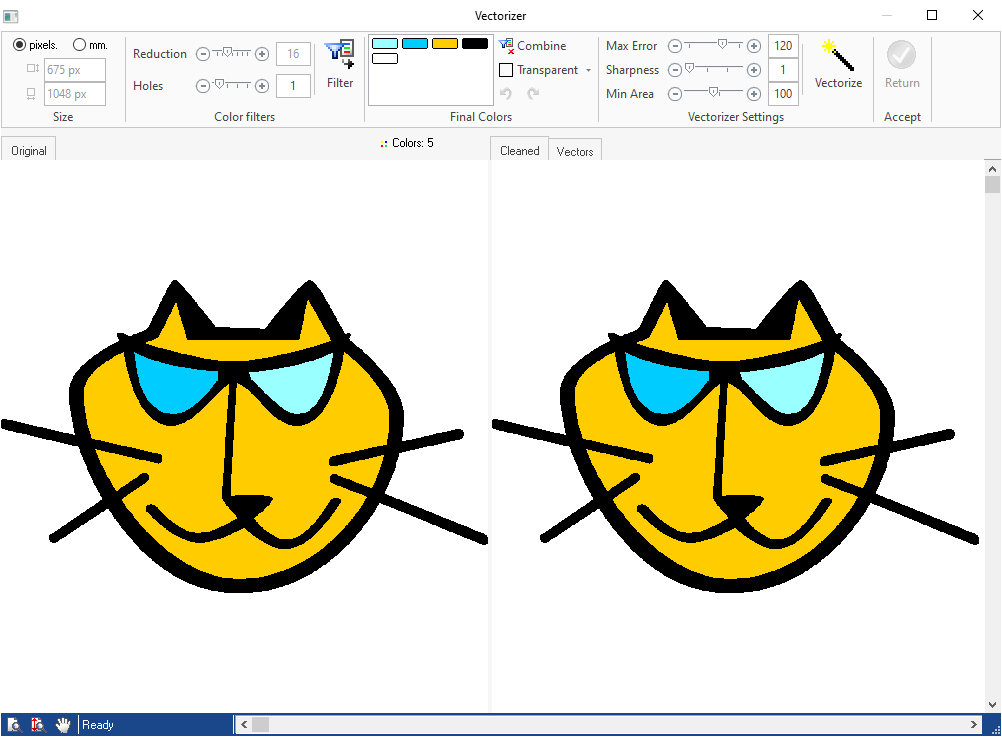
The Vectorizer tool is open.
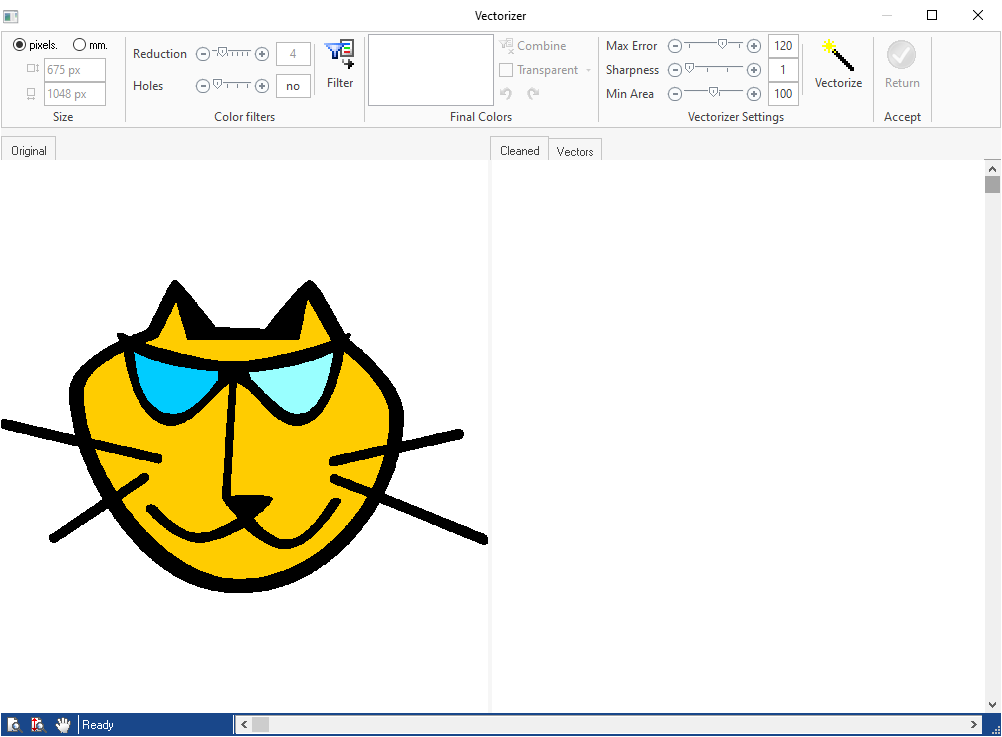
You will find several tools on the Vectorizer tooltab. The lower part of the window will show a Preview.

The Preview has three tabs. Each one allows to visualize the three steps a vectorized image should go through: •the Original image •the Cleaned image •the Vectorized result |
|
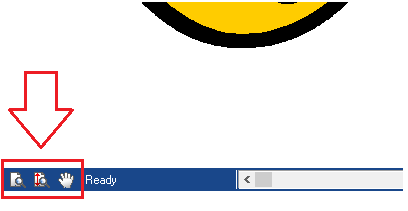
Use the commands available in the lower left corner to apply a specific Zoom, Zoom Total or Pan. |
|
Follow these two steps to vectorize the image:
Step 1: Clean the Image (Color Filter)
You must reduce the number of colors and the noise of the image. By noise we mean very small areas or pixels which color is different to adjacent areas or pixels. The vectorizer works better with clean and clear images (pure colors and defined regions).
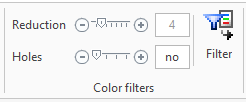
You can filter the colors of the image using the slider controls on the Color Filtering group.
|
You can control: •Color Reduction Moving the slider to the left will reduce the number of colors in the image. Try reducing the colors without deforming the image. •Hole Size to remove This control eliminates the noise in the image. Noise is composed by small pixels that dissociate colors, called "holes". Moving the slider to will eliminate the biggest holes. |
After the color filter is applied, check the result in the tab CLEANED of the PREVIEW panel.
|
You can retry the color filtering until you get the expected result. |
Step 2: Merge Colors
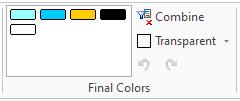
After you get an expected result from the color filtering, the list of colors of the cleaned image are displayed. You can decide which color to keep, and which color can be merged with another one.
|
•Combine Colors You must select similar colors or colors of adjacent regions that should be considered a single-region. To select two or more colors, press and hold the Ctrl key and click on the colors to merge. Then click on COMBINE to merge them. It is always convenient to reduce the number of colors of the image as much as possible while creating well defined regions. •Transparent Color The color indicated as transparent won't produce any vector object. |
Step 3: Vectorize
Once the image contains well defined regions of pure colors, it is ready for the raster to vector conversion.
|
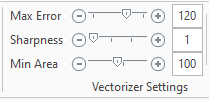
You can control: •Maximum Error It defines the precision on the curve of a vector object with respect to the original bitmap. Higher error values may produce smoother curves but the trace may significantly vary from the original image. Lower values will match to the original bitmap image including the pixelated look. •Sharpness Increasing this value will decrease the number of nodes of the vector objects. Lower values will match to the original bitmap image including the pixelated look. •Minimum Area This tool eliminates the small regions. It is useful to exclude very small areas from the vectorization. |
Click on VECTORIZE to confirm the values and see the result in the tab VECTORS of the PREVIEW panel.
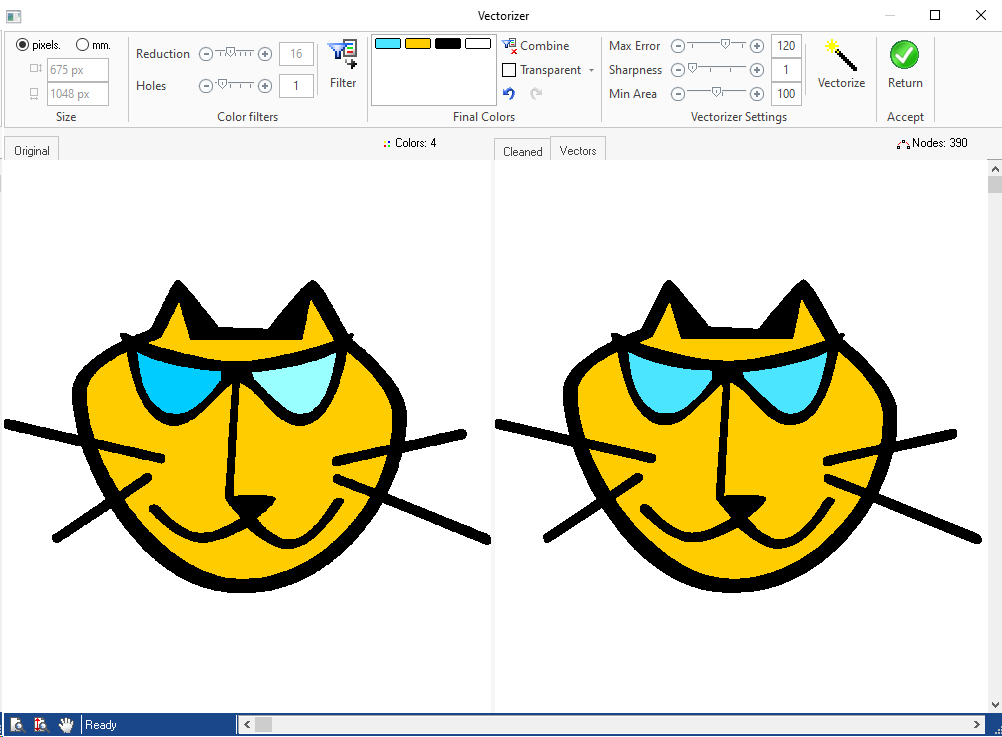
Click on RETURN to return to the workspace with the raster image converted into vector objects.
Then you can edit these vector objects and create objects of any decoration type from these vector objects, just selecting the object and the corresponding fill style on the Smart Design tool.