This application includes several editing tools for raster images aimed at facilitating the digitizing work. We suggest you to perform the necessary modifications on the image before starting the design process.
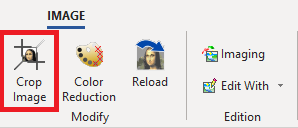
Crop Image
➢Select the image you want to edit. ➢Click on the "Crop Image" button, on the tooltab LAYOUT. The cursor will change to a cutting indicator. ➢Draw a rectangle over the area of the image that you want to preserve. The part inside the rectangle will be preserved, the part outside will be deleted. |
|
Color Reduction
➢Select the image you want to edit. ➢Click on the "Color Reduction" button, on the tooltab LAYOUT. A window will open, where you can quickly reduce the number of colors of the image. The window is divided in two panes: •The left pane shows the original image. •The right pane shows the final result. It includes zoom and pan tools. ➢To confirm the color reduction, click on the "Return" button. |
|

Move, Scale, Rotate on the workspace
➢Select the image you want to edit.
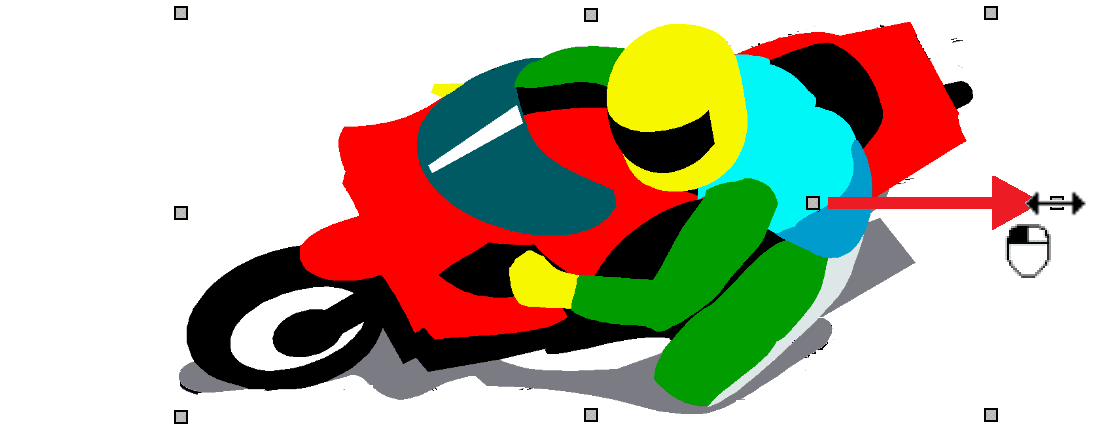
The selection box will appear. You can work with the corner and center grips to expand, compress, move and rotate the image freely.
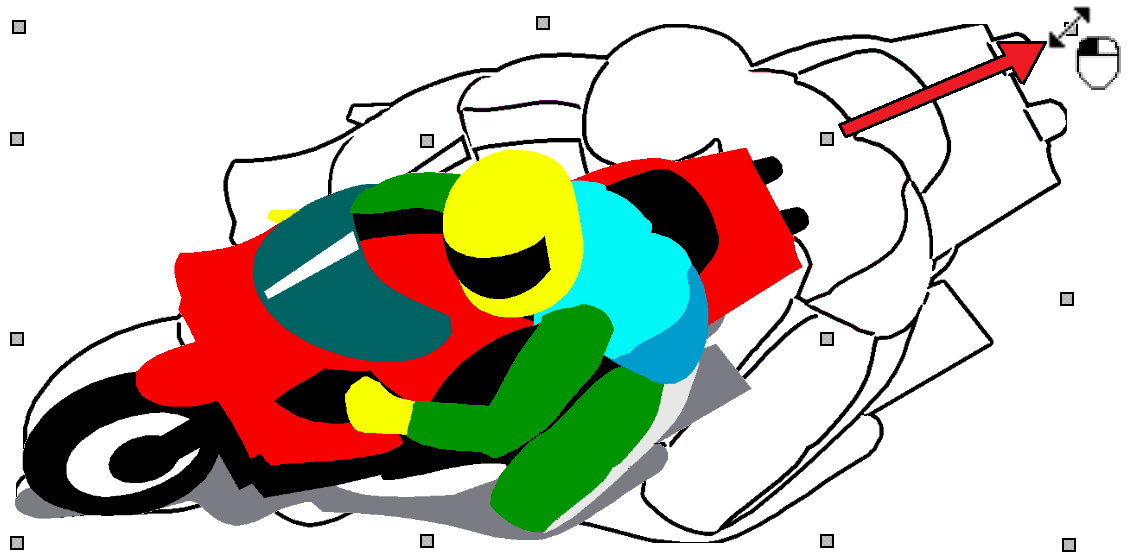
Scale/Resize Proportionally➢Drag any of the corner grips to adjust the size proportionally. When you drag a corner grip, the scaling will leave the opposite corner fixed in its position. Instead, if you press and hold the Shift key while dragging, the scaling will keep the center of the image in its position, and all the corners will scale following the movement of the mouse. |
|
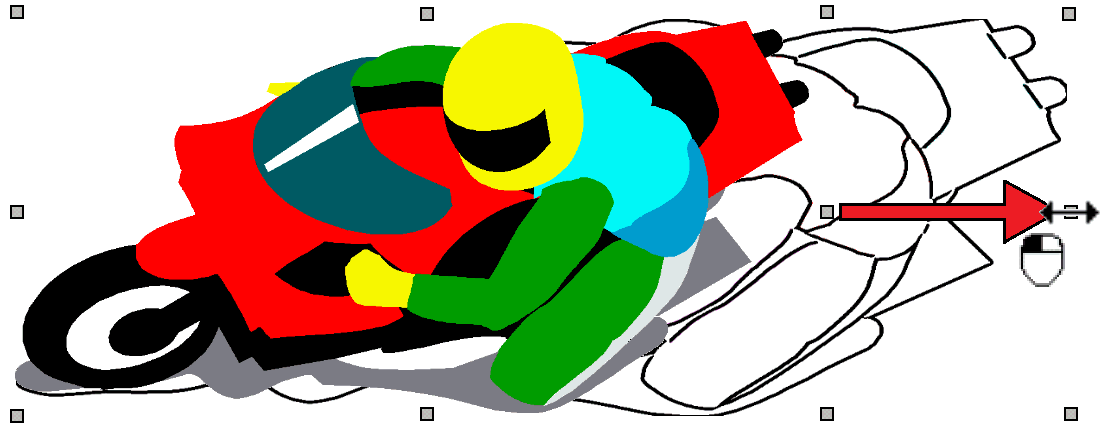
Scale/Resize Not Proportionally➢Drag any of the middle grips to adjust the size not proportionally. When you drag the any of the middle grips, only one of the sides of the surrounding rectangle will move. Instead, if you press and hold the Shift key while dragging, the dragged side and the opposite side will move in opposite directions. If you place the mouse cursor to the central zone of the image, the mouse cursor will change its shape into a cross icon. Then, press and hold the left mouse button and drag it. |
|
Move➢Place the mouse cursor inside the surrounding rectangle (the mouse cursor will change its shape into a cross icon). ➢Press and hold the mouse left button and drag it to move the position of the image on the workspace. |
|
Rotate➢Press and hold the Ctrl key and then click and drag any corner grip.
|
|

Move, Scale, Rotate using the context tooltab
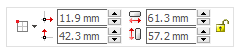
Move and ScaleYou can accurately move and scale the image using the position and size controls of the Main toolbar. If you want to keep the image proportion (aspect ratio), make sure to activate the padlock icon before changing the size. Just type in the value of position or size and press Enter |
|
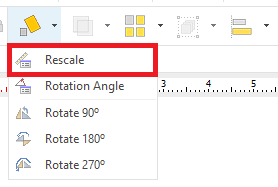
Rescale ToolYou can also re-size the image from the workspace, if you know the distance between 2 points of that image. ➢Click on the "Scale/Mirror/Rotate" button of the Main Toolbar and select "Rescale" |
|
➢Click on any point of the image and drag it. The system will trace a line from the first point to the mouse position ➢Release the mouse button. |
|
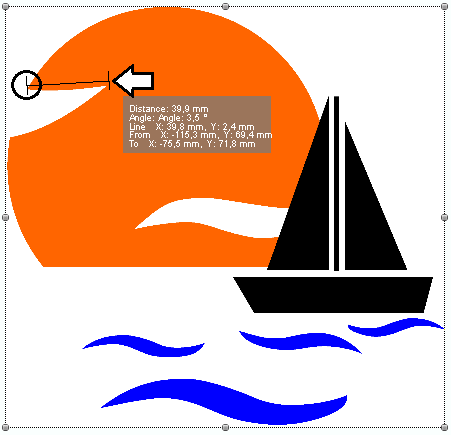
The Image Scale tool is open. It shows the length of the traced line. ➢Specify the new length for the traced line. ➢Click the "OK" button to confirm. The image will be scaled proportionally, according to the new lenght of the traced line. |
|

Rotation Angle toolYou can use this tool to rotate the image any angle. But probably this is the ideal tool when you need to adjust the zero angle on scanned images. |
|
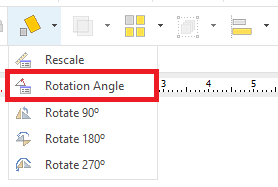
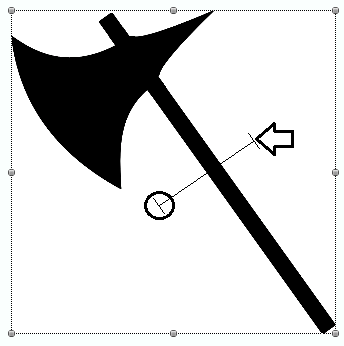
➢Click on the "Rotation Angle" button. ➢Draw a line. ➢Release the mouse button. |
|
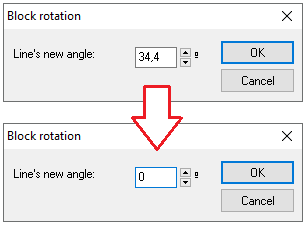
The Set Angle tool is open. It shows the angle of the traced line. ➢Set the new angle value. ➢Click on Ok to confirm. |
|
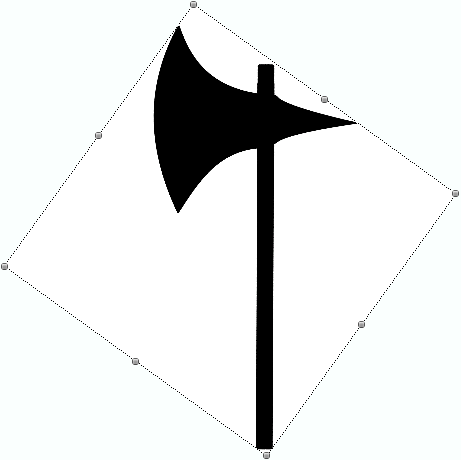
The image will be rotated according to the entered value. |
|
Rotate a fixed angleYou can rotate an image to specific angles (90, 180 and 270 degrees) just clicking on the specific command |
|
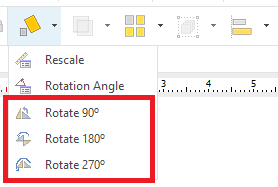
Image Properties on the Image Tooltab
You can change some image properties from the Tooltab IMAGE.
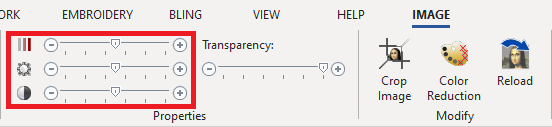
Saturation, Brightness and Contrast
Move the corresponding slider to control the saturation, brightness and contrast of the image. |
|
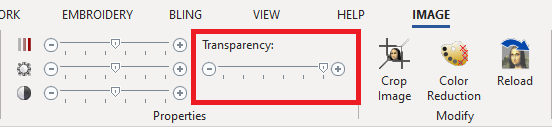
Transparency
Modify the level of transparency of the image. The lower the percentage of transparency, the dimmer the image will be. At the lowest value, the image will not be visible. |
|
Reload Image
You can bring back the original image without any applied modifications. This tool only work with linked images, it doesn't work with embedded images. |
|

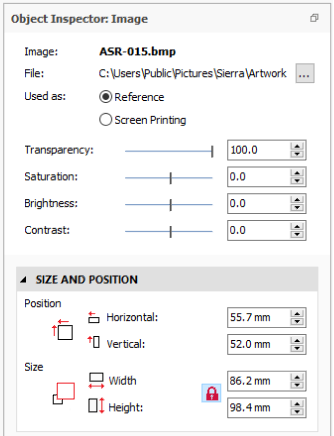
Raster Image Properties on the Object Inspector
You can also change some of the raster image properties from the Object Inspector.
➢Select the raster image from any file location. ➢Set if the raster image to is used just as reference (auxiliary) or it is part of the design (Printing). ➢Use the slider to set the level of transparency, saturation, brightness and contrast of the image. ➢Set the image position and size. |
|