Load a Raster Image
Load a raster image through the Open Image function
➢Select the tooltab ARTWORK
➢On the Image group, click on the "Open Image" button and select "Open Image File".
|

The explorer window will open.
➢Search the raster image. ➢Select it and press the Open button.
Note: You can select the raster file type in the bottom right side of the window. |
|
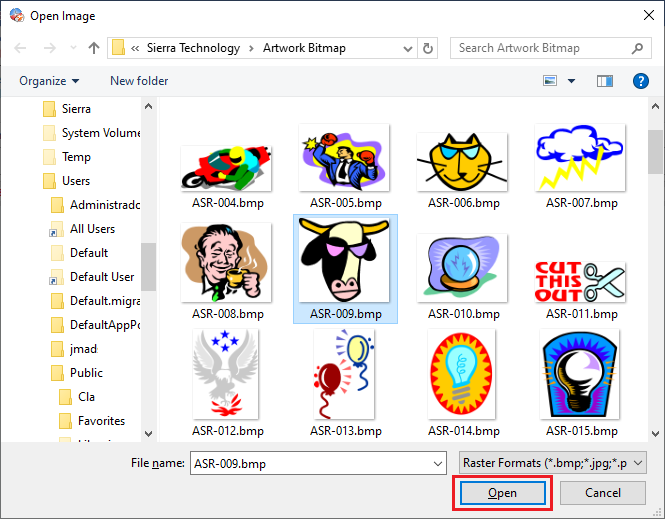
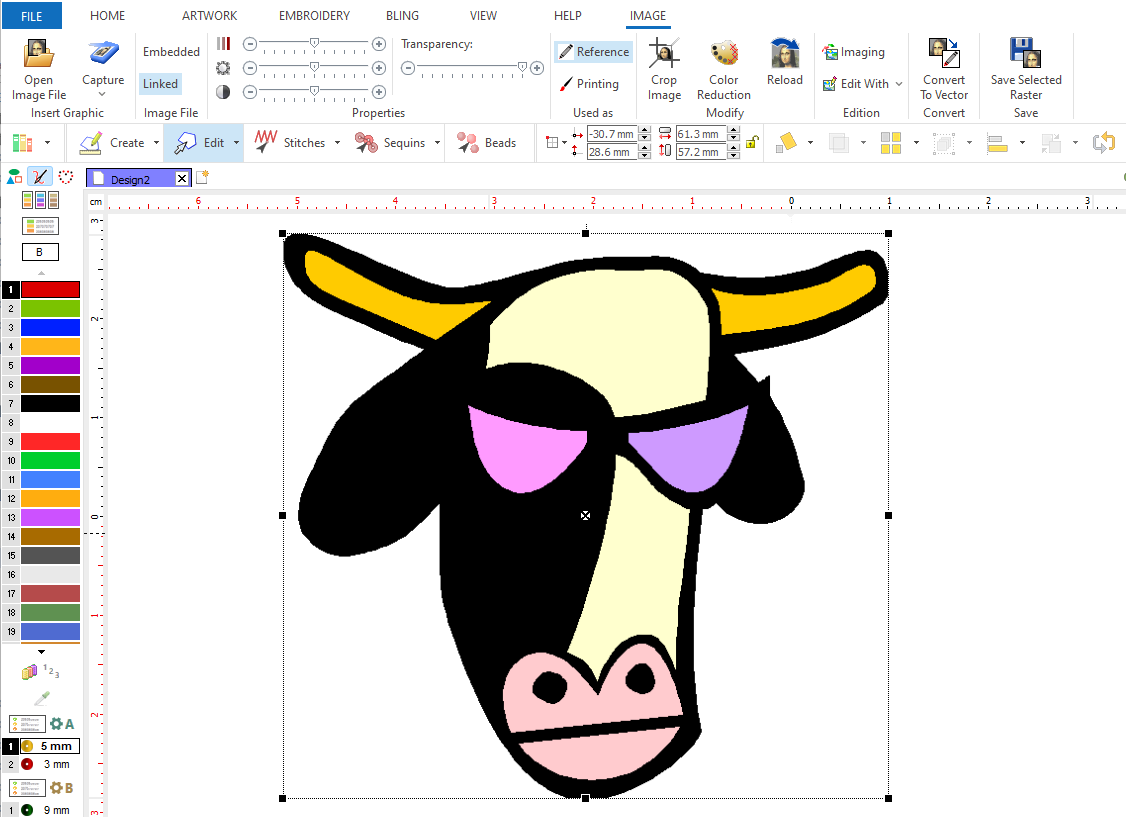
Image will be displayed in the working window.
The ToolTab IMAGE (a context tooltab when a raster image is selected) is displayed. You can edit the image if necessary. |
|
Load a raster image through the Catalog function
➢Select the tooltab HOME.
➢On the Insert group, click on the "Catalogs" button.
➢Select "Images - Raster" on the Media Panel. ➢Select the image and drag it into the workspace. |
|

Load a raster image through the Clipboard
➢On your favorite graphic application, select the image and press CTRL+C to copy the image to the Windows clipboard.
➢Select the tooltab HOME.
|
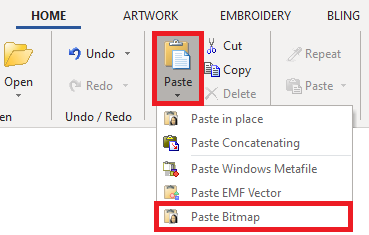
➢On the "Clipboard" group, click on “Paste” and then on “Paste Bitmap”.
The image will be loaded in the workspace.
Capture Image from Scanner
Use the scanner to load an image from a paper, a fabric, a photo or directly from a camera.
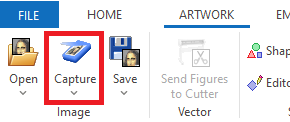
➢Select the tooltab ARTWORK
➢On the Raster group, click on the "Capture" button.
➢Select "Scanner Capture"
|
Complete the required information, usually related to Resolution and Color Mode. The following steps may vary according to the scanner brand and driver.
Steps:
1.Pre-scan to preview position and center image.
2.Select the area to scan.
3.Capture the area selected.
Once the scan is complete, image will appear in the working window.
Scanner Parameters
The most important parameters to achieve the best result using a scanner are:
•Resolution |
It is measured in DPI (dots per inch or points per inch). Higher resolution means more image definition (it consume more memory). Except for very small images, a 300-dpi resolution is correct. |
•Color Mode |
Capture an image in color or black and white. If you capture it in color, you must indicate the number of colors to be used. On most cases, a 256-colors mode is enough (unless it is used for printing). If you use more colors, the resulting image will be better, but it will consume more memory. If you want to capture the image in black and white, you can use 256 shades of gray. |
Configuring the scanner
The system works directly with any Twain-compatible scanner already installed on Windows.
➢Select the tooltab ARTWORK.
➢On the Raster group, click on the "Capture" button.
|
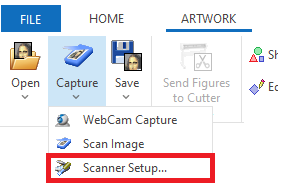
➢Select "Scanner Setup"
➢The "Select Source" window will appear, displaying all the available Twain sources.
➢Click on the corresponding twain source and click on the "Select" button.
|
Most scanners come with Twain interface software. See your scanner manual for more information on drivers and how to install them. Depending on the brand and model of the scanner, it may have a different platform (32 or 64 bit) and a different version (1 or 2) of the Twain driver. Sierra Software products use 32-bit platform and automatic version detection by default, which is the most common setting. However, if your scanner does not appear in the list when you click Scanner Settings, you may need to adjust these settings: 1.Select the HOME tools tab 2.In the System group, click the "System Settings" button 3.In the left panel inside the Options box, click on "Twain" 4.At the right panel, you will find 2 properties: "Twain Driver Platform" and "Twain Version". Begin by changing the Twain driver platform from "32-bit" to "64-bit" and click the Test Show Sources. If your scanner appears in the list, select it, click the Select button and finally click OK to save the changes and close the Options box. If your scanner still doesn't appear in the list, try changing the Twain version and click Test Show Sources. Explore all combinations (32-bit, version 1 and 2/64-bit, version 1 and 2). If you can't get your scanner listed, the Twain driver is probably not installed. Recheck your scanner documentation. Once a scanner has been configured, you will not need to repeat this process. |
Linked Images or Embedded Images
The design file can store some information about the images, even those images used just for reference, when the design is saved. Then those images can be used the next time you work with the design.
You can define how the information about the image is stored:
|
Linked Images: The sapplication will save a link to the image so, the next time you open the design, the image will load with the same size, position and rotation angle. It is required to have the image stored on the disk with the same name and in the same folder where it was when it was added to the design (default). Embedded Images: The application will store the image within the design file. Images are automatically switched to "embedded" when they are modified (for example: cropping or reducing colors). This is also the default mode for images pasted from clipboard. |

Save a Raster Image
If you want to save an image for any later use:
➢Select it on the workspace
➢On the ToolTab IMAGE, "Save" group, click on the button "Save Image As".
|
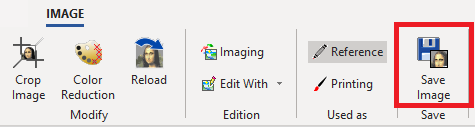
The Save Image window will open.
➢Select folder, name and format for the image to save and press on the "Save" button
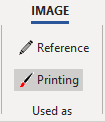
Raster Objects Properties (purposes)
You must set what is each raster image for, from the ToolTab VECTOR. By default, raster images are reference images (background reference for the design creation). This property can be changed at any time with a single click.
Reference images
|
Raster images can be used as reference for the design creation. They are hidden on the simulation window. Raster images used as "Reference" are listed on the "Auxiliary" tab of the Object Manager. |
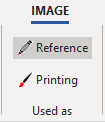
Printing images
|
The raster images are part of the final design, for example, as a printed background of the embroidery. They are visible on the simulation window. Raster images used as "Printing" are listed on the "Printing" tab of the Object Manager. |
Remove an Image
If you want to remove an image from the active document:
➢Select it on the workspace
➢Press the "Delete" key.
You can also find this function on the context menu, available by pressing the right mouse button.
This function does not delete the file, it just remove it from the design.