As explained in Secrets of Embroidery Designs, there is a very important concept that any embroidery designer must know: The term WYSIWYG (what you see is what you get) does not always apply to embroidery. That is, not always what you see in your embroidery digitizing software is the same as the final result after you produce the embroidery. Why is that? The thread on a fabric doesn't work like a line on the screen. As an example, it is easy to see how the tension of the thread on zig-zag stitches pull the fabric shortening the stitches. This pull effect and other effects must be properly considered to produce the correct embroidery designs. |
|
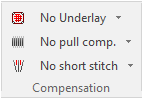
The software provides the tools to compensate those effects. These tools are available in the tooltab corresponding to the type of object and fill style (also available in the Object Inspector)
|
|
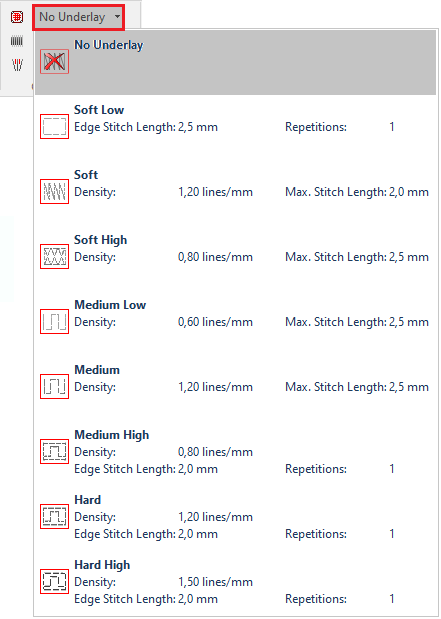
Underlay
The tension of the thread produces a fabric deformation which may significantly affect the embroidery design resolution including holes or absence of threads in parts of the design.
Underlay is a layer of stitches under the design fill stitches to toughen the fabric before the fill stitches are placed. This tool tries to compensate is the fabric deformation.
It can be used in all areas, but it is a must for large areas.
It is also known as base layer. If the parameters have been set correctly, the stitches conforming the underlay will remain hidden under the main fill and the main fill won't be distorted. Pre-established adjustments can be applied from the ToolsTab. You can also set custom and detailed values for the properties from the Object Inspector.
|
|
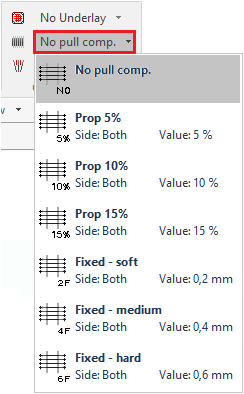
Pull Compensation
The tension of the thread on consecutive zig-zag stitches pull the fabric shortening the stitches. Unless a stitch length compensation is added, the produced zig-zag will result narrower than designed.
Pull compensation tries to compensate the stitch shrink effect by enlarging the stitches.
It can be used in areas with stitch pattern fill, but it is a must for any object filled with zig-zag stitches.
This is stitches enlargement. If the parameters have been set correctly, the stitches will be located in the correct place and the area won't become narrower. Pre-established adjustments can be applied from the ToolsTab. You can also set custom and detailed values for the properties from the Object Inspector.
|
|
Short Stitches
Many stitches on the same point may produce undesirable effects including thread accumulation and fabric breakage. As sometimes it is necessary to rotate the direction of the stitches (columns and turning area objects) producing empty spaces with a few stitch ends in one side while the other side has a lot of stitch ends, short stitches tries to distribute the stitches to avoid the blanks in one side and the stitches accumulation in the other side by adding intermediate stitches to cover the blank area while skipping the area with more stitches density.
They are intermediate stitches to add. If the parameters have been set correctly, extra stitches will cover the area without producing stitches accumulation.. Pre-established adjustments can be applied from the ToolsTab. You can also set custom and detailed values for the properties from the Object Inspector. Even when the short stitches tool is enabled, intermediate stitches will be added only if required.
|
|
