This is the process of creating all the required embroidery objects (any kind of objects) to build any kind of embroidery design.
When we hear about digitizing it usually refers to the conversion from an image into a (digital) design. That is partially right, we prefer to define digitizing as the creation of the required set of objects that constitute the design based on an image or any other source (artwork).
Even when an embroidery design is a sequence of stitches and you could create a new design by adding stitch after stitch, in a modern digitizing software you can optimize this process by adding objects after objects. The objects are easily defined and they represent a set of stitches with a group property: the stitch fill style.
The following images show a few embroidery objects with different stitch fill styles (with the basic fill styles). There are many other stitch fill styles you will discover later.
|
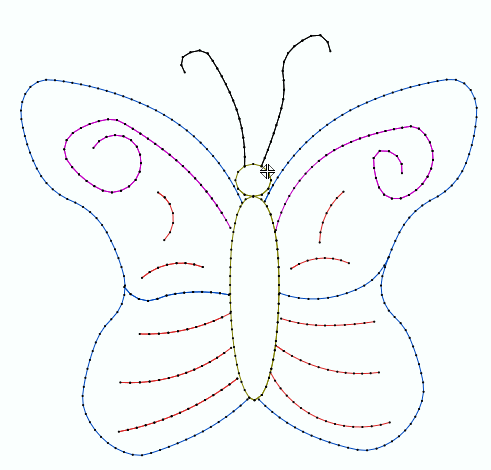
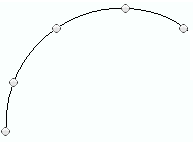
Running Stitches Usually used to highlight borders and add very thin lines. |
|
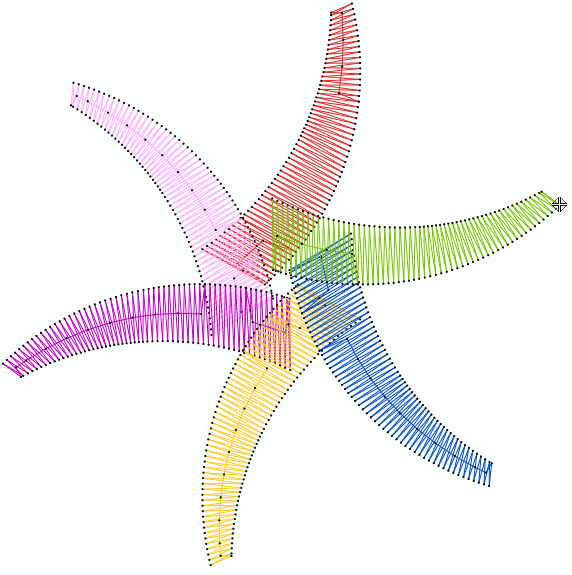
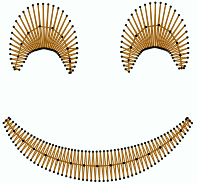
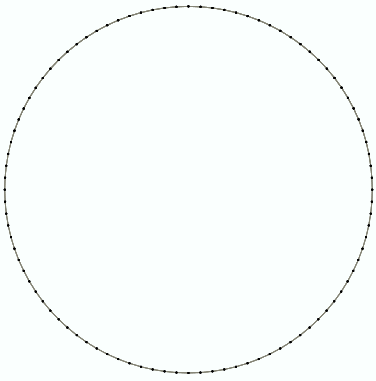
Zig Zag Stitches (Satin Stitches) Usually used for thin shapes. |
|
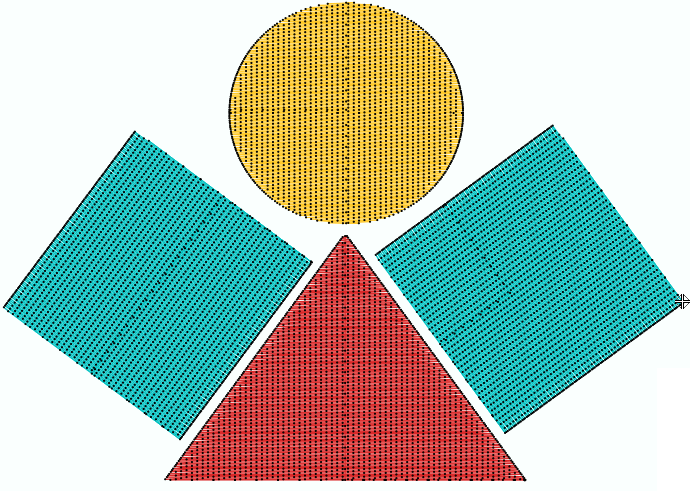
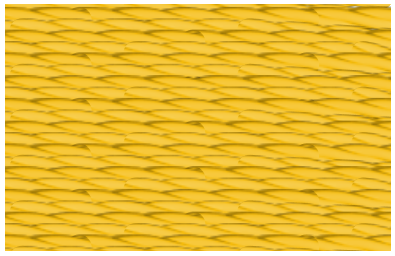
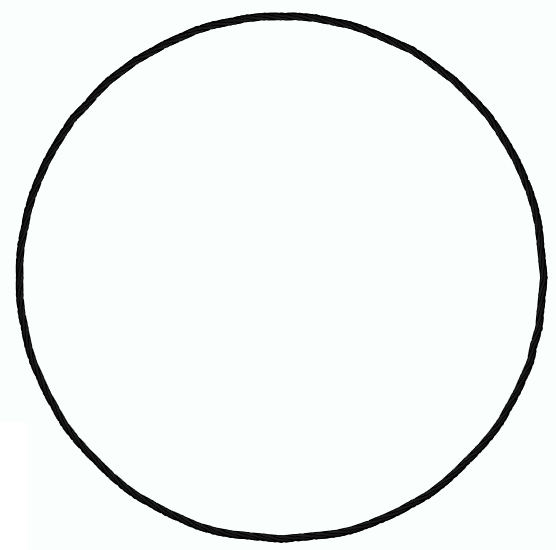
Pattern Stitches (Tatami Stitches) Usually used to fill wide areas. |
How to create embroidery objects?
The main challenge of embroidery designers (or digitizers) is to correctly decide which stitch style to use for each part of the design. This embroidery digitizing software offers many options and it is your job to divide the design in simple geometric parts and create an embroidery object for each part with the appropriate stitch fill style in the correct order (next objects overlap previous objects).
Digitizing each embroidery object requires to define:
Object Type
Select the object type to create. There are 3 basic object types (path, area, column) and some derived object types.
Fill Style & Properties
Select how to fill the embroidery object, including the stitch fill style and its properties (color, density, stitch length, etc).
Digitizing Mode
Digitizing modes refer to how to create the geometry of the object based on the artwork image (manual digitizing, auto-digitizing, etc).
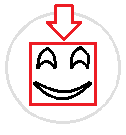
Here is an example to understand the mentioned concepts:
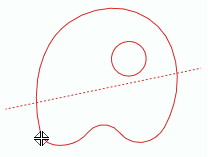
Embroidery Object 1
Image / Source |
Object Type |
Fill Style & Properties |
Digitizing Mode |
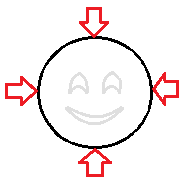
load raster image |
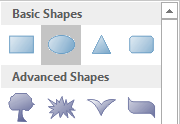
select Area type |
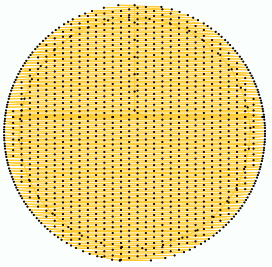
select Uniform Fill |
select the Circle |
 |
 |
 |
 |
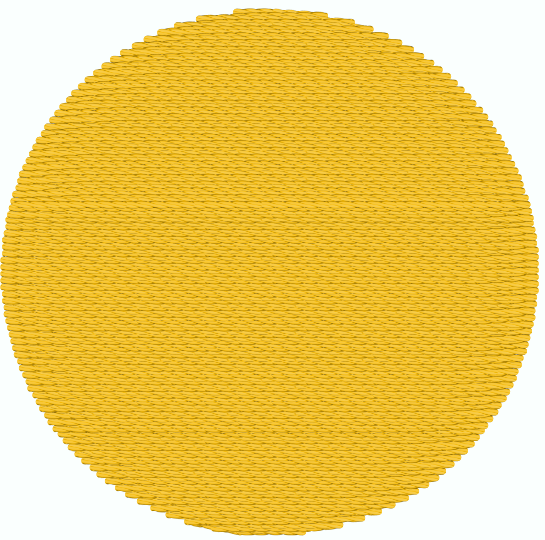
Result of Embroidery Object 1
Normal view |
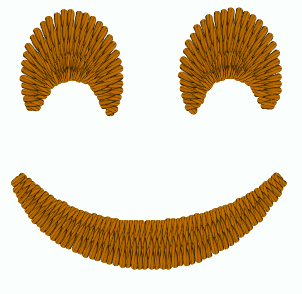
Simulation View |
 |
 |
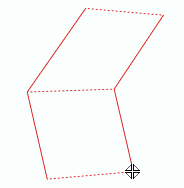
Embroidery Object 2
Image / Source |
Object Type |
Fill Style & Properties |
Digitizing Mode |
use raster image |
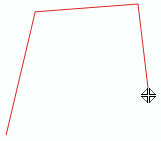
select Column type |
select Zig-Zag Fill |
click by click digitizing |
 |
 |
 |
 |
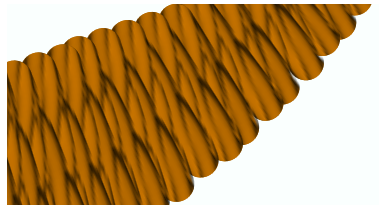
Result of Embroidery Object 2
Normal view |
Simulation View |
 |
 |
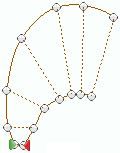
Embroidery Object 3
Image / Source |
Object Type |
Fill Style & Properties |
Digitizing Mode |
use raster image |
select Path type |
select Running Stitch |
click by click digitizing |
 |
 |
 |
 |
Result of Embroidery Object 3
Normal view |
Simulation View |
 |
 |
Embroidery Objects 1 + 2 + 3
 |
This chapter explains the different ways of how to digitize (digitizing modes) and all the available object types with their fill properties. As this software can create designs for several decoration specialties, there are specific objects for every decoration type. Anyway, the digitizing process, the concepts of digitizing and the digitizing methods are the same for all decoration specialties.