You can fill the inside (body) of an area with any of the available stitch fill styles for this type of area. You can also add a fill style for the path that outlines that area (border) with any of the available stitch fill styles for the path. As the border doesn't require extra digitizing because it uses the same shape of the area (body), this is the auto-border. In other words, this is a single objects with 2 different stitch fill styles, one for the body (the main fill) and one for the border (secondary fill).
Even when the result of an auto-border is the same as creating 2 different object, the main advantage of using auto-borders is that you earn time while creating it and more time when editing it.
Add an Auto-Border
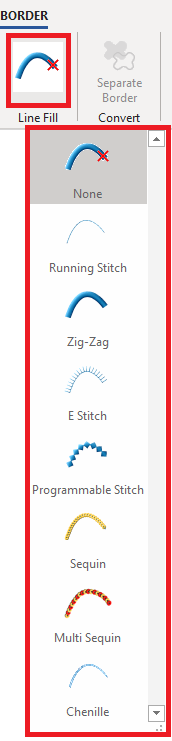
If a section type has a main fill that allows to use an automatic outline, the tooltab BORDER is displayed. ➢Click on the tooltab BORDER ➢Click on LINE FILL to display the different stitch fill styles available. ➢Select the Stitch Fill Style and set all the fill properties (including the border color) |
|
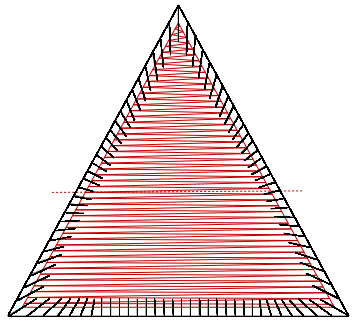
Auto-Border with Zig-Zag Stitches |
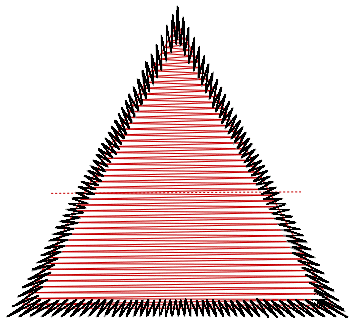
Auto-Border with E-Stitches |
|
|
|
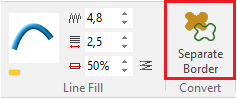
Separate the Border
You easily add an auto-border to an area object. You can also separate the auto-border as a new object (a path object) easily. The new object will become independent from the former object.
➢Click on SEPARATE BORDER on the BORDER tooltab. |
|
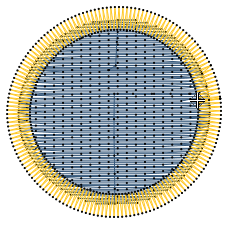
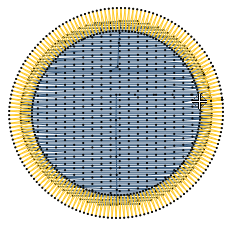
As an example, this is the area object:
•Uniform Area + Pattern Fill, with auto-border (Path + Zig-Zag).
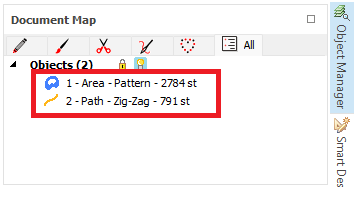
The Object Inspector shows this single object.
|
|
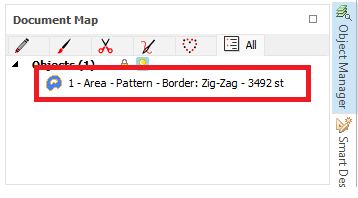
After the auto-border is separated, there are 2 objects:
•Uniform Area + Pattern Fill
•Path + Zig-Zag
The Object Inspector shows both objects.
|
|