|
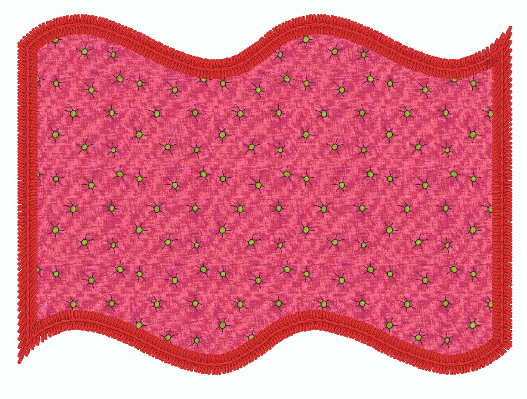
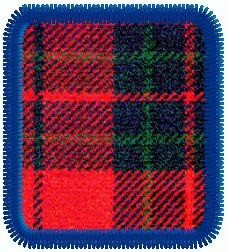
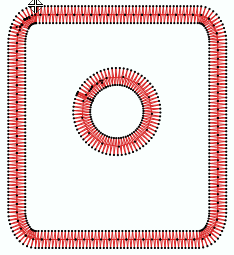
This fill style places several layers of stitches specially designed for the applique technique, specially designed for the applique decoration.
|
How to create an object of this type?
➢Select the tool Create an Area with Applique through any available way:
oOpen the Smart Design window and select the corresponding tool.
oClick on the arrow below the "Create Objects" button and select the corresponding tool.
oOpen the tooltab EMBROIDERY, click on the arrow below the "Area" button and select the corresponding tool.
A context ToolsTab containing the most frequently used properties of this fill style will open.
➢Set the fill properties from the ToolsTab (above) or the Object Inspector (below).
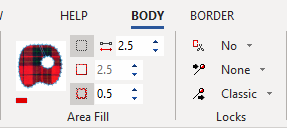
➢Digitize the object (through any digitizing method) by inserting the required elements of this object type. |
|
➢Confirm and GENERATE stitches.
➢If editing is required, just select the Select Object tool on the Main Toolbar. |
|

|
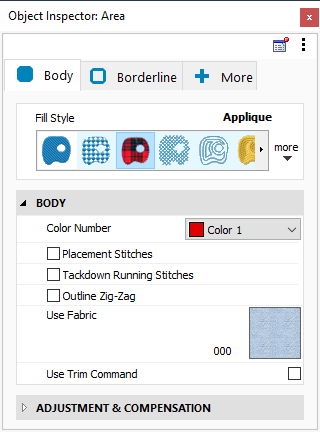
About Fill Style Properties
•You can edit (define or modify) all the properties of this object type from the Object Inspector (see below).
•The most commonly used properties are also available on the corresponding tooltab.
•The current value of the properties are displayed on the Object Inspector or the tooltab when an object of this type is being created or when an existing object of this type is selected. |
|
|
|
This is the color number of the thread/color palette.
|
|
You can change the color number from the color bar, from the context tooltab or from the object inspector.
The thread color for this color number is defined (and can be redefined) on the thread/color palette.
The stitches of the selected object will be created using the selected color.
This number is also the needle number of the embroidery machine (for multi-needle machines), unless the needle sequence is redefined.
|
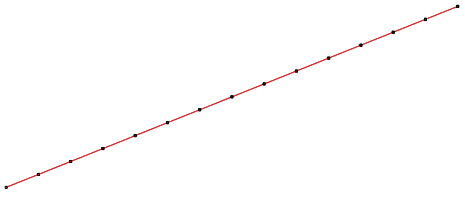
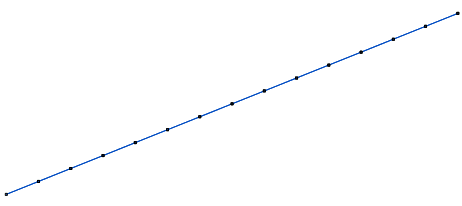
Change Color Number on a Path with Running Stitches
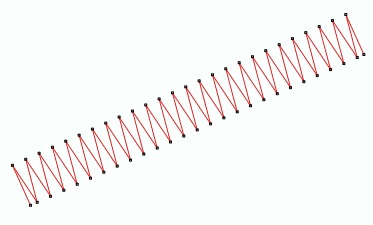
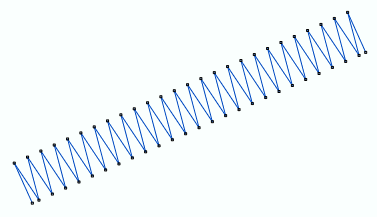
Change Color Number on a Path with Zig-Zag Stitches
Change Color Number on a Path with E Stitches
|
It specifies the color number of the thread palette corresponding to the main color of the object.

|
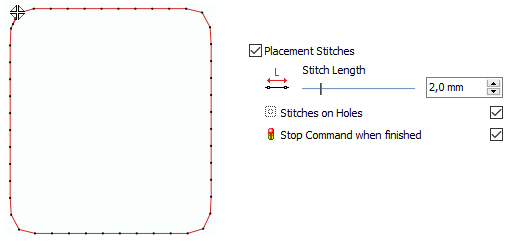
It is used to indicate the machine operator where the piece of fabric should be placed.
It is a reference usually implemented with a simple running stitch.
You can enable or disable the usage of Placement Stitches.
|
|
•Length |
Controls the length of the running stitches.
|
|
•Stitches on Holes |
Enable/Disable the reference layer on the object hole(s).
|
|
•Stop command when finished |
Enable/Disable the stop control at the end of the step.
Usually, the machine should be stopped to allow the operator to place piece of fabric.
|
|
It specifies whether to use (or not) reference stitches to indicate the machine operator where the piece of fabric should be placed.

|
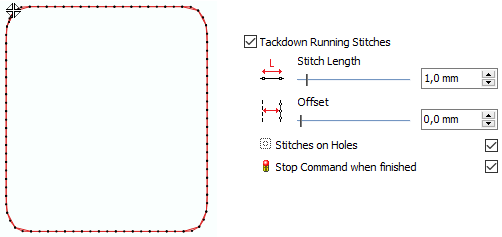
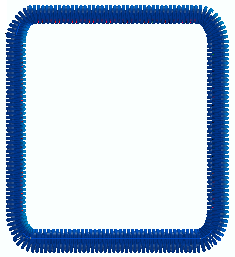
Once the fabric has been placed, it should be fixed to the base material.
This step is known as Tack-down and two basic methods are used to implement it: a running stitch and a low density zigzag.
You can enable or disable the usage of Tack-down Running Stitches.
|
|
•Length |
Controls the length of the running stitches.
|
|
•Offset |
Controls the position of the tack-down, to allow a margin for fabric trimming.
|
|
•Stitches on Holes |
Enable/Disable the tack-down for the section hole(s).
|
|
•Stop command when finished |
Enable/Disable the stop control at the end of the step.
Usually, the machine should be stopped to allow the operator to trim the piece of fabric.
|
|
It specifies whether to use (or not) running stitches to fix the fabric to the base material.

|
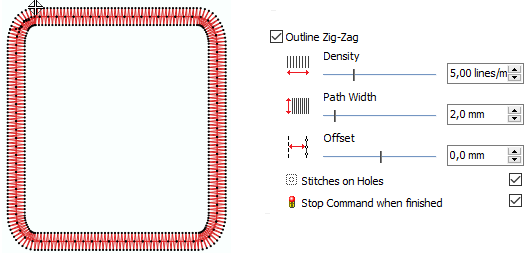
Once the fabric has been placed, it should be fixed to the base material.
This step is known as Tack-down and two basic methods are used to implement it: a running stitch and a low density zigzag.
You can enable or disable the Outline Zig-Zag Tack-down.
|
|
•Density |
Controls the zigzag tack-down density.
|
|
•Path Width |
Controls the zigzag width.
|
|
•Offset |
Controls the position of the tack-down, to allow a margin for fabric trimming.
|
|
•Stitches on Holes |
Enable/Disable the tack-down for the section hole(s).
|
|
•Stop command when finished |
Enable/Disable the stop control at the end of the step.
Usually, the machine should be stopped to allow the operator to trim the piece of fabric.
|
|
It specifies whether to use (or not) zigzag stitches to fix the fabric to the base material.

|
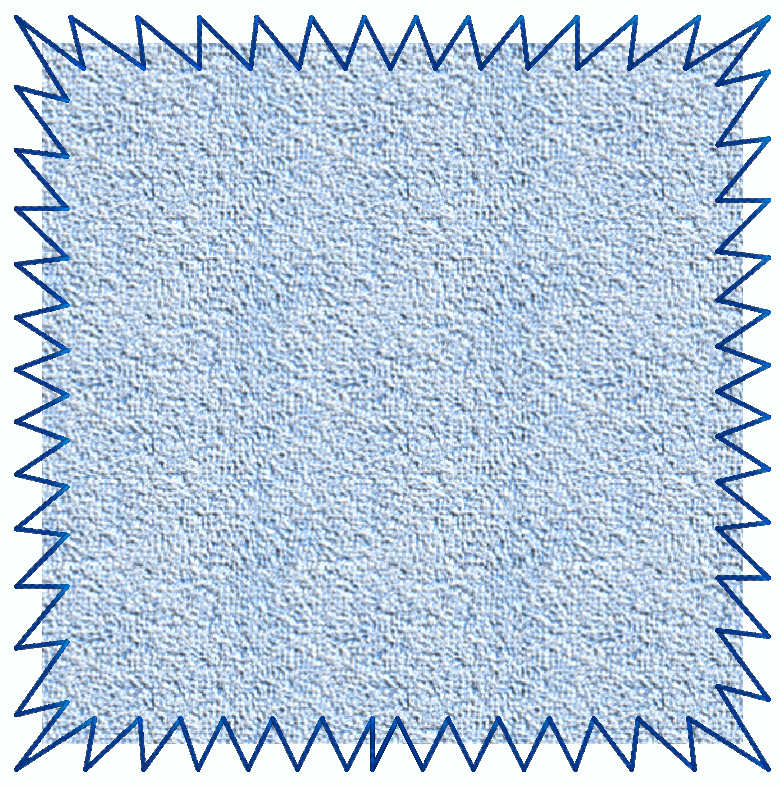
This property allows to select a fabric image to simulate the aplique fabric.
Click on the icon to access the Fabric Library and select the one you desire.
It will be visible when you set your workspace in 3D Mode.
|
|
No fabric selected
|
|
Fabric selected
|
|
|
|
|
|
It defines the fabric image to use.

|
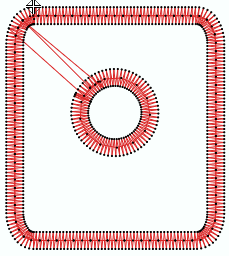
Add a thread trim command.
Trims are used to jump between the object borders and the holes (if any).
|
|
Disable Trim command
|
|
Enable Trim command
|
|
|
|
|
|
It sets the thread trim insertion.
|
|
|
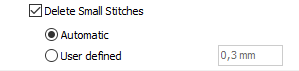
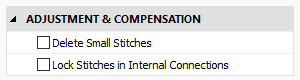
Filter the small stitches of the object (smaller than the indicated value).
Options are:
oAutomatic: The filter is enabled and the minimum stitch length used is the general value set in Options And Preferences.
oUser defined: The system will delete stitches shorter than the indicated value.
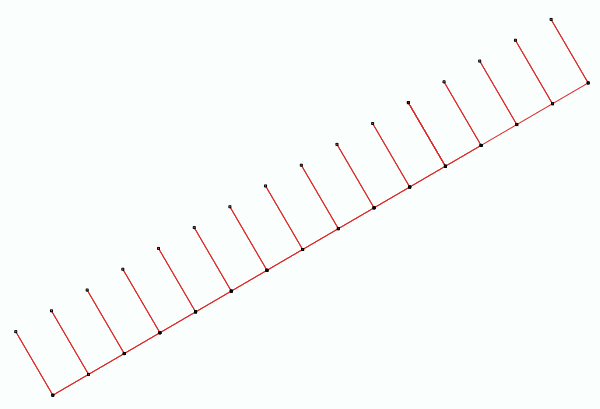
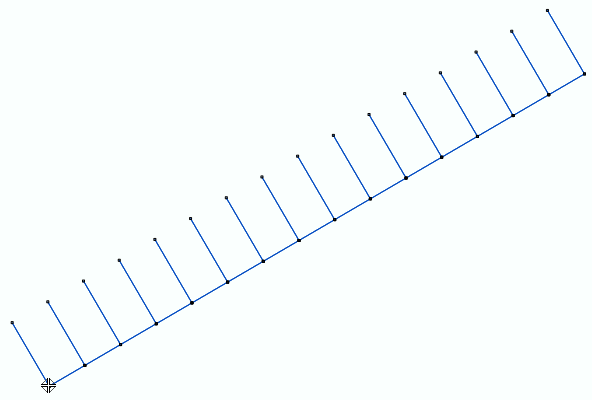
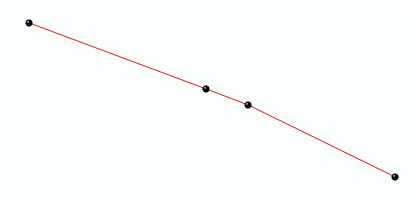
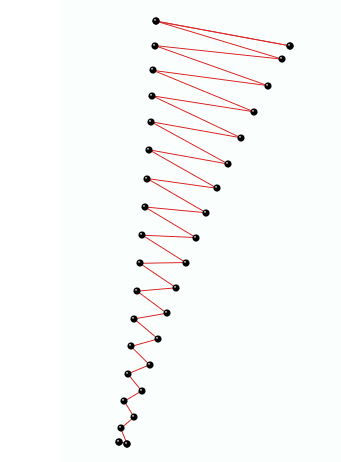
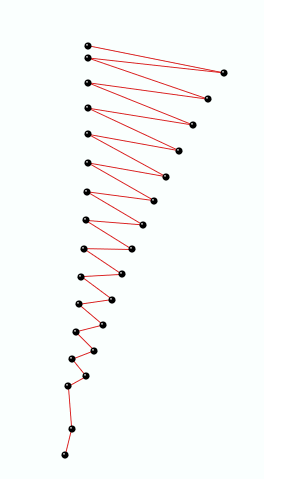
Sample of Delete Small Stitches: Path with Running Stitches
|
Before applying the filter
|
|
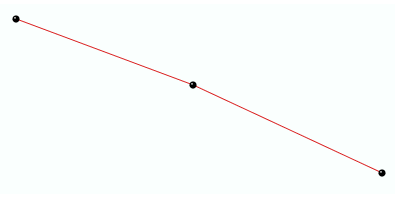
After applying the filter
|
|
|
|
|
Sample of Delete Small Stitches: Column with Zig-Zag Stitches
|
Before applying the filter
|
|
After applying the filter
|
|
|
|
|
|
It deletes the stitches that are smaller than a predefined value (unnecessary & inconvenient).
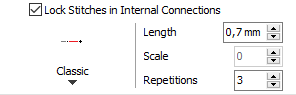
Insert tack-down stitches to prevent unfixed stitches when connecting far parts of the object.
Types of Lock Stitches are:
oClassic
oStar
oTwist
oCross
oArrow
Properties:
•Length: Specify the lock stitch length for Classic type.
•Scale: change the size of the lock stitch.
•Repetition: Define the number of times to repeat the lock stitch.
|
It adds stitches to fix the thread, recommendable on thread trims and color changes.
|
Read also
•Concepts about the UNIFORM AREA object.
•Concepts about Classic Digitizing.