|
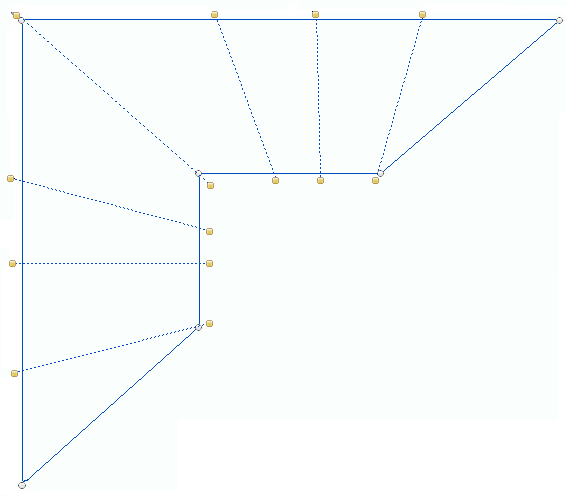
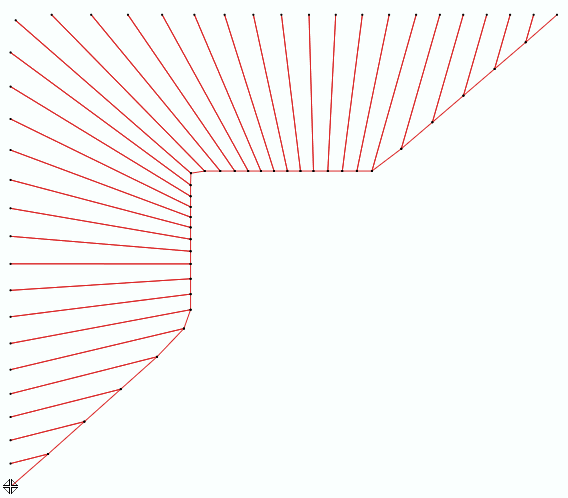
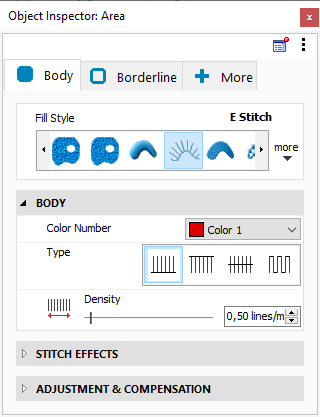
This fill style places E-stitches on a close area defined by a turning area object type. Stitches are oriented according to the defined direction lines.
|
How to create an object of this type?
➢Select the tool Create a Turning Area with E-Stitches through any available way:
oOpen the Smart Design window and select the corresponding tool.
oClick on the arrow below the "Create Objects" button and select the corresponding tool.
oOpen the tooltab EMBROIDERY, click on the arrow below the "Turning Area" button and select the corresponding tool.
A context ToolsTab containing the most frequently used properties of this fill style will open.
➢Set the fill properties from the ToolsTab (above) or the Object Inspector (below).
➢Digitize the object (through any digitizing method) by inserting the required elements of this object type. |
|
➢Confirm and GENERATE stitches.
➢If editing is required, just select the Select Object tool on the Main Toolbar. |
|

|
About Fill Style Properties
•You can edit (define or modify) all the properties of this object type from the Object Inspector (see below).
•The most commonly used properties are also available on the corresponding tooltab.
•The current value of the properties are displayed on the Object Inspector or the tooltab when an object of this type is being created or when an existing object of this type is selected. |
|
|
|
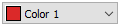
This is the color number of the thread/color palette.
|
|
You can change the color number from the color bar, from the context tooltab or from the object inspector.
The thread color for this color number is defined (and can be redefined) on the thread/color palette.
The stitches of the selected object will be created using the selected color.
This number is also the needle number of the embroidery machine (for multi-needle machines), unless the needle sequence is redefined.
|
Change Color Number on a Path with Running Stitches
Change Color Number on a Path with Zig-Zag Stitches
Change Color Number on a Path with E Stitches
|
It specifies the color number of the thread palette corresponding to the main color of the object.
|
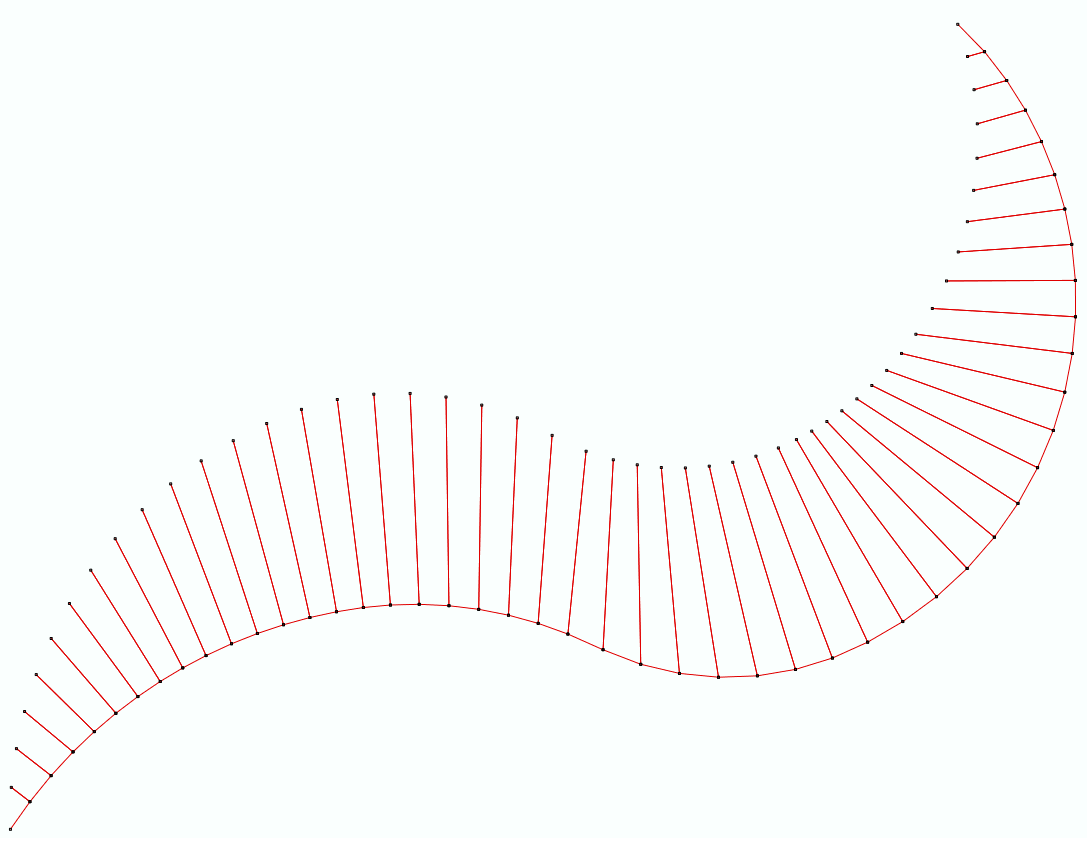
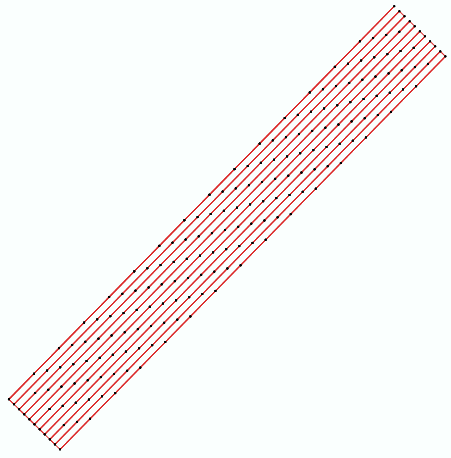
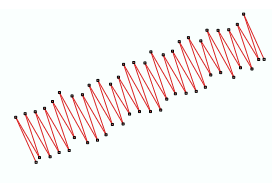
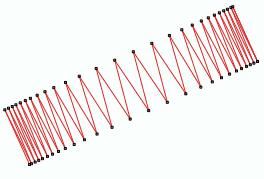
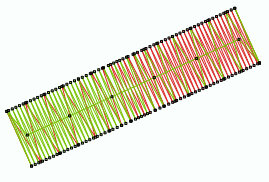
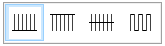
There are four types of E-stitches:
|
|
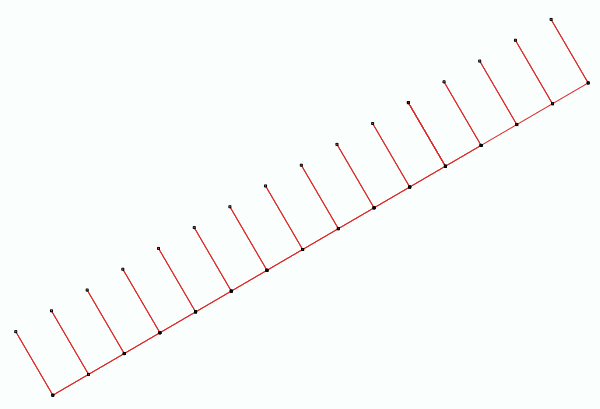
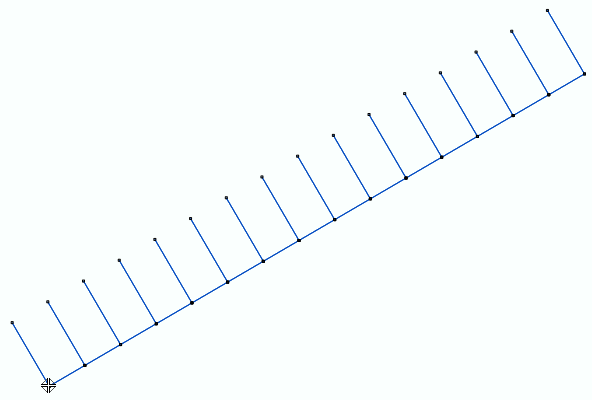
•Side A (e-stitches on one side)
•Side B (e-stitches on the other side)
•Both Sides (e-stitches on both sides)
•Square (square stitches). |
|
It specifies the type of E-stitch to use.

|
Set how many stitches or lines of stitches (by length unit) are created during the object creation.
The higher the density is, more stitches will created (and the spacing between them will decrease).
|
Stitch Density on a Path with Zig-Zag Stitches
|
Density: 3 stitches / mm
|
|
Density: 6 stitches / mm
|
|
|
|
|
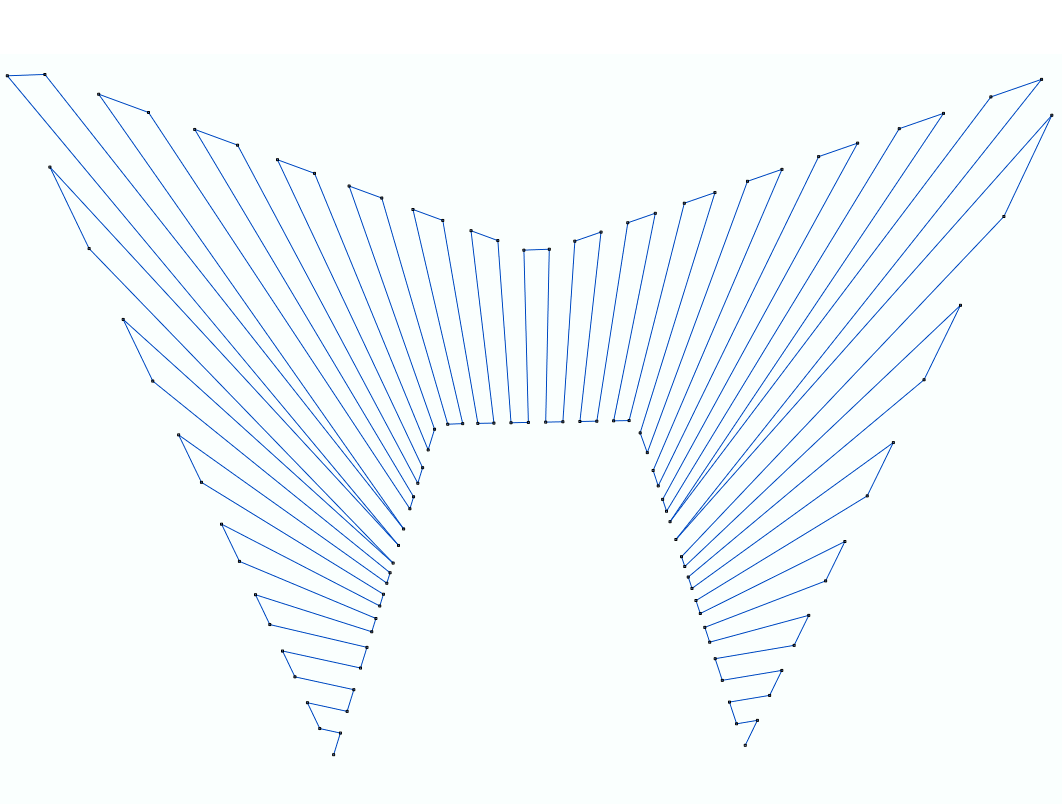
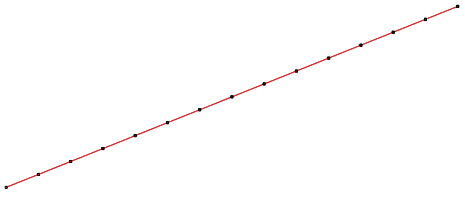
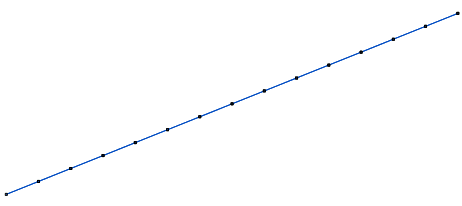
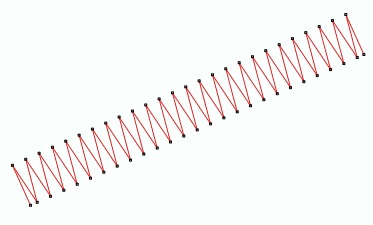
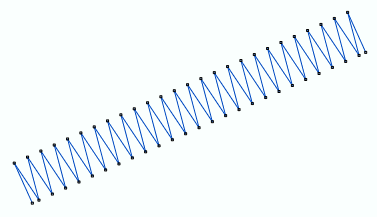
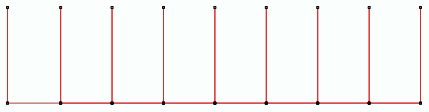
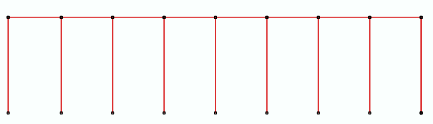
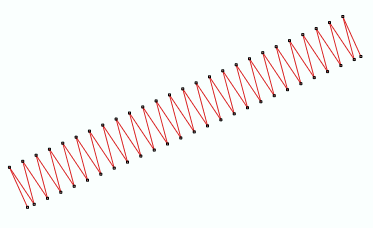
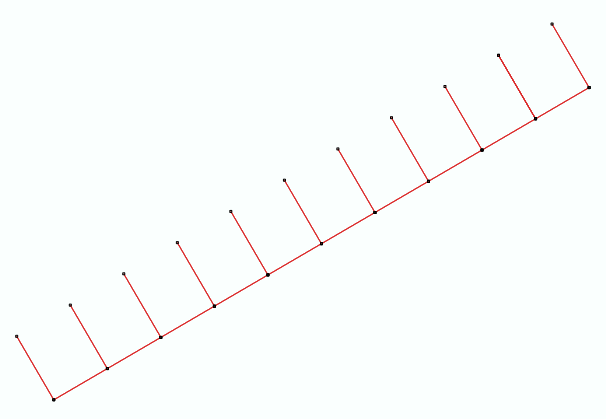
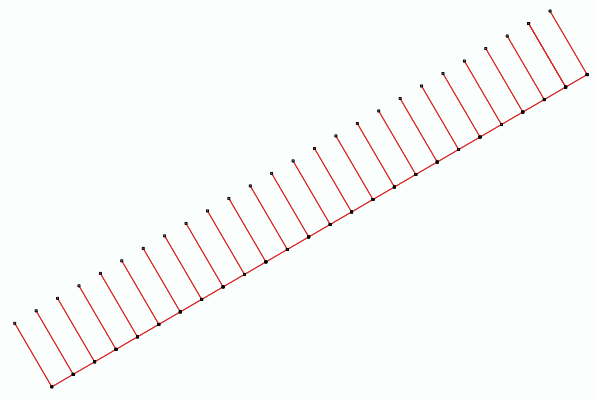
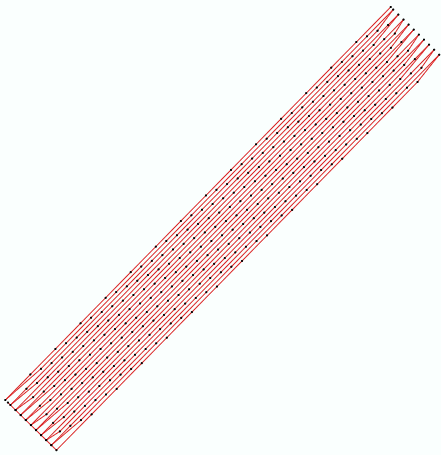
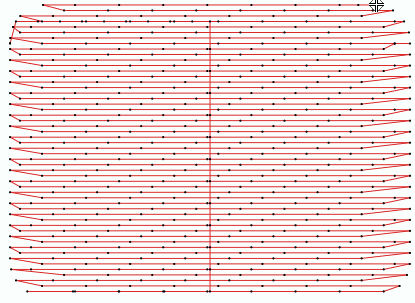
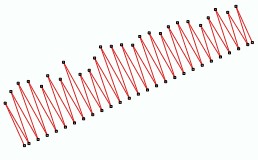
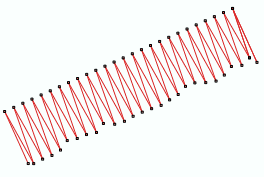
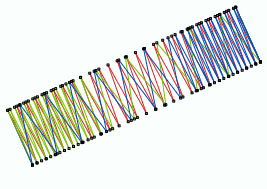
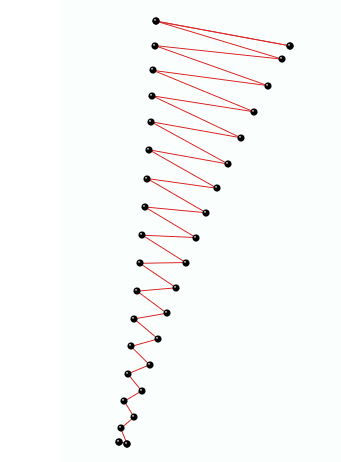
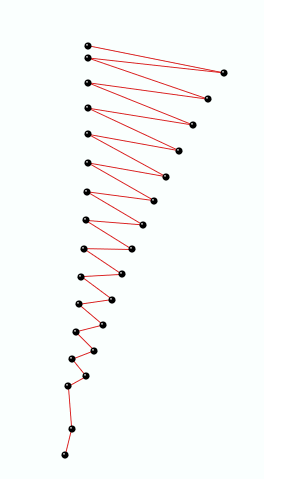
Stitch Density on a Path with E Stitches
|
Density: 0.4 lines / mm
|
|
Density: 1.0 lines / mm
|
|
|
|
|
Stitch Density on a Path with Longitudinal Stitches
|
Density: 2 lines / mm
|
|
Density: 4 lines / mm
|
|
|
|
|
Stitch Density on an Area Path with Pattern Fill Stitches
|
Density: 2 lines / mm
|
|
Density: 6 lines / mm
|
|
|
|
|
|
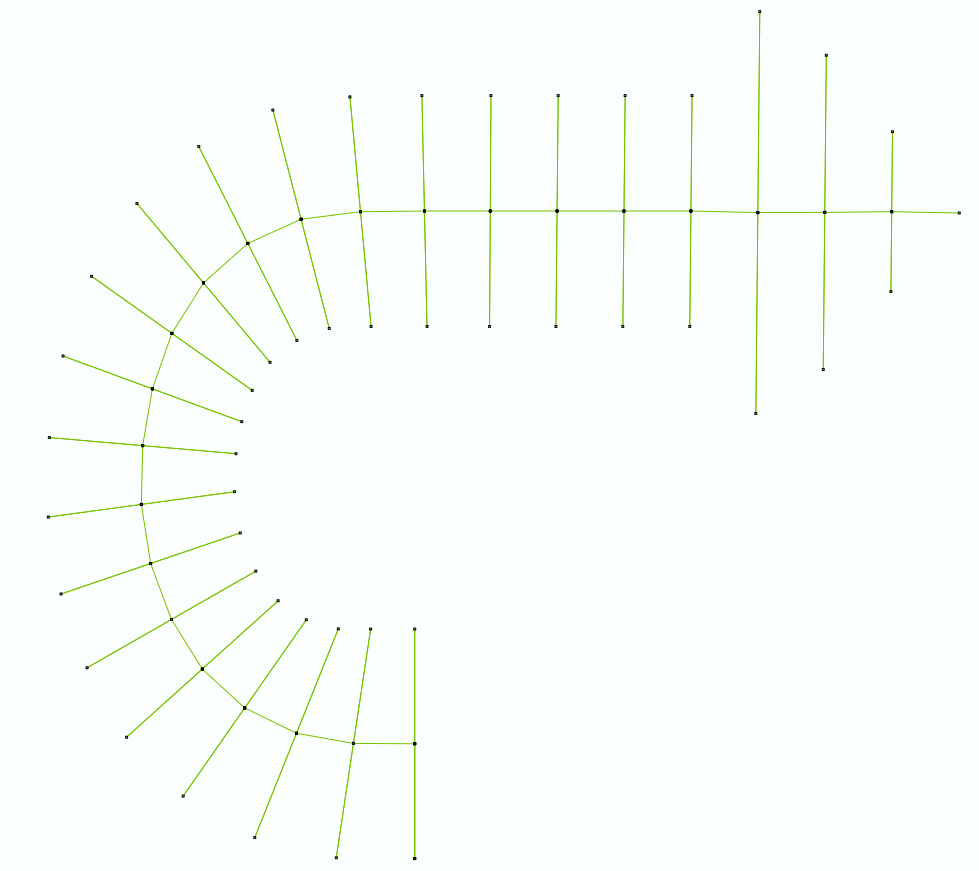
It specifies the number of stitches or lines of stitches arrays of the object.
|
|
|
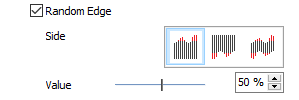
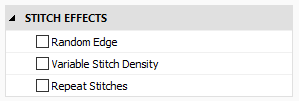
It turns irregular the edges of the object.
Properties:
•Side: Specify the object side where to apply the effect.
•Value: Adjust the width percentage affected by the effect.
|
Random Edge Side A
value: 40%
|
|
|
|
Random Edge Side B
value: 15%
|
|
|
|
Random Edge Both Sides
value: 25%
|
|
|
|
Add a random (irregular) effect on the border of the object.
Define density variation curves in order to obtain effects such as color fades including up to 3 colors.
Assign up to 3 overlapped fills to the same object with different density variation pattern and a different color.
|
1-color variable density
|
|
|
|
2-colors variable density
|
|
|
|
3-colors variable density
|
|
|
|
It specifies a density variation curve to obtain color grading or blending effects.

|
This is the number of overlapped stitches.
|
On Running Stitches, Longitudinal Stitches, etc:
Available options are:
oSmall Steps: Repetition is performed in a stitch-by-stitch basis: step forward, step back and step forward again.
oLong Steps: Repetition is performed from beginning to end, repeating all the path backwards and finally forwards.
|
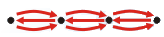
Small steps
|
|
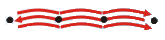
Long steps
|
|
|
|
|
Repeat on Zig-Zag Stitches:
You can can also select the side (A, B, Both) and set a repeat value.
|
It specifies the overlapped stitches to highlight those stitches.
|
|
|
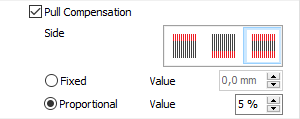
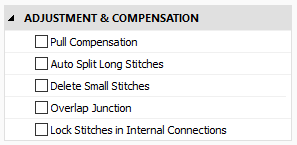
Correct the fabric shrink effect (caused by several factors, such as the stitch density, the type of fabric, the thread pull, etc) by by enlarging the stitches that tend to shrink when being embroidered. Basically, the stitches are stretched on their ends.
Properties are:
•Side: You can select the side (A, B, Both). Recommended value is Both.
•Type: Fixed or Proportional:
oFixed: You can set a fixed value, independent of the stitch length.
oProportional: This type varies according to the stitch length.
|
Fixed type, Value: 0.6 mm
|
|
Proportional Type, Value: 15%
|
|
|
|
|
|
Enlarge stitches to prevent shrink effect because of the thread tension.
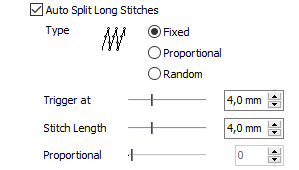
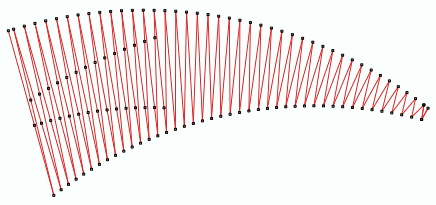
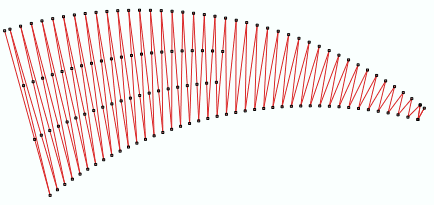
Split stitches in several parts on Zig-Zag stitches, when the stitch length exceeds the indicated value. It offers an approximation to the Zig-Zag style on objects that are wider than recommendad for Zig-Zag.
Auto Split types are:
oFixed: Stitches are split according to a fixed length. The defined value does not change along the stitches.
oProportional: Uses a percentage to split the stitches.
oRandom: Applies a random distribution on the split divisions.
Properties:
•Trigger at: Allows to set a value in which the split stitches will be applied.
•Stitch Length: It is the value (displayed in mm) that shows where the stitch splits.
•Proportional: It is the value (displayed in %) that shows where the stitch splits.
|
Fixed Split
|
|
|
|
Proportional Split
|
|
|
|
Random Split
|
|
|
|
It splits stitches when the stitch length exceeds the established value.
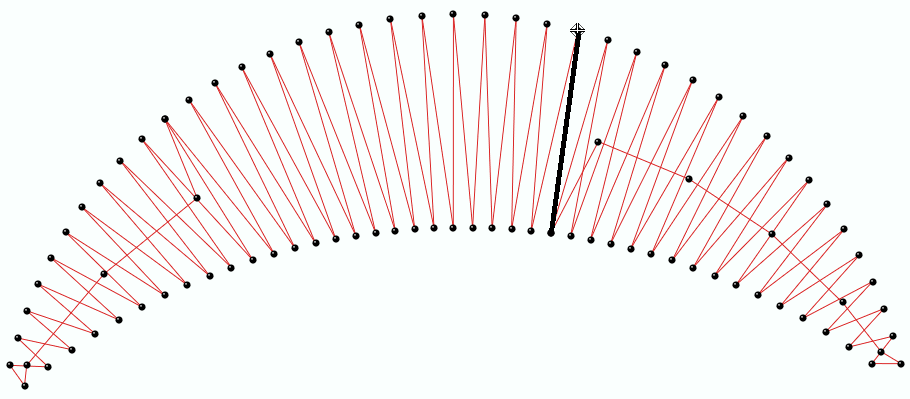
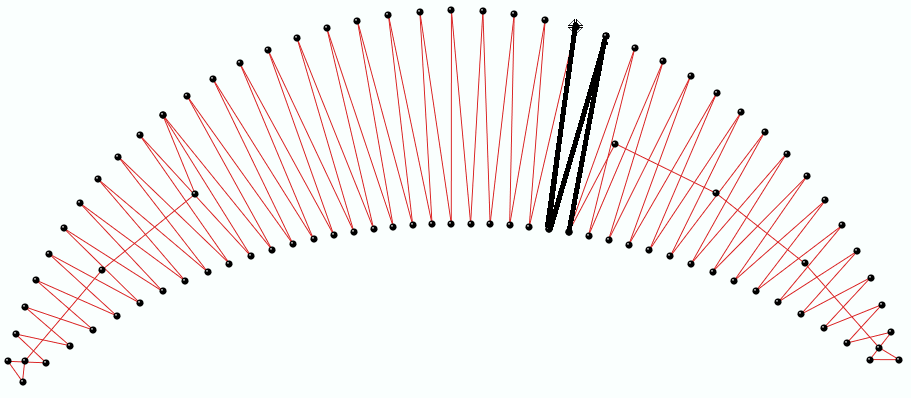
Filter the small stitches of the object (smaller than the indicated value).
Options are:
oAutomatic: The filter is enabled and the minimum stitch length used is the general value set in Options And Preferences.
oUser defined: The system will delete stitches shorter than the indicated value.
Sample of Delete Small Stitches: Path with Running Stitches
|
Before applying the filter
|
|
After applying the filter
|
|
|
|
|
Sample of Delete Small Stitches: Column with Zig-Zag Stitches
|
Before applying the filter
|
|
After applying the filter
|
|
|
|
|
|
It deletes the stitches that are smaller than a predefined value (unnecessary & inconvenient).
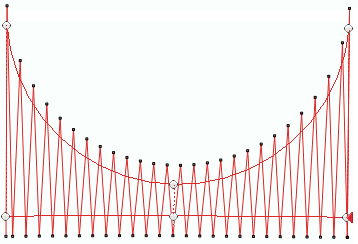
Number of stitch or lines that will overlap on 2 adjacent regions of an object.
When the program divides the object in regions to fill with stitches (usually when considering the entry and exit point of the object), the limit between both regions may result in unfilled spaces when sewing the design. This property adds more stitches to avoid or compensate that undesired effect.
The value is generally 1 line, but according to the type of fabric to sew you might have to consider increasing this value.
|
Overlap Lines: 1
|
|
Overlap Lines: 2
|
|
|
|
|
|
Number of stitches or stitches lines that will overlap to prevent empty spaces inside an object.
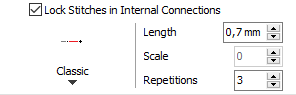
Insert tack-down stitches to prevent unfixed stitches when connecting far parts of the object.
Types of Lock Stitches are:
oClassic
oStar
oTwist
oCross
oArrow
Properties:
•Length: Specify the lock stitch length for Classic type.
•Scale: change the size of the lock stitch.
•Repetition: Define the number of times to repeat the lock stitch.
|
It adds stitches to fix the thread, recommendable on thread trims and color changes.
|
Read also
•Concepts about the TURNING AREA object.
•Concepts about Classic Digitizing.