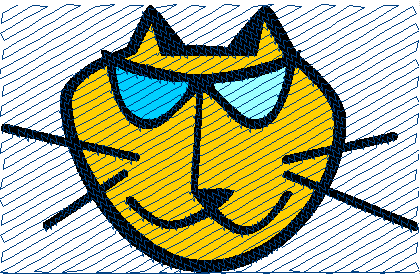
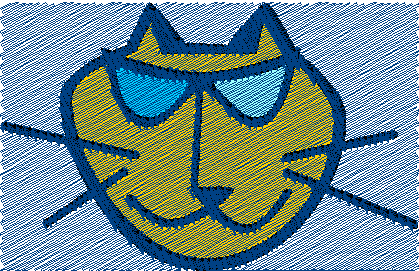
This tool scans the image and automatically creates a design that is made basically of tracks with zig-zag stitches (and other stitch types) which size vary according to the average color & brightness of the region of the image that is under that stitch.
|
|
|
|
|
Some of the characteristics of this auto-digitizing mode are:
•It works with black and white, grayscale and color images.
•It produces monochromatic and multi-color embroideries.
•There are multiple photographic effects in each mode.
•It enables to select controls and parameters: adjust quality and speed levels, contrast of black and other colors, resolution (spacing between tracking lines, width of cells and margins), compensations and small stitches filters, stitches width and density, etc.
•After changing any of these parameters to obtain a different result, you only have to change the properties of stitch creation and generate them again.
Suggestions to obtain the best result using Photo-Stitch
Optimum images meet the following conditions:
•Images with big shade contrasts (for instance, a black and white image)-
•Should not be less than 10 cm. and not bigger than 16 cm. width.
•It is recommended for portrait images (faces, etc), not for landscapes.
•Using images with less background, as this will produce a blurred and undefined result.
|
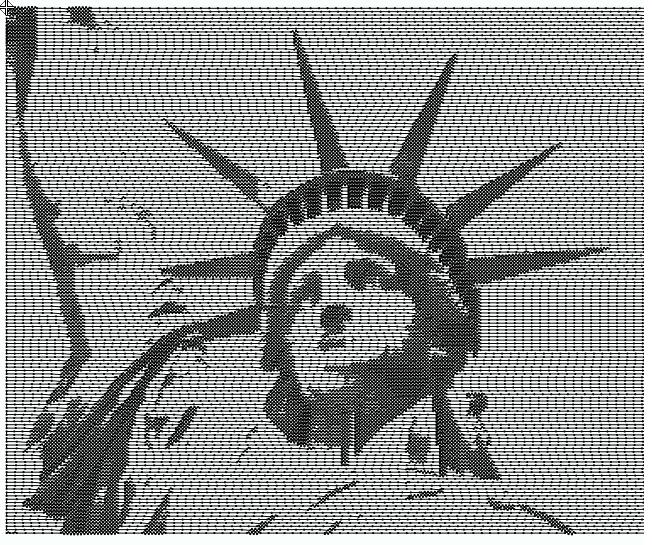
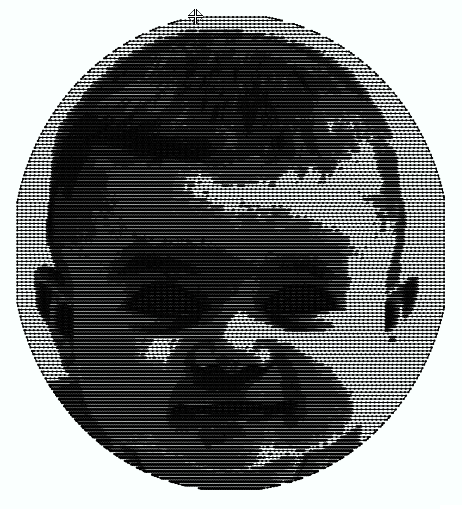
Take into account that the resulting embroidery is not an image, it will neither have the same resolution of the original image. |
Create a Photo Stitch design
Load a Raster Image
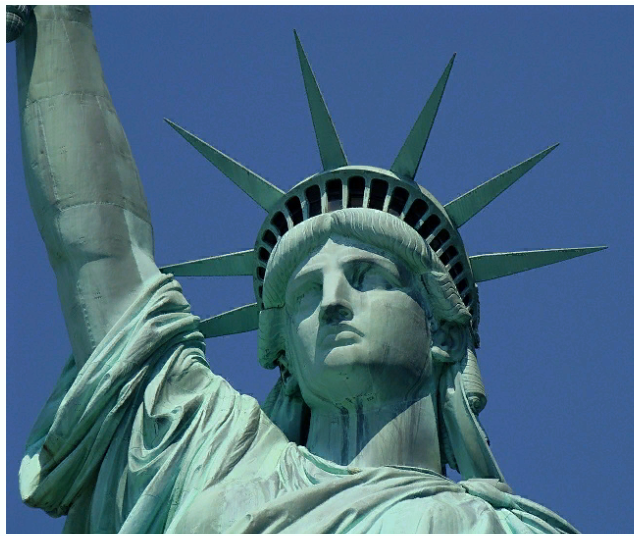
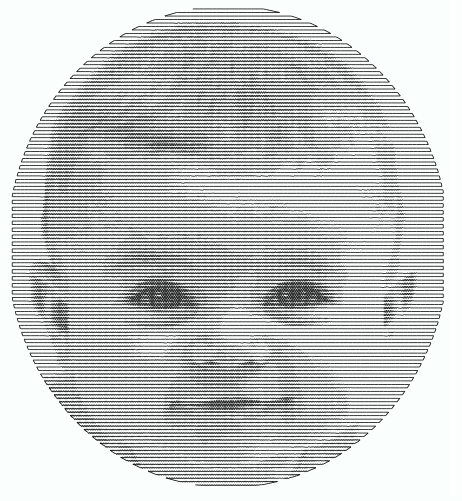
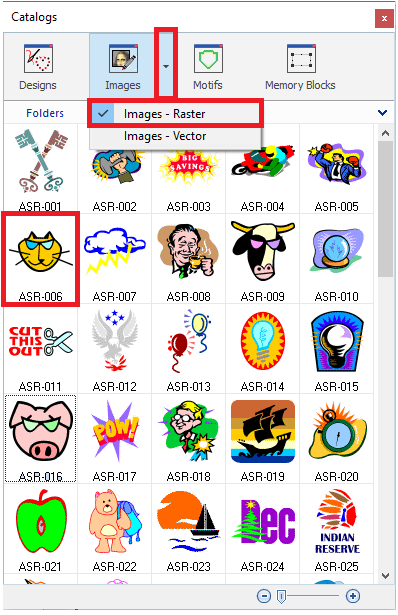
Open/load a raster image (from file, from scanner, etc). We use an image from the Catalog. ➢Click on CATALOGS on the MAIN toolbar. ➢Select a media type (we use Raster Images). ➢Select the file folder. ➢The bottom panel of the Catalog displays the content of the folder according to the selected media type. ➢Select the "ASR-006" raster image from the "Artwork > Raster" folder. ➢Drag the image into the workspace to load it. |
|
➢Select the tooltab EMBROIDERY
➢Click on the Art to Stitch" tool. |

➢Select the Art to Stitch mode: oImage to Photo-Stitch |
|
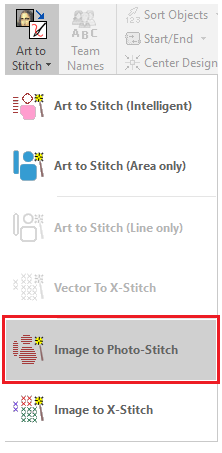
Photo Stitch tooltab
The Cross Stitch tooltab is displayed. You can specify each property required to create the photo-stitch design.

Basically, the sequence to create photo-stitch designs is:
1.Digitize the boundary shape: you can use a shape from the library or you can digitize the shape you want.
2.Select the stitch type and the stitch properties: spacing, height and width of the cells.
3.Set the complementary geometric elements of the object: entry and exit points, stitch direction, holes, etc.
4.Add trims and lock stitches if necessary.
5.Adjust the sliding controls to change the color / brightness sensitivity (continue when you get the expected result).
|
You can hide the image to appreciate the result in detail. You can also click on the Simulation button (F7) to hide the background vector and show the simulated stitches. |
|
The obtained result depends on the assigned properties, and these properties are not same for all the images. Adjust parameters and perform several attempts until you achieve the expected result. |
Photo Stitches Features
The selected mode is the stitch type (simmilar to the programmable stitches). The properties of each mode may vary. |
|
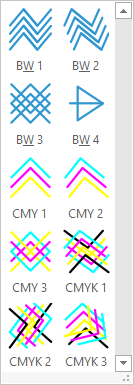
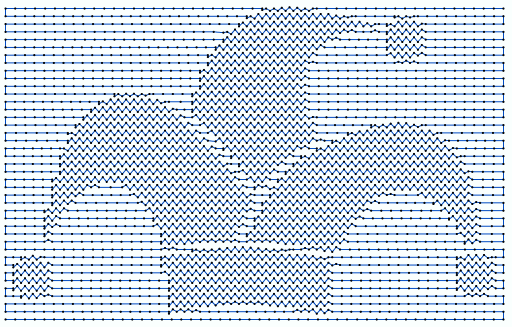
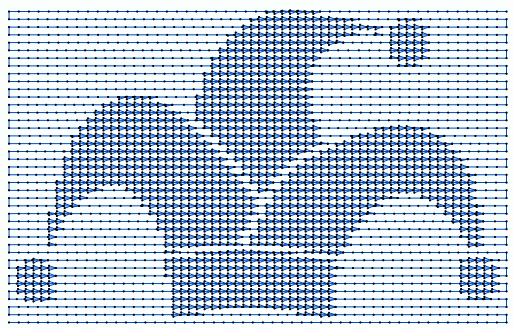
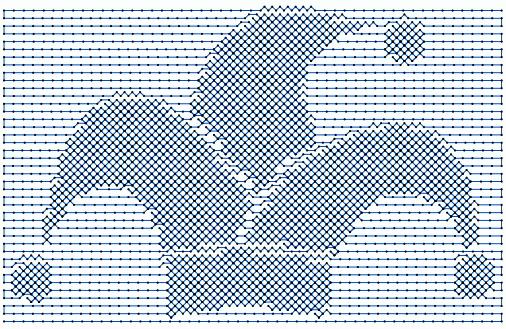
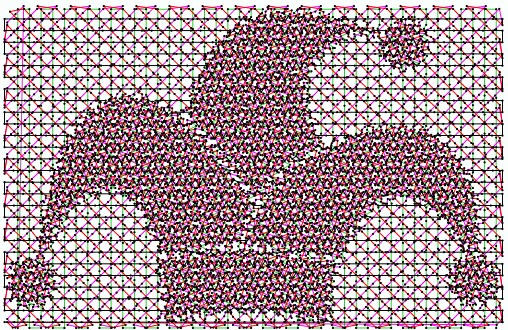
Here are some designs using different modes with the same image. They can use one or several needle colors. |
|
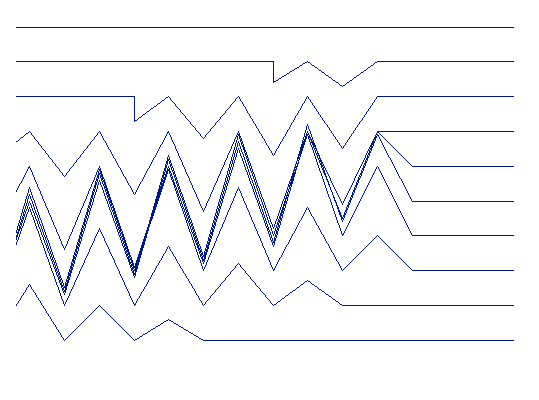
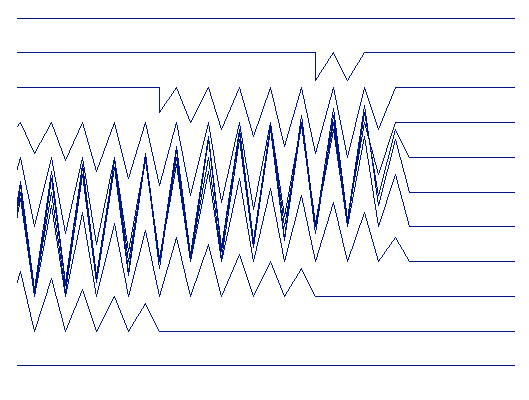
Row Spacing
Define the spacing between tracks (stitch rows) during each sweeping (either Zig-Zag or Running stitches). |
|
Cell width and height
Define the horizontal and vertical resolution of the photo-stitch. Set these values according to the resolution you want. The width value affects to the stitch density (and the stitch count), while the height value affects the maximum stitch lenght. |
|
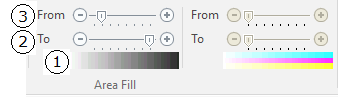
Contrast for black and color
From these options you can adjust the sensitivity of the stitch creation, according to the different color contrasts of the image. It is important to emphasize the grayscale range where the image offers a higher contrast. Values lower than "From" will produce the same result as the minimum value. Values higher than "To" will produce the same result as the maximum value. The range from "From" to "To" with then offer a higher contrast that the original image. |
1.Brightness levels (minimum to maximum) 2.Slider "From" 3.Slider "To" |
|
|
|