Load a Vector Image
It refers not only to complete vector graphic files, but also to vector objects from any source.
Some imported vector images contain grouped vector objects, whic must be ungrouped if editing is required.
Load a vector image through the Open Image function
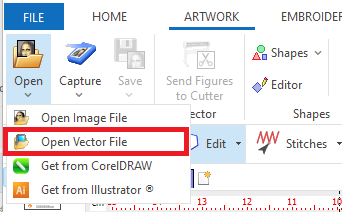
➢Select the tooltab ARTWORK.
➢On the Image group, click on the "Open" button and select "Open Vector File"
The explorer window will open.
➢Search the vector image. ➢Select it and press the Open button.
Note: You can select the vector file type in the bottom right side of the window. |
|
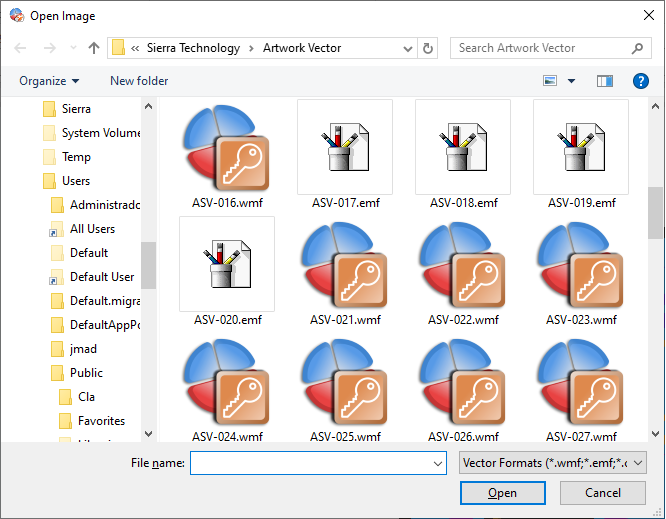
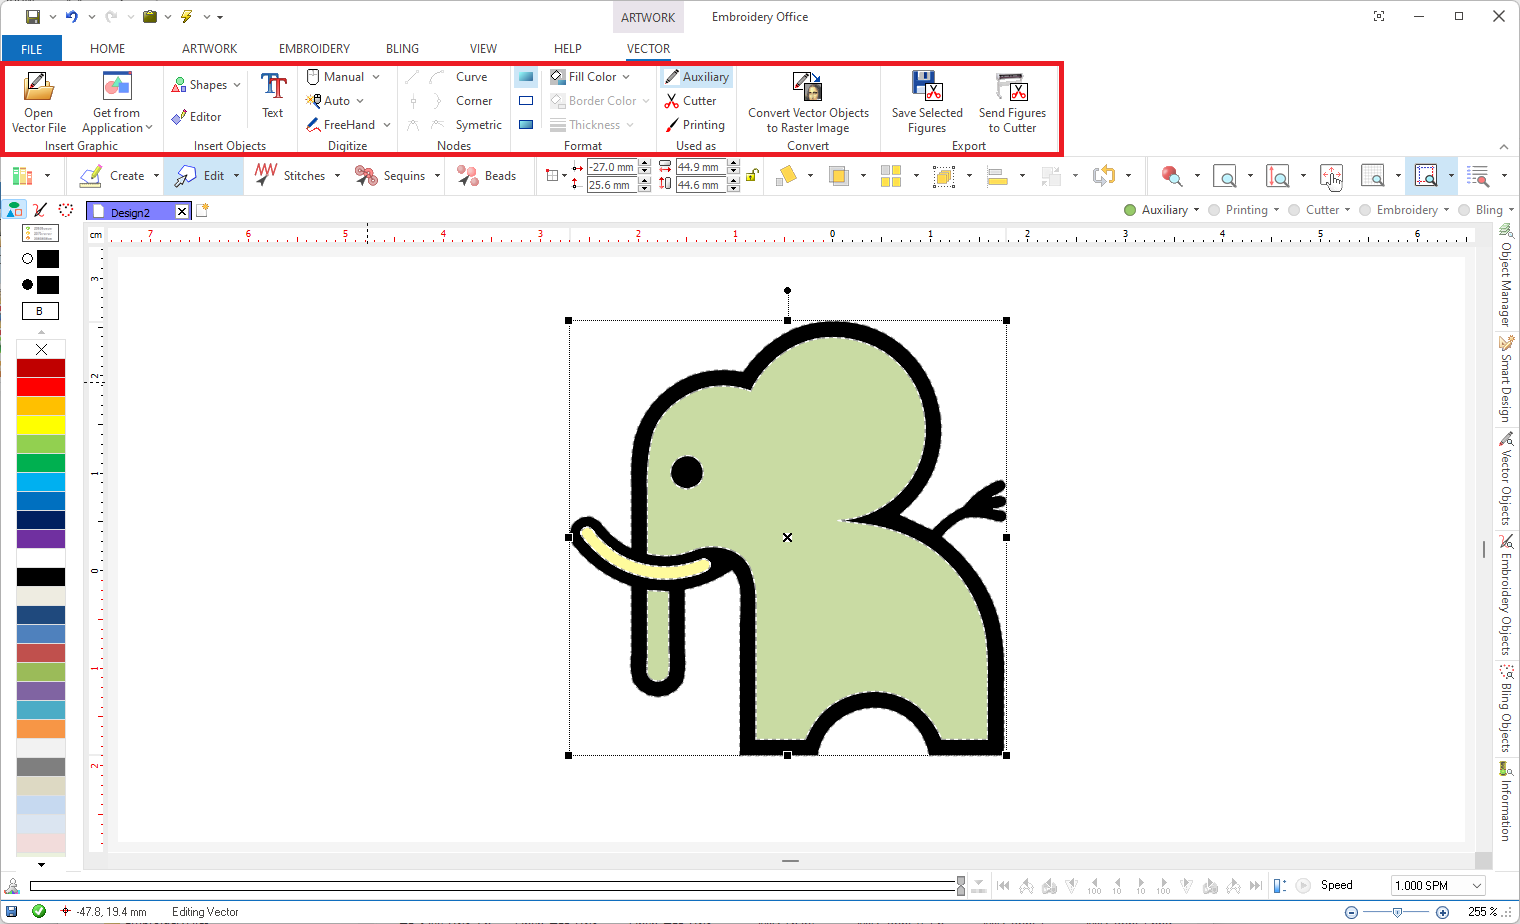
Image will be displayed in the working window.
The ToolTab VECTOR (a context tooltab when a vector object image is selected) is displayed. You can edit the image if necessary. |
|
Load a vector image through the Catalog function
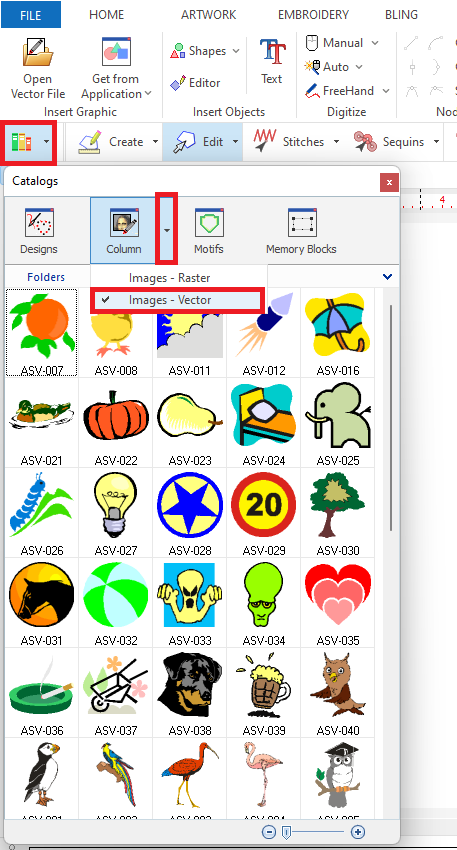
➢Using the Manil Toolbar, click on the Catalog button
➢Select "Images - Vector" on the Media Panel. ➢Select the image and drag it into the workspace. |
|
Load a vector image from a Graphic Application
➢Select the tooltab ARTWORK
➢Click on the "Open" button
|
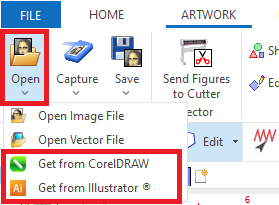
You will be able to insert any vector shape created in other applications like Corel Draw or Adobe Illustrator (graphic applications are required).
Insert vector objects created on-the-fly
Insert Shapes / Advanced Shapes from library
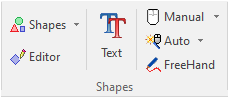
➢Select the tooltab ARTWORK
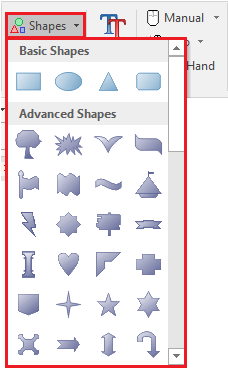
➢On the Shapes group, click on the "Shapes" button.
|
The shapes library is displayed.
➢Click on the shape to insert. ➢Click on any point of the workspace and drag the mouse without releasing the left button. During this process, the shape of a figure will be progressively formed. To create perfect squares or perfect circles, press and hold the CTRL key before dragging the mouse button. |
|
Insert Shapes (vector objects) created with the Figures Editor
➢Select the tooltab ARTWORK
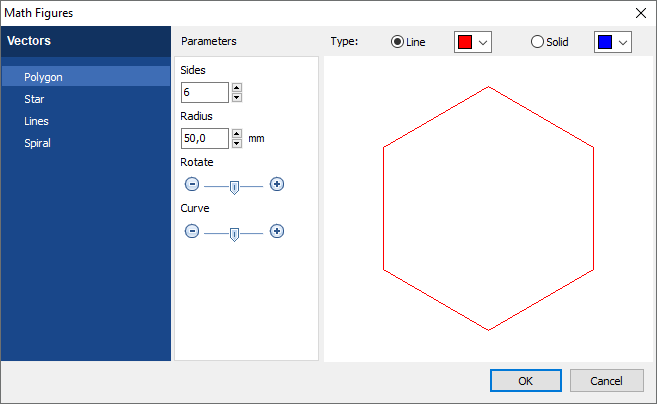
➢On the Shapes group, click on the "Editor" button.
➢Select the shape you want to create: Polygon, Star, Lines or Spiral. ➢Adjust the specific parameters of that shape. ➢Define the shape as outline or solid figure. ➢Set the corresponding color. ➢Press on the "OK" button to create the new vector object. |
|
Insert vector objects based on True Type texts
➢Select the tooltab ARTWORK
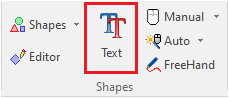
➢On the Shapes group, click on the "Text" button.
|
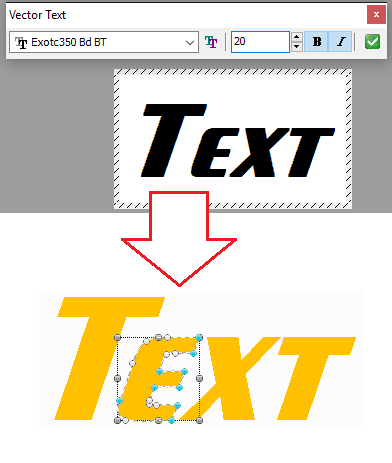
A small floating toolbar is open.
➢Select the font. ➢Select the size. ➢Type text or lines of text. To create multi-line texts, once you have typed the first line, press and hold the CTRL key, and then press ENTER to start typing the second line. Once you have finished typing the text, press the green check to place it in the working window. |
|
Insert vector objects designed on-the-fly
You can also digitize vector objects (see digitizing objects).
Save Vector Objects
You can work with vector objects and use the tools provided by the application to modify the vector graphics.
Later you can save the vector objects to disk directly from the application.
|
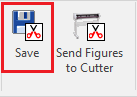
Save the vector object on any of the available vector graphic file formats (EMF, DXF, PLT, SVG). Some file formats will keep all the vector objects information while other format won't (only the outline info).
Send Figures to Cutters
You can send a vector object, a group of vector objects or the entire vector image to the vinyl cutter.
|

The cutter driver provided by the cutter manufacturer must be previously installed.
Vector Objects Properties (purposes)
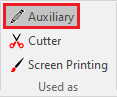
You must set what is each vector object for, from the ToolTab VECTOR. By default, vector objects (or vector images) are auxiliary objects (background reference for the design creation). This property can be changed at any time with a single click.
Auxiliary images
|
Vectors objects can be used as reference for the design creation. They are hidden on the simulation window. Vector objects used as "Reference" are listed on the "Auxiliary" tab of the Object Manager. |
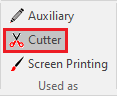
Cutter images
|
These vector objects are the shapes that will be sent to the cutter device. They are visible on the simulation window. Vector objects used as "Cutter" are listed on the "Cutter" tab of the Object Manager. |
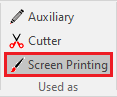
Printing images
|
The vector objects are part of the final design, for example, as a printed background of the embroidery. They are visible on the simulation window. Vector objects used as "Printing" are listed on the "Printing" tab of the Object Manager. |
Remove an Image
If you want to remove an image from the active document:
➢Select it on the workspace
➢Press the "Delete" key.
You can also find this function on the context menu, available by pressing the right mouse button.
This function does not delete the file, it just remove it from the design.