Overlap means that there are several bling beads occupying the same place totally or partially. Only in a few cases of bling decoration materials it is possible to overlap bling beads. This is not the case of rhinestone, rhinestud and nailhead, where not only the beads cannot be overlapped, but the the production process requires a margin or minimum separation between them. Some cases of hotfix sequin or hotfix spangle may allow a limited overlapping, but not in all cases.
This application includes a tool to fix overlaps, or solve overlap conflicts.
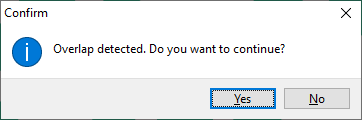
This application will not alert the user about beads overlapping each time it is produced while digitizing or editing a design, to avoid unnecessary warning messages during the normal work. But when you try to export the design for production a warning message is displayed if some beads overlap.
This application includes a tool to automatically or interactively fix overlapped beads: Bling Bead Conflict tool.
List the bead conflicts
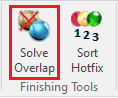
Click on SOLVE OVERLAP located in the tooltab BLING > Finishing Tools. |
|
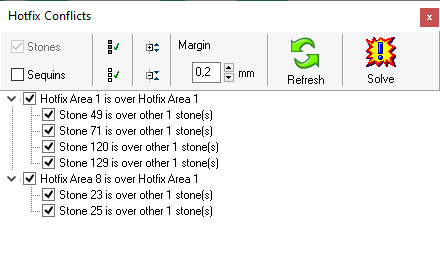
The bling bead conflict tool contains a tree list where: •Higher level: It represents a conflict between two bling objects. The description indicates which object is over another object. •Lower level: This is a list of all overlapped beads between the objects indicated on the higher level. |
|
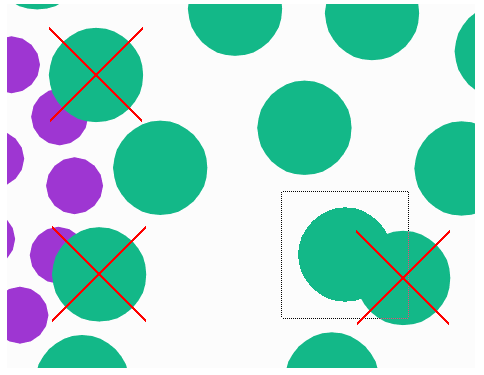
While the bling beads conflict tool is open, the workspace shows red crosses on beads in conflict (which are included in the list). |
|
Fix the bead conflicts
Using this tool requires that you know the order of the objects in the design sequence, to decide which is the bead to keep and the bead to remove when they overlap. You can use the Document Map to see the objects sequence while working with this tool.
Once the bead conflicts are displayed on the tool and the workspace, you may decide how to fix them.
If you want to get the best result, check each beads overlap individually (if the design was properly created, the count of beads overlaps should be a small number).
➢Mark and unmark the check box on the list to pick out the corresponding beads on the workspace.
➢Activate the beads editing mode to work with individual bling beads.
➢Click on any of the marked beads and move or delete them according to your preferences.
➢Click on the Refresh function on the bling bead conflict tool and check if this conflict was fixed.
➢Repeat this process for all the bead conflicts.
You can allow the application to fix some or all the overlaps automatically.
In this way, the bling bead conflict tool will delete a bead on each bead overlap listed in this tool. It will keep the beads that are over the others, that is, beads of objects whose order is later, which has probably been the intention of the designer.
➢Unmark the check box on those bead conflicts you don't want to change, and keep the ones to automatically fix.
➢Click on the Solve function. The application will remove the necessary beads to remove bead conflicts.
➢Click on the Refresh function on the bling bead conflict tool and check if conflicts were fixed.