If you are frequently using the same sets of property values for the different stitch fill styles you use, you can add those settings on a style gallery. During the creation process, when you have to use any of them to create an object, you can just click on it. With that simple click you are selecting the object type, the fill style and all the fill properties at once. The only fill property not included (intentionally) in the styles is the color, because this property depends on each design.
Only some software configurations support the Style Gallery tool.
➢Select the EMBROIDERY Tool tab
➢Click on STYLES to open the Style Gallery tool.

The Style Gallery tool is displayed in a floating window.

It shows all the predefined styles including: object types + fill styles with their fill properties. The left pane of the Style Gallery shows the object types you can select (this is a filter). You can also select between the last used styles or your custom favorites styles.
If you want to add more favorites to that list, select the Style and then click on the yellow star on the Style toolbar.
Style Gallery on Object Creation mode
How to create objects using Style Gallery tool?
➢Click on CREATE OBJECT on the MAIN toolbar.
➢Select a Style (with a single click you are selecting the object type, the fill style and the properties) to use.
➢Start digitizing the object on the workspace with any digitizing method (geometric shapes, classic digitizing, etc)
➢Click on ENTER key to confirm the object.
Style Gallery tool in Digitizing from Vector Objects mode
If the artwork you want to digitize is made of vector objects (where the shape of the object is already created), you can create objects with a single click. This is the fastest way to create objects when the artwork comes from vector files. The vector shapes may come from:
•Vector files made on other graphic applications.
•From art stock collections.
•From vector shapes created on this application.
•From the result of the vectorization of raster (bitmap) files.
How to digitize from vector objects using Smart Design tool?
➢Click on EDITING on the Smart Design tool.
➢Select the vector object
➢Select the style (object type + fill style + fill properties) from the Style Gallery tool
➢Repeat the below steps for all the vector objects.

Creating a new Style for the Style Gallery
If you want to save a fill style with your custom fill properties for its later use, you can create a new Style. Follow these steps:
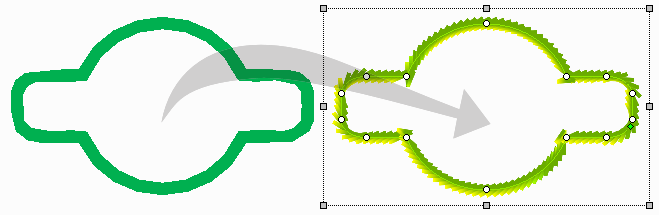
1.Create an object with those properties and select it.
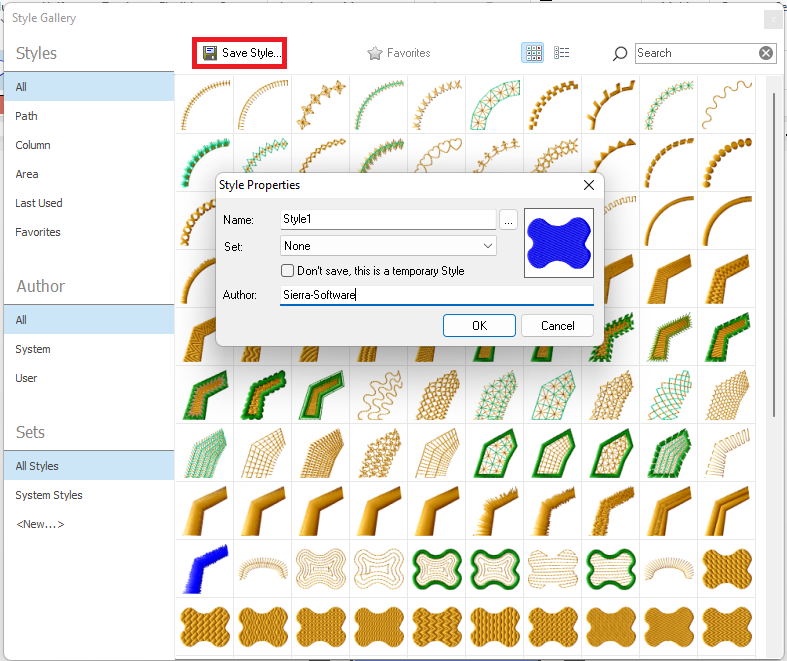
2.Open the Style Gallery, and click on SAVE STYLE (diskette icon).
3.The New Style tool is displayed. Complete:
•Type the new Style name
•Type the author
•Indicate if the new style is as permanent or a temporary style
•Indicate if the new style is included (or not) as a favorite style.
The application builds the simulated Style sample (icon).
|
Note: Temporary styles will no longer be displayed in the following sessions of the application.