The Smart Design tool accelerates the objects creation and objects editing. It offers a different functionality, depending on the activity it is used.
➢Click on SMART DESIGN on the MAIN toolbar to open the Smart Design tool.
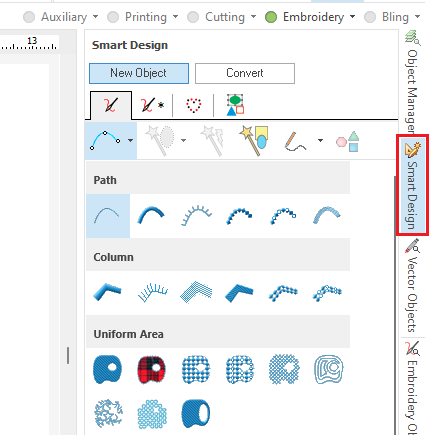
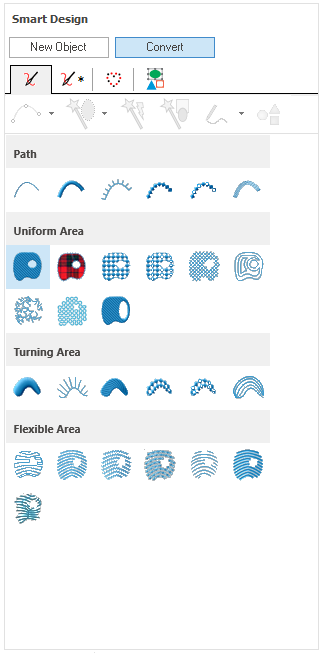
The Smart Design tool is displayed in a side panel. It shows the available types of objects with their available fill styles. The number of available items depend on the software configuration (product level and options).
Smart Design in Objects Creation mode
|
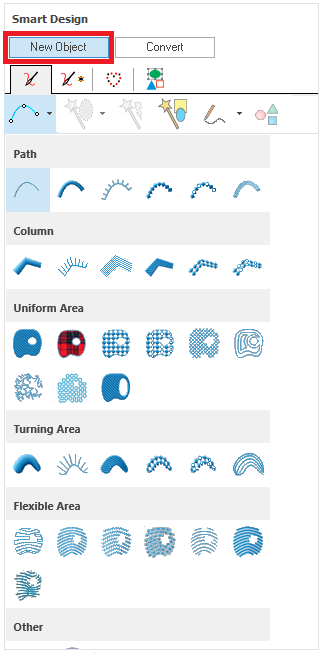
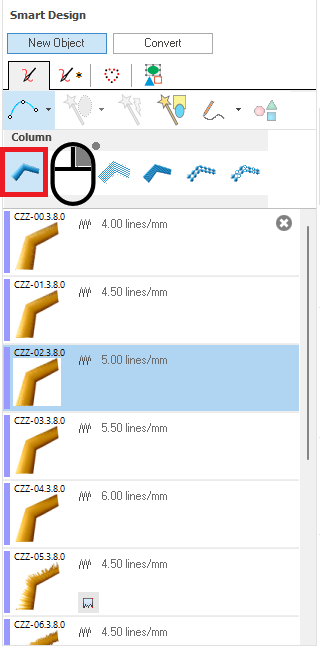
How to create objects using Smart Design tool? ➢Click on NEW OBJECT to use the Smart Design tool in creation mode. ➢With a single click, select the object type (Path, Column, Area, etc.) and the fill style to use. The "needle" tab contains the most common objects and fill styles, while the "needle *" contains the specialties fill modes (sequin and chenille). The "heart" tab contains the Bling fill styles (for those system with Bling option) and the "figures" tab contains the tools to create vector shapes ➢Start digitizing the object on the workspace with any digitizing method. You can pick the digitizing method from the small toolbar below the tabs (manual, autotrace, autocomplete, freehand and shapes) ➢Click on ENTER key to confirm the object.
When selecting the object type and the fill style on the Smart Design tool, the tooltab switch to the corresponding object type. You can then edit the properties of the object you are creating. Basically, this use of the Smart Design tool simplifies the standard sequence of steps required to select the type of object and the fill style (select the tooltab EMBROIDERY, insert Embroidery Objects, select the Fill Style). Tip: Right click on any Object type - Fill style item icon and the Smart Design will show the Style Gallery for that item
|
Smart Design in Object Editing mode
|
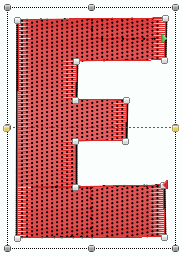
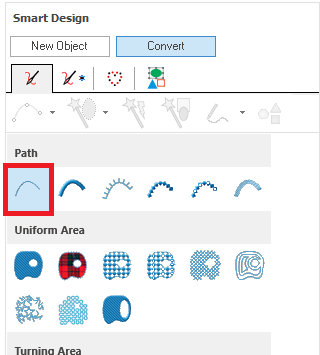
When there is an object selected (in the workspace), the Smart Design tool works in editing mode. You can also click on CONVERT to use the Smart Design tool in editing mode. Through the Smart Design tool, with a single click, you can easily: •Convert the fill styles of the selected object. •Convert the selected object type into a different type.
IMPORTANT If your software configuration includes different decoration types (embroidery, bling), then you can also convert an object type of one decoration type into an object type of another decoration type.
|
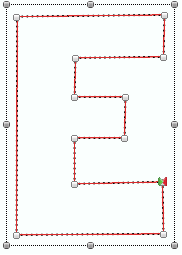
Example:
|
|
|
Note:
Not all type of objects can be converted to any kind of object types. In some cases, the conversion cannot be performed, and in other cases, the conversion process may lose some of the objects characteristics (direction lines, among other elements).
Smart Design tool in Digitizing from Vector Objects mode
If the artwork you want to digitize is made of vector objects (where the shape of the object is already created), you can create objects with a single click. This is the fastest way to create objects when the artwork comes from vector files. The vector shapes may come from:
•Vector files made on other graphic applications.
•From art stock collections.
•From vector shapes created on this application.
•From the result of the vectorization of raster (bitmap) files.
How to digitize from vector objects using Smart Design tool?
➢Click on EDITING on the Smart Design tool.
➢Select the vector object
➢Select the object type (Path, Column, Area, etc.) and the fill style to use.
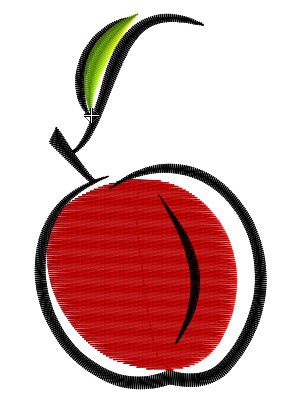
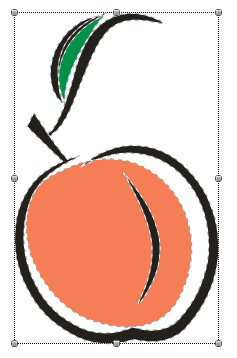
The following example is about a vector image.
➢Load a vector graphic file in the workspace. The vector may be probably a composition of many combined graphic elements. |
|
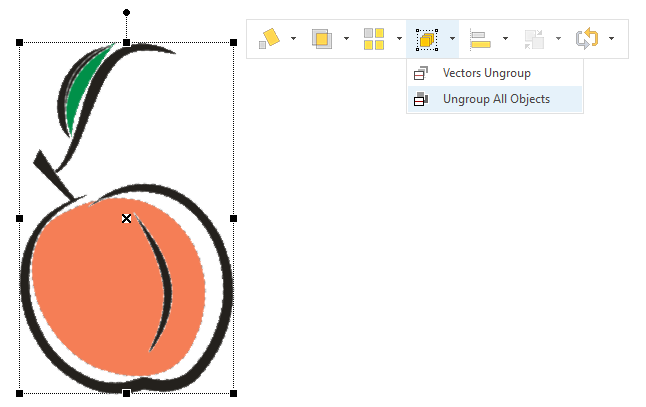
➢Select the vector image and UNGROUP ALL the vector objects it contains of it from the Block Menu > "Group" group. ➢Check the Vector Objects. Use the combination tools to simplify the shapes if required. Once we have the final vector objects, we can start auto-digitizing with one vector object at a time. |
|
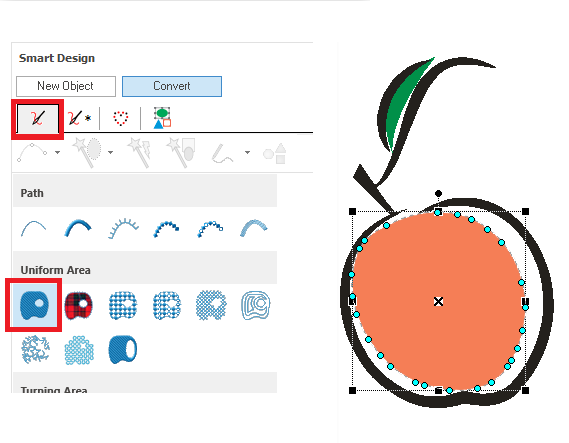
➢Select the vector object. In this case we select the orange one ➢Select the object type and fill style of the new object on the Smart Design tool. In this case we select Uniform Area with Pattern Stitches. ➢Set the fill properties if required. |
|
The result is a new object of the selected type, with the shape of the selected vector object. |
|
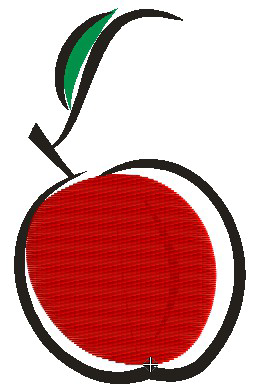
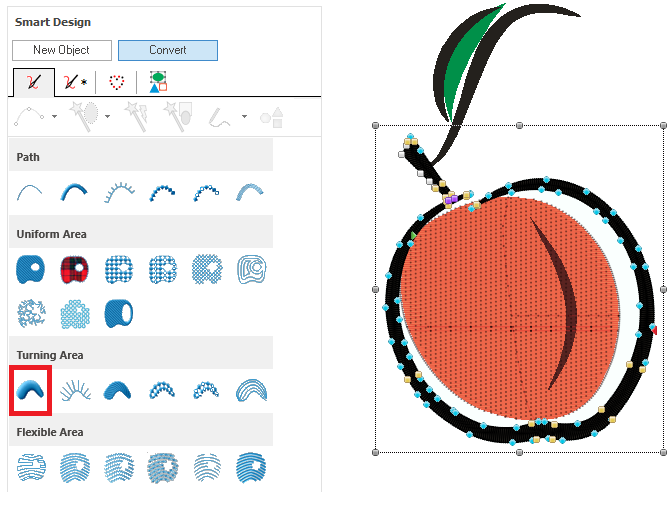
➢Next, select the peach contour vector ➢Click on Turning Area with Zig-Zag Stitches to create the new object. ➢Change the color to black. ➢Change the fill properties if required. ➢Repeat the below steps for all the vector objects. |
|
That's all! |
|