Stitches Block Effects refers to a set of functions that transform a block of stitches according to complex geometrical patterns.
•The first step is to activate the Stitch Editing mode (click on the Edit/Select Stitch button).
•Then you must select the block in any of the available options
•Finally you can execute any of the available stitch block effects functions from the ToolsTab STITCH EDITING.
|
The undo-command is always available, in case you want to undo after having applied an effect to a stitch block. |
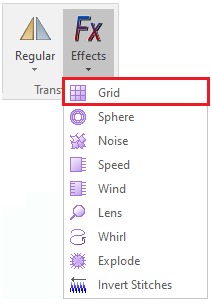
Grid Effect
This effect uses an editable grid over the block of stitches to transform the original stitches positions according to the grid grips.
➢Select the block of stitches ➢Click on the arrow next to the "Effects" button. ➢Click on "Grid" transformation. |
|
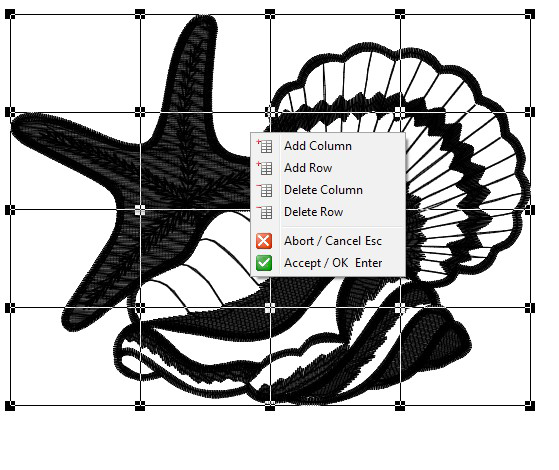
➢To form the grid, open the context menu (mouse right button) and add or delete rows or columns, according to the result you want to obtain. The rows and columns will be arranged along or across the object, forming the grid. |
|
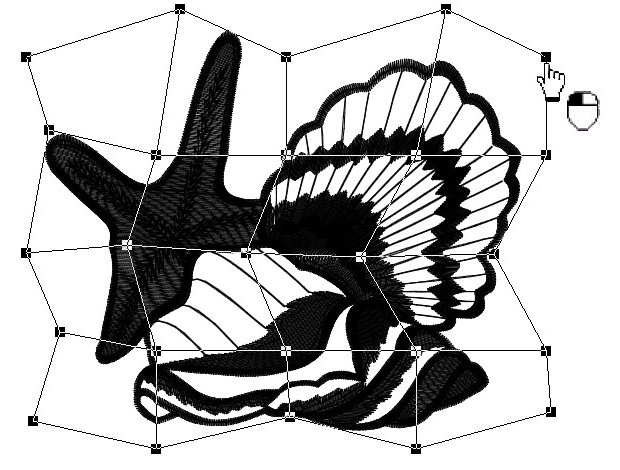
➢Move the grips by pressing and holding the mouse left button and moving the mouse cursor. ➢The grid will be transformed, and the stitches will follow that transformation. ➢Click on the Enter key to confirm. |
|
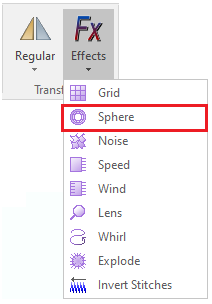
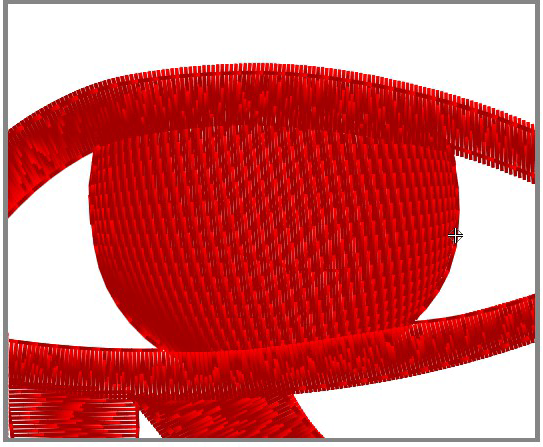
Sphere Effect
This effect transforms a block of stitches with a spherical filter.
Select the block of stitches ➢Click on the arrow next to the "Effects" button. ➢Click on "Sphere" transformation. |
|
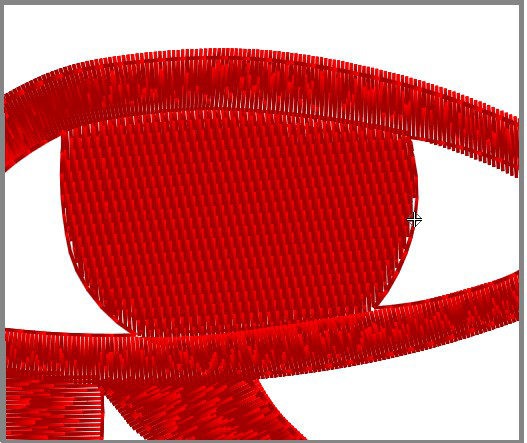
➢Place the mouse on the stitch block, exactly where you want to set the center of the sphere. |
|
➢Press and hold the mouse left button. ➢Move (drag) the mouse cursor to define the radius of the circle area to transform. Release the mouse left button when finished. |
|
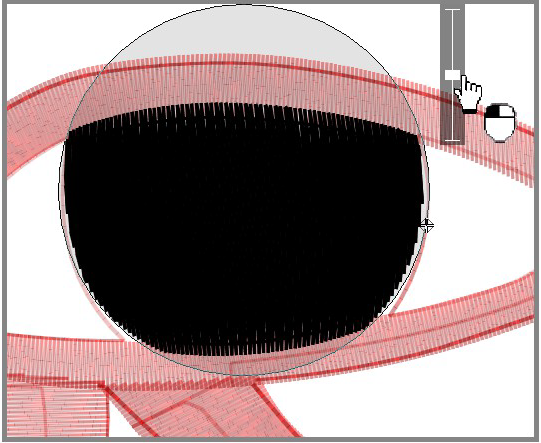
➢If you want to modify the position of the circle, place the mouse cursor inside the circle and drag it to move it. ➢If you want to modify the diameter of the circle, place the mouse cursor on the outline of the circle and drag it to change it. |
|
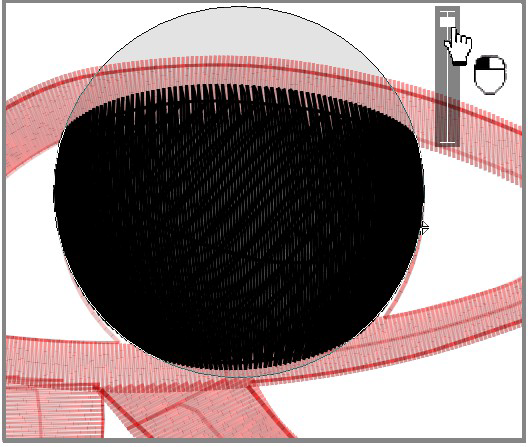
➢The Amplitude Selector is located at the upper right side of the circle. ➢Move the selector up or down to specify the amplitude of the effect. You can see the result in real time. ➢Press the Enter key to confirm. |
|
Noise Effect
Move the position of the stitch ends randomly (within a specific amplitude).
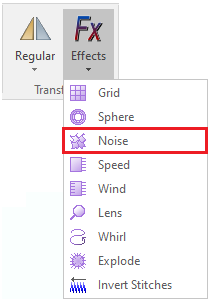
➢Select the block of stitches ➢Click on the arrow next to the "Effects" button. ➢Click on "Noise" transformation. |
|
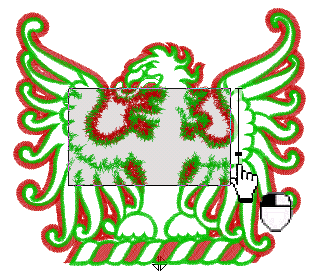
➢Click on the stitch block and drag the mouse cursor to specify the rectangle area. The effect will be applied in this area. |
|
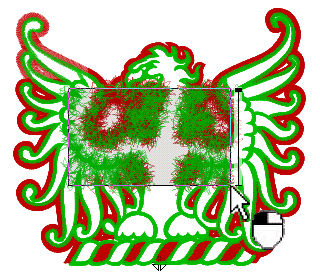
➢Specify the amplitude of this effect from the Amplitude Selector. ➢Press the Enter key to confirm. |
|
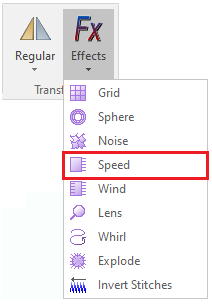
Speed Effect
Move the position of the stitch ends randomly and progressively (within a specific amplitude) on a specific direction.
➢Select the block of stitches ➢Click on the arrow next to the "Effects" button. ➢Click on "Speed" transformation. |
|
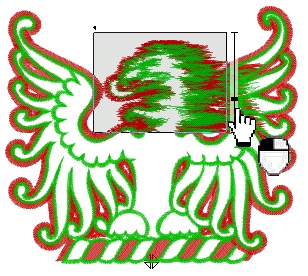
➢Click on the stitch block and drag the mouse cursor to specify the rectangle area. The effect will be applied in this area. ➢Specify the orientation (left, right, up, down) by clicking repeatedly on the triangle located on the top of the effect box. ➢Specify the amplitude of this effect from the Amplitude Selector. ➢Press the Enter key to confirm. |
|
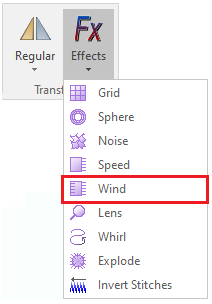
Wind Effect
Move the position of the stitch ends randomly (within a specific amplitude) on a specific direction.
➢Select the block of stitches ➢Click on the arrow next to the "Effects" button. ➢Click on "Wind" transformation. |
|
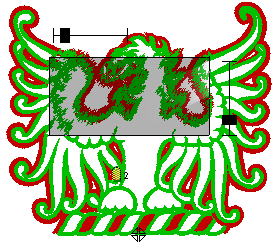
➢Click on the stitch block and drag the mouse cursor to specify the rectangle area. The effect will be applied in this area. ➢Specify the orientation (left, right, up, down) by clicking repeatedly on the triangle located on the top of the effect box. ➢Specify the amplitude of this effect from the Amplitude Selector, and the Effect Angle (direction of the wind) from the upper slider. ➢Press the Enter key to confirm. |
|
Lens Effect
Transform the stitch block with an effect of a magnifying glass.
➢Select the block of stitches ➢Click on the arrow next to the "Effects" button. ➢Click on "Lens" transformation |
|
➢Place the mouse on the stitch block, exactly where you want to set the center of the circle. ➢Press and hold the mouse left button. ➢Move (drag) the mouse cursor to define the radius of the circle area to transform. ➢Release the mouse left button when finished. ➢Specify the amplitude of this effect with the Amplitude Selector. |
|
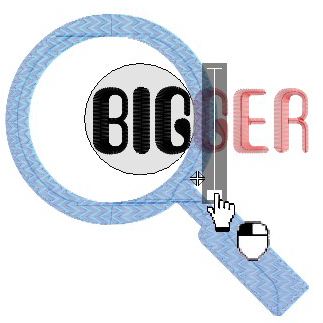
➢Press the Enter key to confirm. |
|

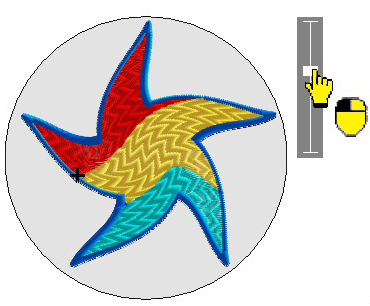
Whirl Effect
Transform the stitch block with a twist effect.
➢Select the block of stitches ➢Click on the arrow next to the "Effects" button. ➢Click on "Whirl" transformation |
|
➢Place the mouse on the stitch block, exactly where you want to set the center of the circle. ➢Press and hold the mouse left button. ➢Move (drag) the mouse cursor to define the radius of the circle area to transform. ➢Release the mouse left button when finished. |
|

➢Specify the amplitude of this effect with the Amplitude Selector. ➢You can make the whirl clockwise or anti-clock wise, depending on the movement of the slider upwards or downwards. ➢Press the Enter key to confirm. |
|
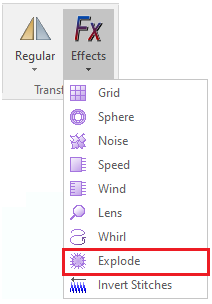
Explode Effect
Transform the stitch block with an explosion effect.
➢Select the block of stitches ➢Click on the arrow next to the "Effects" button. ➢Click on "Explode" transformation |
|
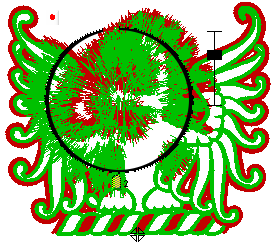
➢Place the mouse on the stitch block, exactly where you want to set the center of the circle. ➢Press and hold the mouse left button. ➢Move (drag) the mouse cursor to define the radius of the circle area to transform. ➢Release the mouse left button when finished. ➢Specify the amplitude of this effect with the Amplitude Selector. ➢An implosion or explosion effect is applied by moving the selector up or down. At the top left on the effect circle, you will find a little red dot. Click on it to change the explosion type from normal to expansive mode. ➢Press the Enter key to confirm. |
|
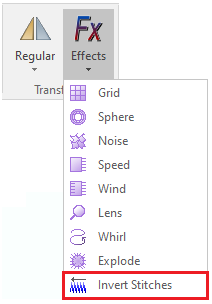
Invert Stitches
This function reverts the embroidery sequence (last stitch will be the first stitch and viceversa).
➢Select the block of stitches ➢Click on the arrow next to the "Effects" button. ➢Click on "Invert Stitches" After applying it, the first stitch of the block will become the last stitch of it. The application adds the necessary displacements automatically, to keep the block in its place, compensating the design. |
|