|
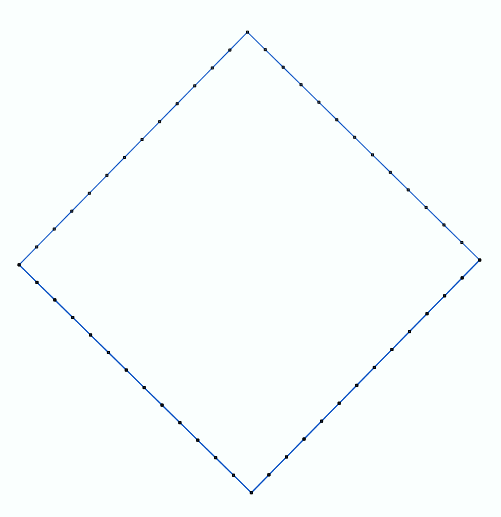
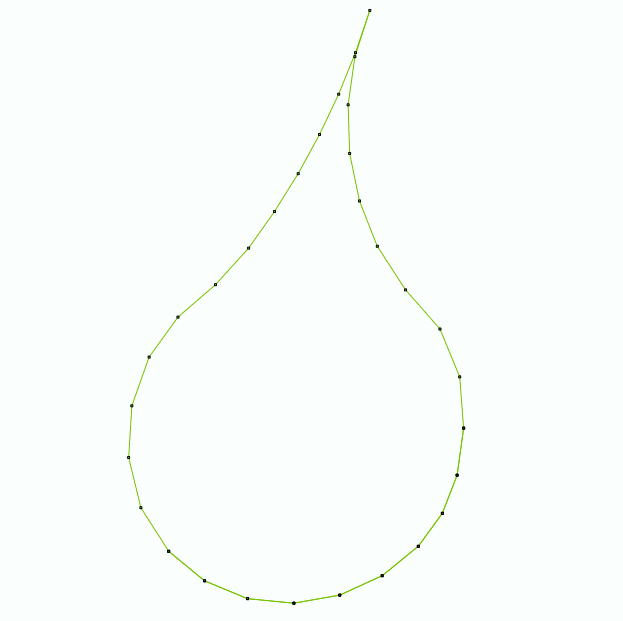
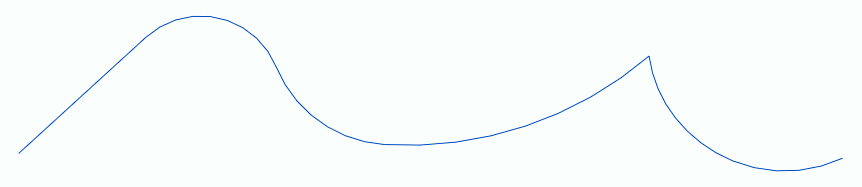
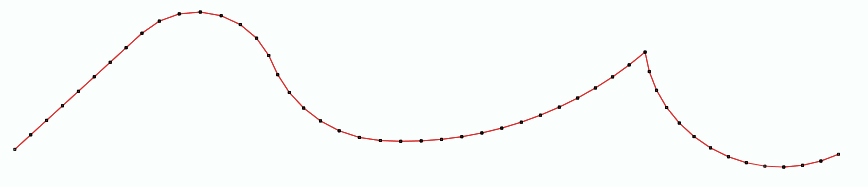
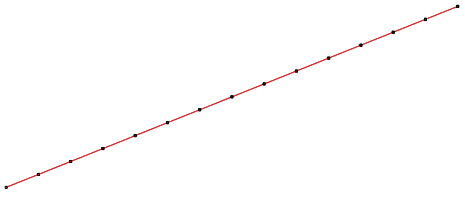
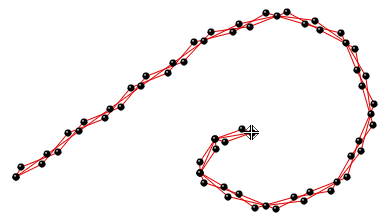
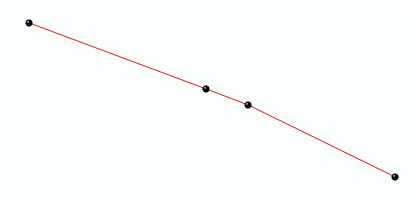
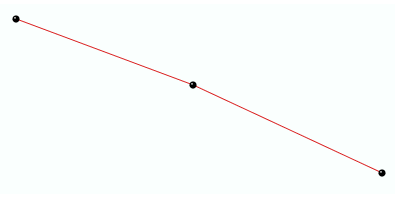
This fill style places stitches on a path object defined by straight or curve segments. |
 |
 |
 |
How to create an object of this type?
➢Select the tool Create a Path with Running Stitches through any available way:
oOpen the Smart Design window and select the corresponding tool.
oClick on the arrow below the "Create Objects" button and select the corresponding tool.
oOpen the Embroidery ToolsTab, click on the arrow below the "Path" button and select the corresponding tool.
A context ToolsTab containing the most frequently used properties of this fill style will open.
|
➢Set the fill properties from the ToolsTab (above) or the Object Inspector (below).
➢Digitize the object (through any digitizing method) by inserting the required elements of this object type. |
 |
➢Confirm and GENERATE stitches.
➢If editing is required, just select the EDIT OBJECT function on the MAIN toolbar. |
 |
|
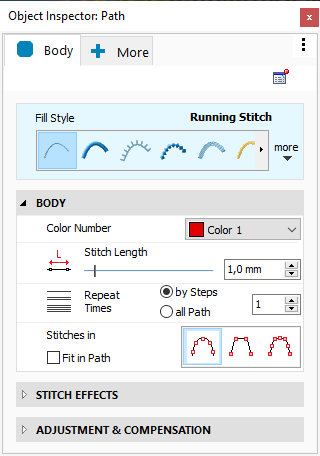
About Fill Style Properties •You can edit (define or modify) all the properties of this object type from the Object Inspector (see below). •The most commonly used properties are also available on the corresponding tooltab. •The current value of the properties are displayed on the Object Inspector or the tooltab when an object of this type is being created or when an existing object of this type is selected. |
|
It specifies the color number of the thread palette corresponding to the main color of the object.
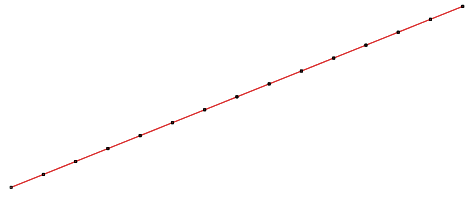
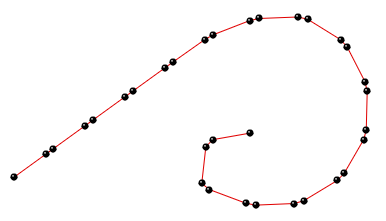
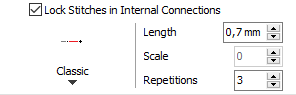
It specifies the regular stitch size, that is distance between the stitches ends (where the needle goes through the fabric).
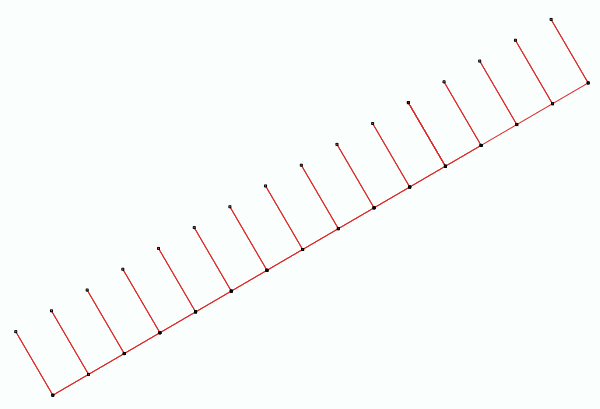
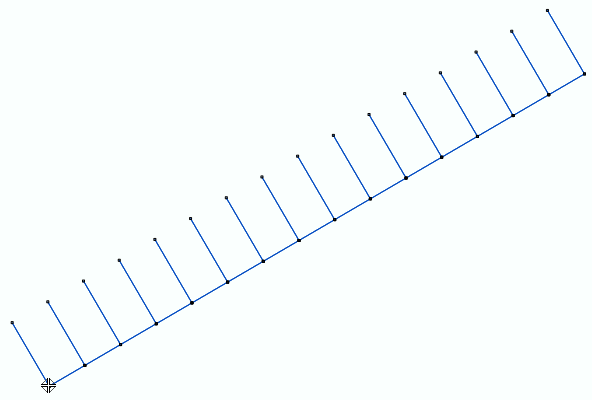
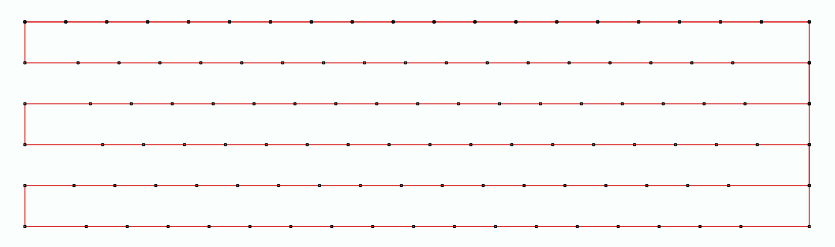
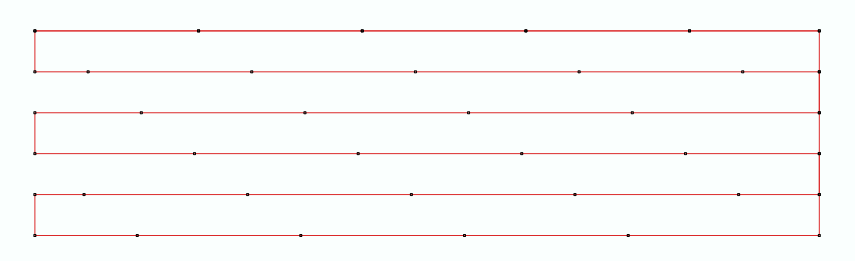
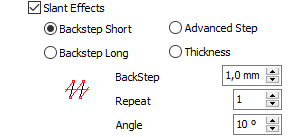
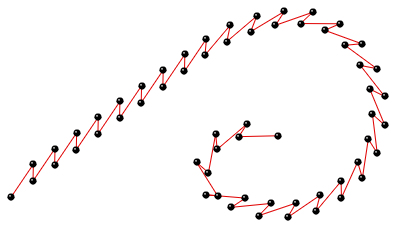
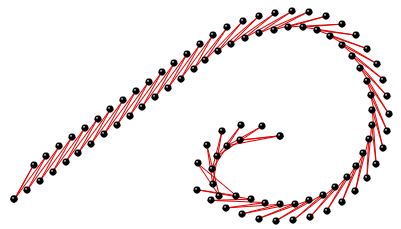
It specifies the overlapped stitches to highlight those stitches.
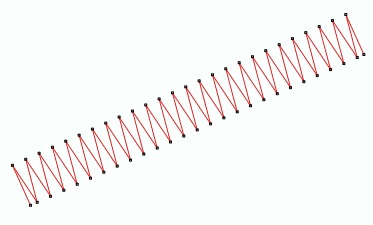
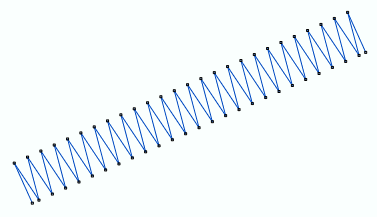
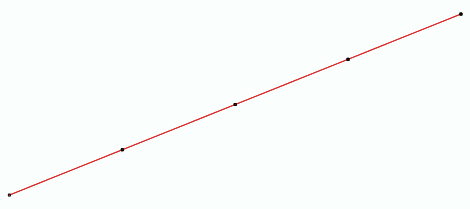
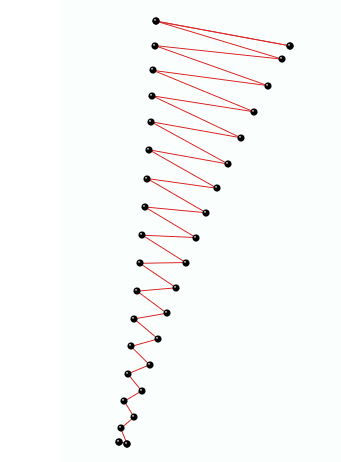
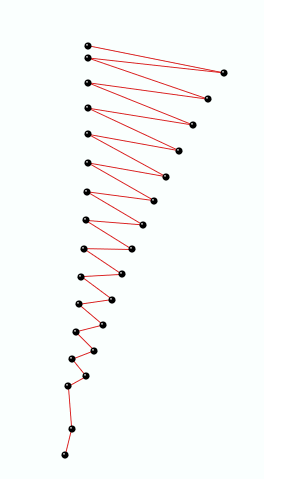
It defines where the stitches are placed along the path object. |


|
Repeat and moves the stitches on the path producing several highlight effects. |


|
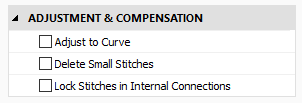
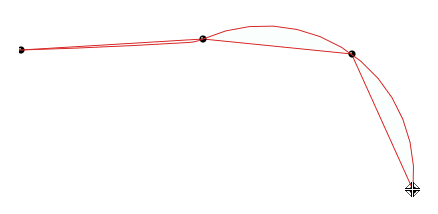
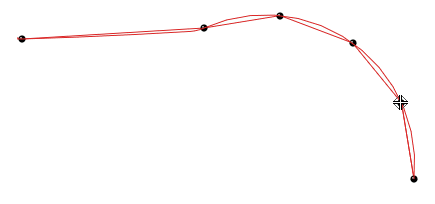
It reduces the stitch length when necessary so that the stitches approach the path object.
It deletes the stitches that are smaller than a predefined value (unnecessary & inconvenient).
It adds stitches to fix the thread, recommendable on thread trims and color changes. |


Read also
•Concepts about the PATH object.
•Concepts about Classic Digitizing.