This is a simple example about how to use the lettering system.
1.Activate the Lettering System (tooltab EMBROIDERY, LETTERING function)
➢Select the tooltab EMBROIDERY.

➢Click on the LETTERING button. It opens the tooltab TEXT or LETTERING.

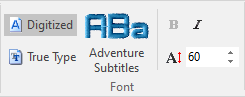
2.Select the type of font (pre-digitized font or true type font)
➢Choose the font type: oPre-digitized fonts (system fonts) oTrue type fonts (windows fonts) |
|
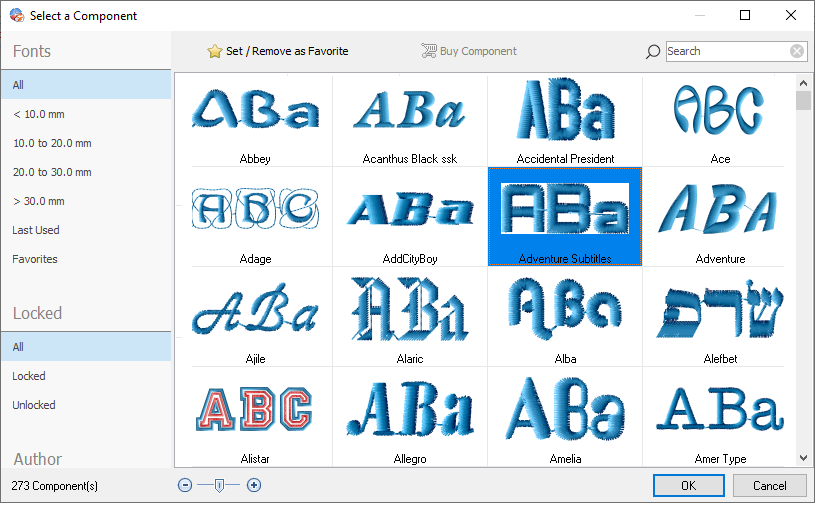
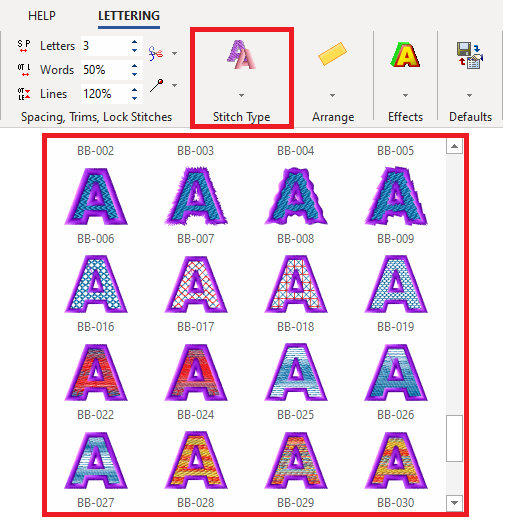
3.Select the font from the font catalog
➢Select the font from the font gallery
|
|
4.Set the size of the letters (character box size, before any transformation)
➢Set the height of the font
|
|
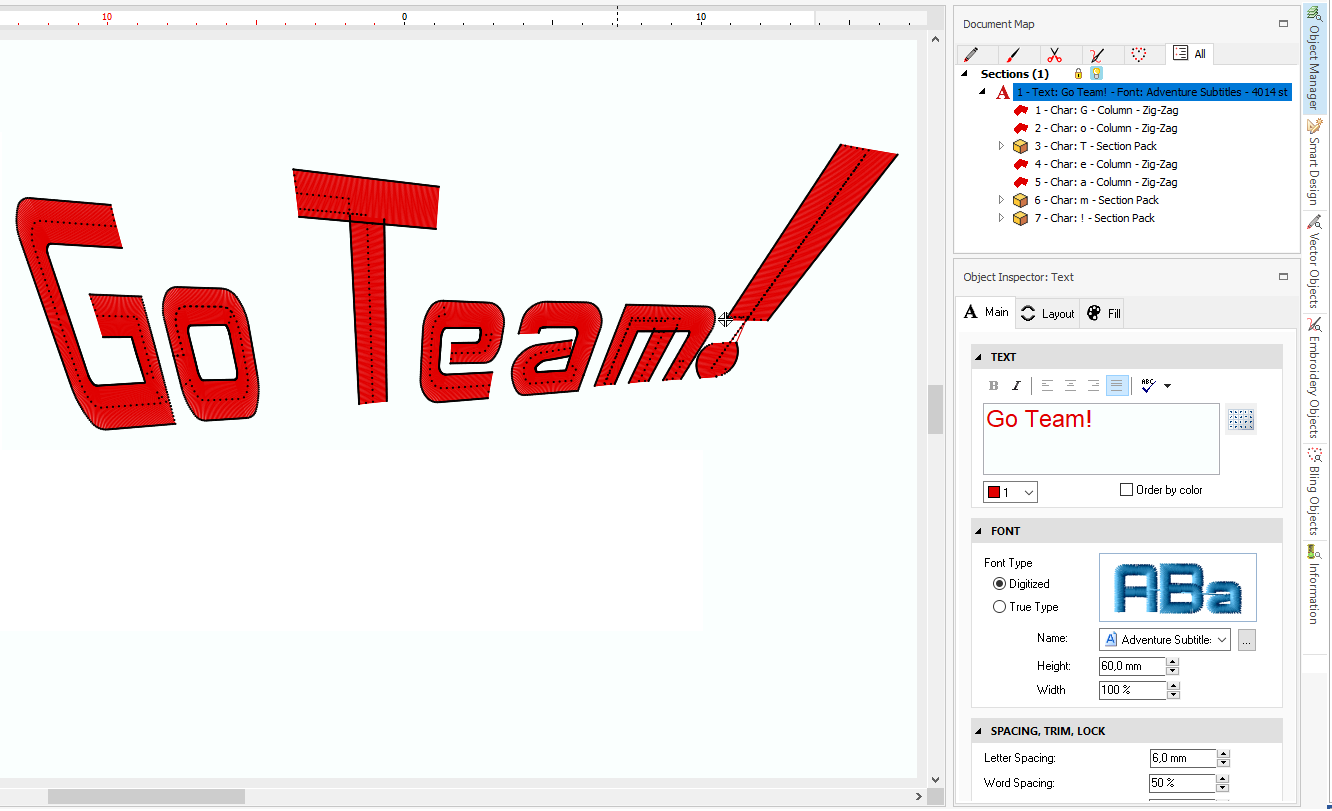
5.Type the text (using the available characters)
➢Type the text using any character included in the selected font. |
|
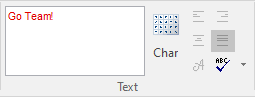
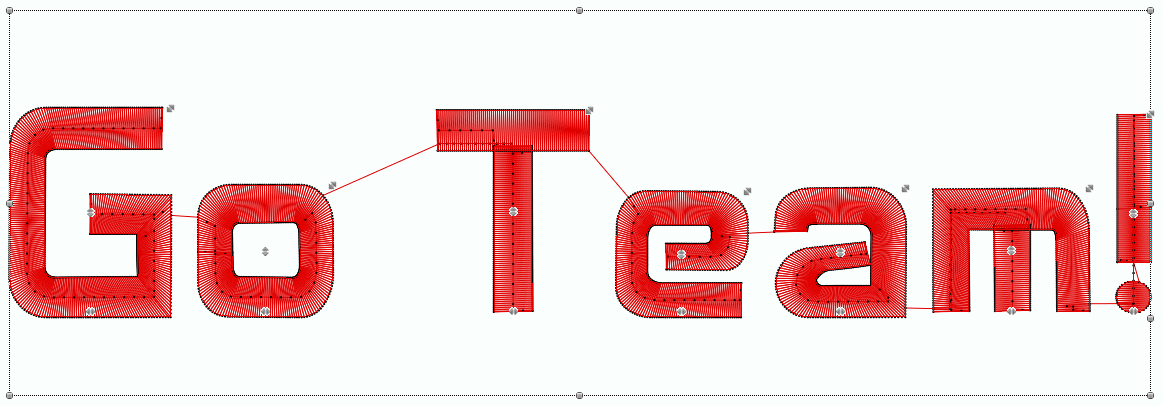
➢Click on the Enter key. The text is displayed on the workspace and it is ready to use! |
|
6.Set the letter spacing, word spacing and lines spacing.
➢Set the Spacing between characters, between words and between lines. ➢Specify the Connections between characters, words and lines (lock stitch, trims). |
|

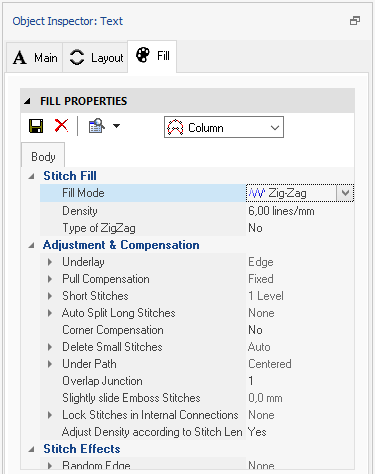
7.Adjust the fill properties including trims or lock stitches if necessary.
If you are using True Type fonts, you can apply different fill styles for the text object. Instead, pre-digitized fonts can only use the factory fill styles but properties can be edited. ➢ From the tooltab LETTERING, click on the "Stitch Type" function. ➢See details in "Fill Styles for TTF Lettering" |
|
➢Set the Fill Style and adjust the Fill Properties for all the characters. See details in "Fill Styles" |
|
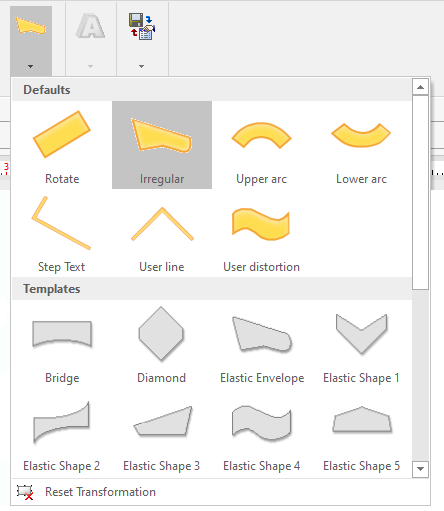
8.Select the text layout (line, circle, etc)
➢Select the Layout to use (line, arc, bridge, etc). See details in "Lettering Layouts" |
|
Adjust the layout in the workspace. ➢Move the grips of the text layout to adjust the shape according to the requirements. |
|
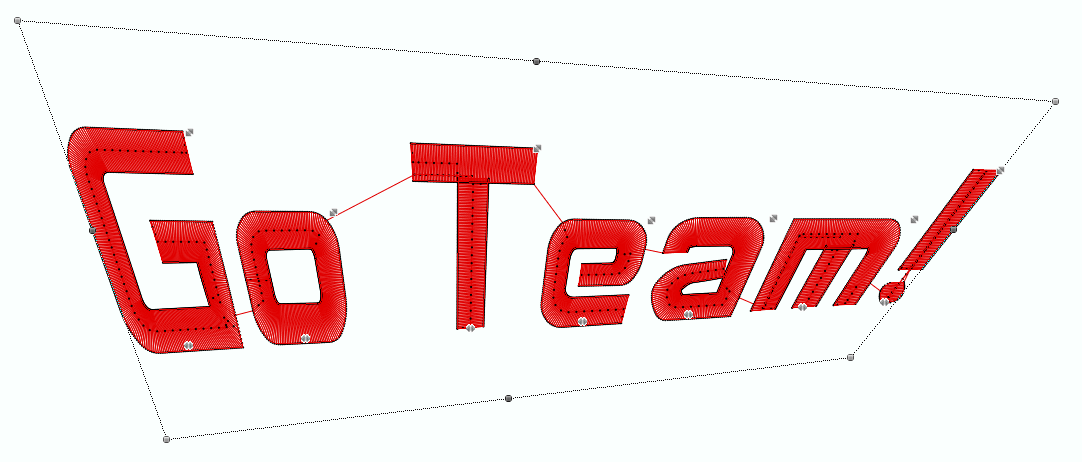
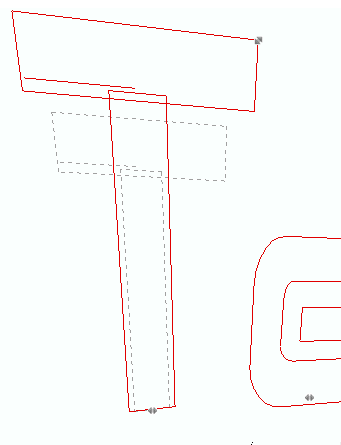
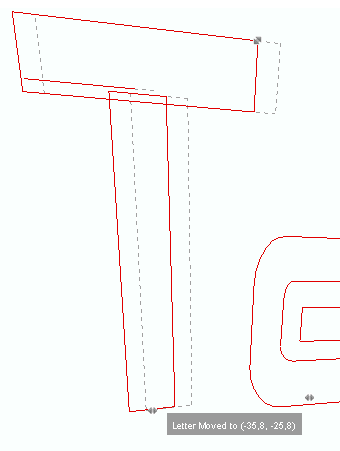
If required, you can change the size of each letter individually, and also change the letter position individually (horizontal, vertical). |
  |
9.Confirm and edit the text object if necessary
You can then re-define any of the above properties, if required.