You can modify the fill properties of all the letters of the text, and you can also modify the properties of each object of each letter individually.
Editing Fill Styles
How to set the fill properties to the text?
You can modify the most frequently used properties of embroidery texts from the tooltab LETTERING, but the fill properties are explicitly displayed and they can be edited from the OBJECT INSPECTOR. Then, we will edit the fill properties from the OBJECT INSPECTOR.
Fill Styles on Pre-digitized Fonts
Open the Object Inspector panel by pressing on the Object Manager vertical tab at the right side of the application.
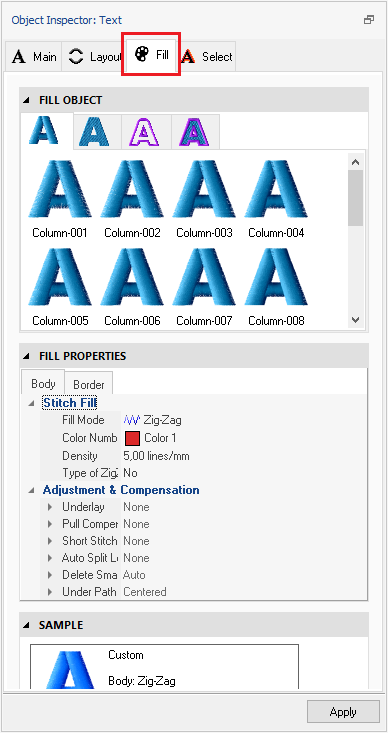
Select the Fill tab of the Object Inspector to display the fill properties, and edit any of them.
As the available fill properties depend on the embroidery objects included in each font, you can learn about the fill properties for embroidery objects on the articles for each object type. |
|

Fill Styles on True Type Fonts
The application offers a set of predefined fill styles for true type fonts (only).
Click on STITCH TYPE, on the tooltab LETTERING. |
|
Open the Object Inspector panel by pressing on the Object Manager vertical tab at the right side of the application.
Select the Fill tab of the Object Inspector to display the fill properties, and edit any of them.
As the available fill properties depend on the embroidery objects included in each font, you can learn about the fill properties for embroidery objects on the articles for each object type.
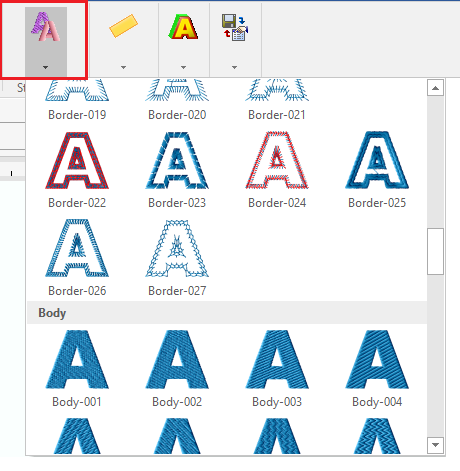
Fill Styles are organized in different categories: •Column: Column object type with several fill styles •Outline: Path object type with several fill styles •Body: Area object type with several fill styles •Body+Outline: Area+border with several fill styles You can select and apply any of those fill styles and customize it with your own fill properties. |
|
Customizing Fill Styles on Fonts
If you want to personalize the stitch fill style, you can always modify the properties and save the new style.
The Sample panel shows a (preview) sample during the properties edition for your reference.
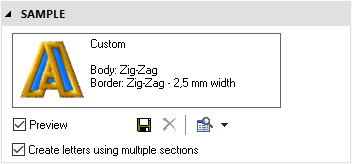
You can also save the properties you have modified, to reuse this style later.
![]()
Click on the disk icon to save the custom Fill Style.
Edit individual objects included in the text
If you want to edit individual embroidery objects, that is as easy as:
•selecting the text object first (click on the text object), text is highlighted
•select the letter of the text that includes the object to edit, the letter is highlighted
•select the object to edit, the object is highlighted
•you can edit that object (geometry, properties)
When required, it is convenient to edit each object individually after the text object is completed, because any later modification (text, transformation, fill style) will set the global fill properties for all the letters of the text again.