If the geometry of the embroidery object to create is included in the library of shapes or advanced shapes, you can create the object easily. In a single step you can create the object with that shape, scale it and locate it in the place you want.
How to create embroidery objects from geometric shapes?
By using the SHAPES tool, the creation of the new embroidery object requires just a single step.
➢Click on CREATE OBJECT, on the MAIN bar and select the Embroidery Object Type you want to create. You can select the object type from the tooltab EMBROIDERY or through the drop-down menu on the CREATE OBJECT arrow.
The context tooltab BODY with the properties of the selected object type is displayed.
➢Click on SHAPES, on the tooltab BODY. The library of shapes and advanced shapes is displayed. ➢Select the shape you want. |
|

Insert the shape ➢On the workspace, click on the upper-left corner where you want to insert the shape. ➢Drag the mouse (keeping the button pressed) to the bottom-right corner to set the size. ➢Release the mouse button when the shape has the size you want. |
|
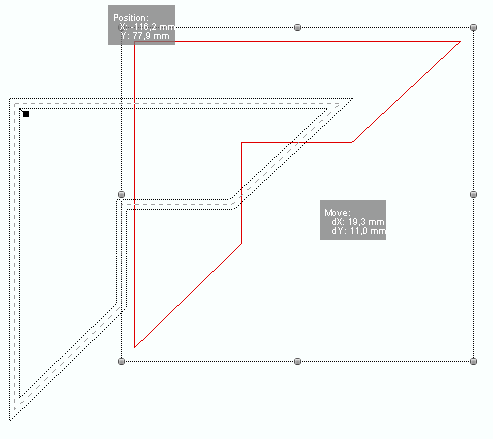
Move the shape ➢Click the mouse button inside the rectangle that contains the shape. ➢Drag the mouse to move the shape to the final position. ➢Release the mouse button. |
|
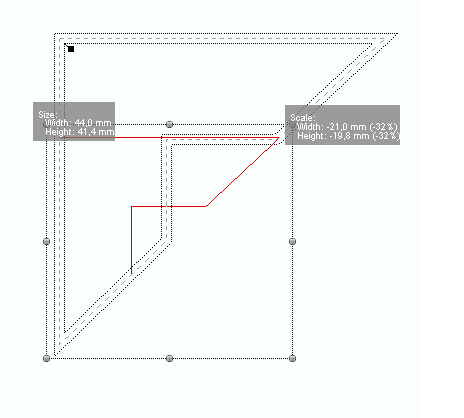
Resize the shape ➢Click the mouse button on any corner of the rectangle that contains the shape. ➢Drag the mouse to resize the shape. ➢Release the mouse button. |
|
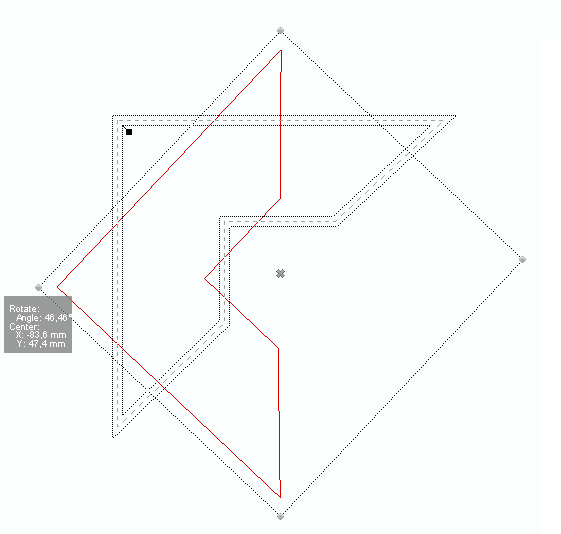
Rotate the shape ➢Press and hold the CTRL key and then click mouse button on any corner of the rectangle that contains the shape. ➢Drag the mouse to rotate the shape. ➢Release the mouse button. |
|
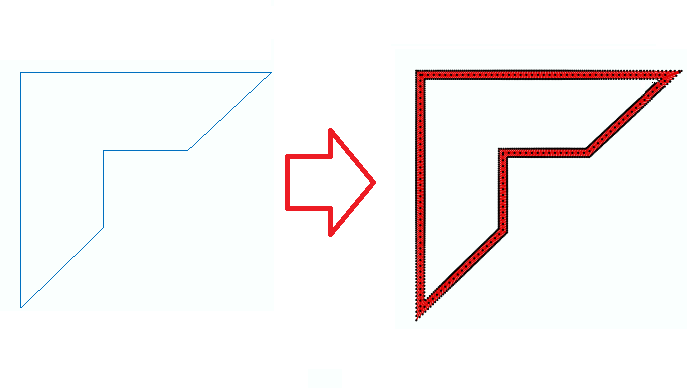
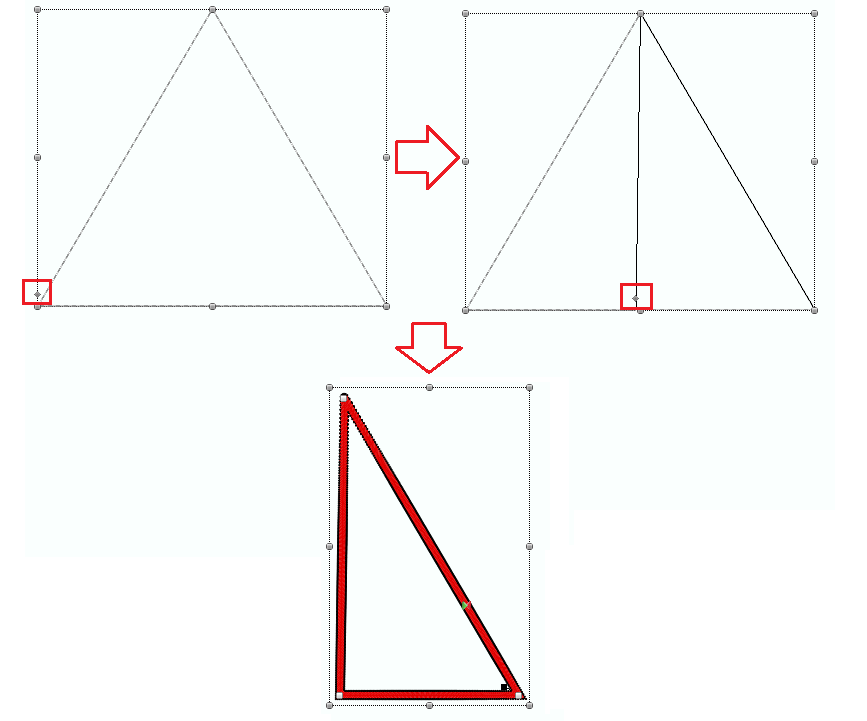
Adjust the shape Some shapes can be modified (for example, the triangle, the end of an arrow, etc). These shapes show additional control points (grips) that can be moved to change some aspects of the shape. ➢Click the mouse button on any grip of the shape. ➢Drag the mouse to change the shape aspect. ➢Release the mouse button. |
|
After the shape has the required aspect, size and location, press the Enter key to confirm.
A new object has been created using the geometric shape digitizing method!