This function allows to display a garment as a brackground on the working window.
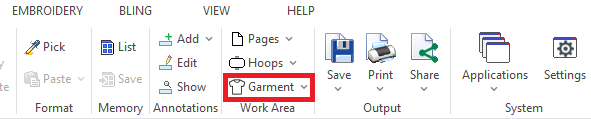
You can set the garment from tooltab HOME > WORK AREA.
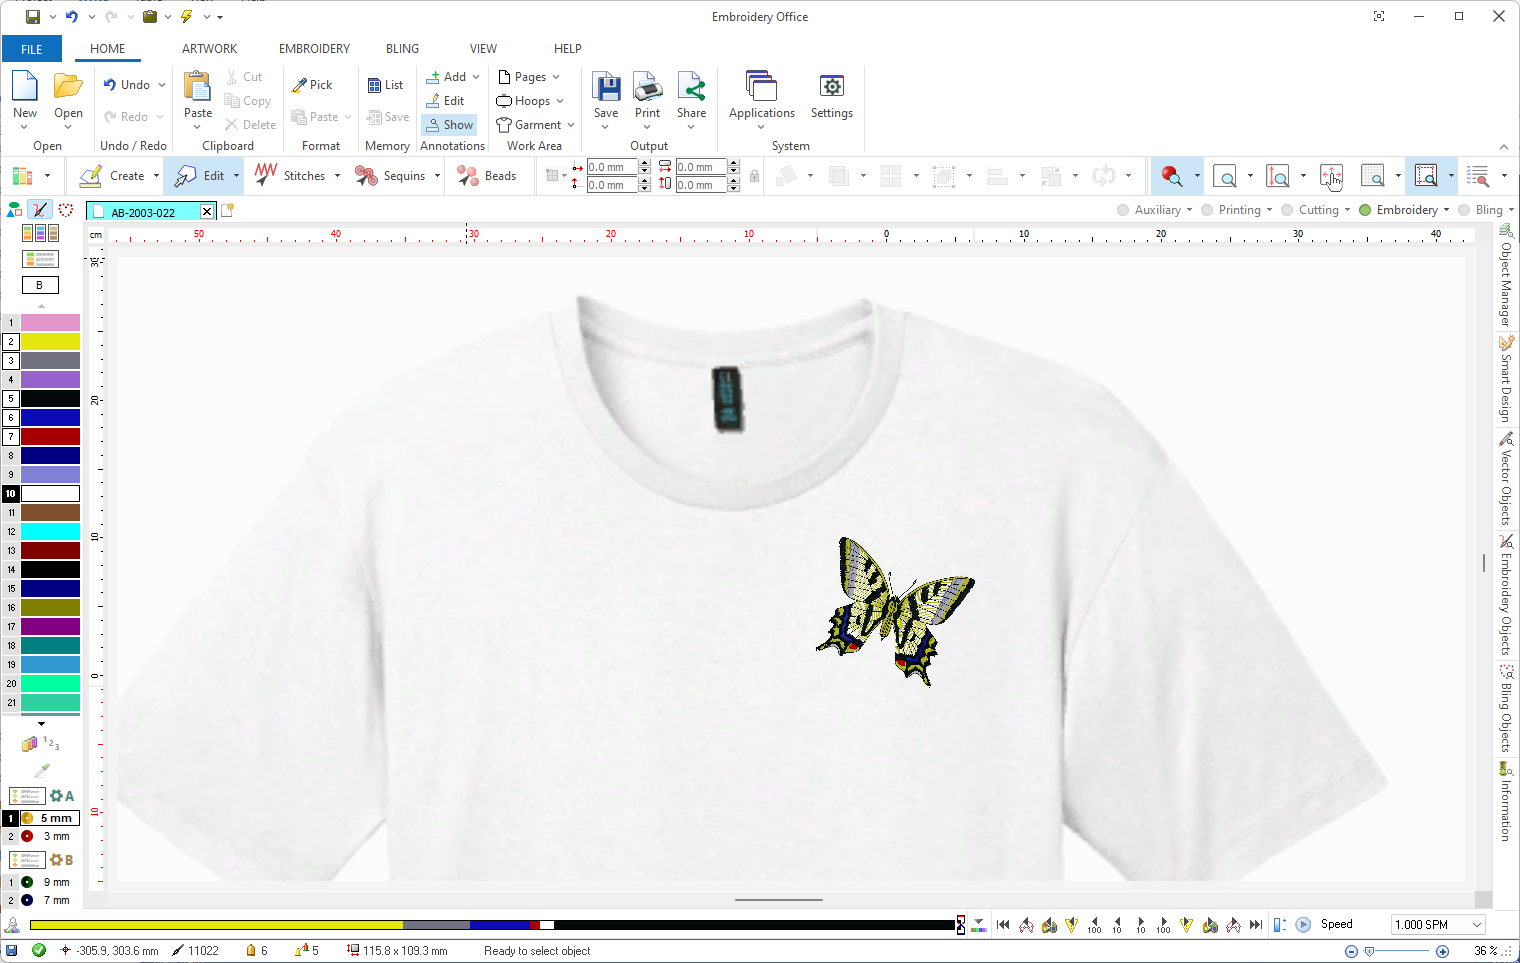
Setting a garment as background allows you to have a more realistic presentation of the design and check how it will look like once embroidered in the garment
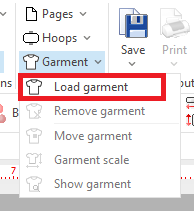
Click on the arrow next to the "Garment" button to unfold the available options. You can select any of the available garments from the library. |
|
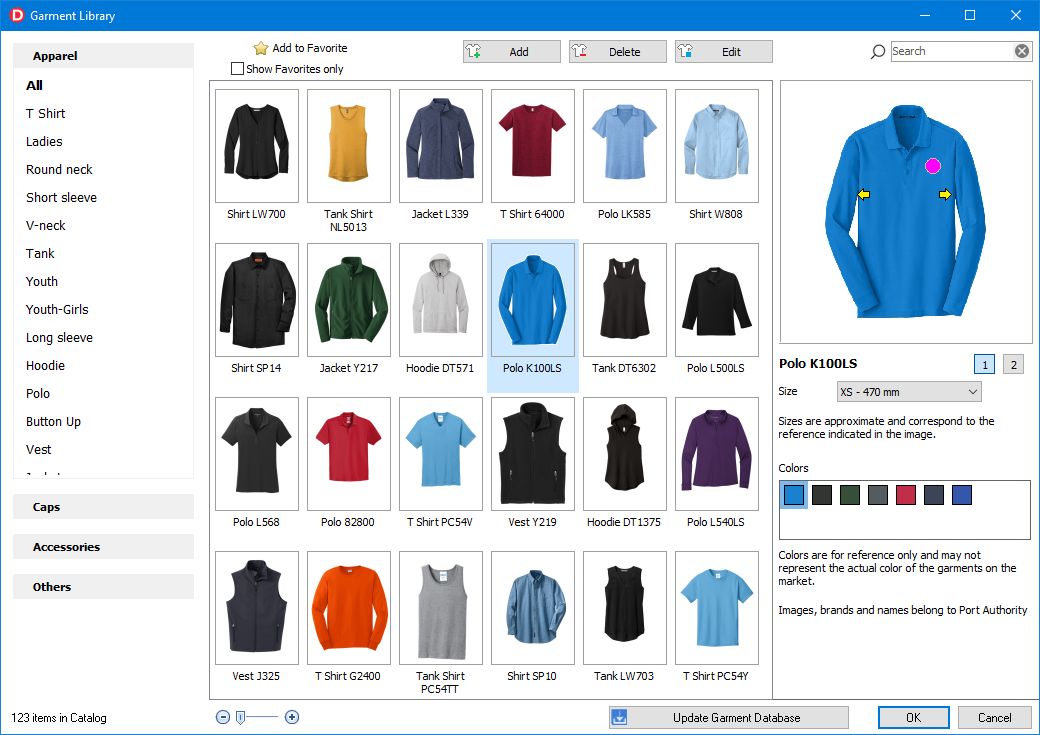
The garment library is preloaded with tenths of different garment styles and colors. The left panel contains a basic classification. It is organized as a tree: when you select an item, the panel at the right is filtered to show the garments that match the criteria. The central panel shows the garment thumbnails. AT the top you have controls to set a garment as favorite and then filter the catalog to display only that garments. At the bottom of this panel you will find controls to select the thumbnails size and to check if there is a Garment Database update available When you select a garment from the thumbnails panel, the panel at the right shows some details of the selected garment: Image: Most of the items have: a front and back image of the garment. You can select which one you want to use in the design by clicking the small icons with numbers (1-2) Size: The size values are listed as the standard (XS, S, L, etc). The value in mm is the length of the segment between the yellow arrows in the image. When you select a garment, the software use the selected size to properly scale the garment image in the workspace. Design position: The round violet mark in the garment images is the default design position. When you select a garment, your design will be initially placed centered at this mark Colors: Each garment has its own set of colors and you can select the color you want to use by clicking on the color boxes
|
|
Adding new garments
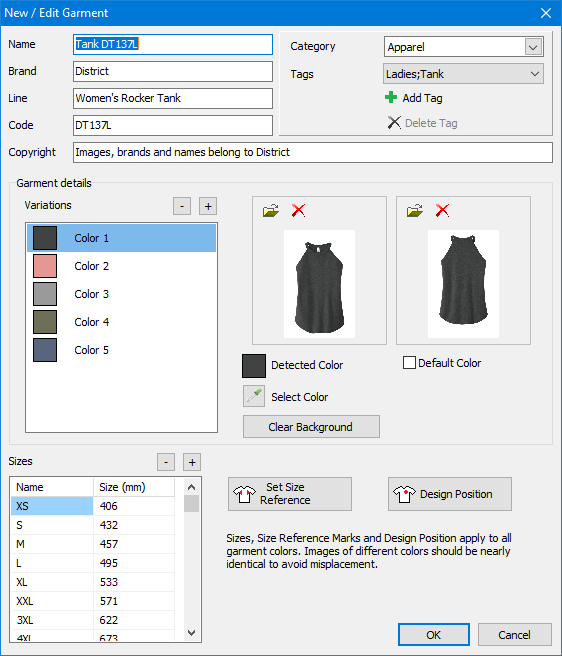
You can add your own garment to the library. Click on the Add button to open the Garment Editor Name: This is the garment name that will appear in the thumbnails view. Also, it will be considered when you your the search tools. We suggest to use a descriptive word for the garment followed by the maker´s code Brand, line, code and Copyright refers to information you can normally get from the maker. Category: this is the main classification value. The garment appear in the library under the group (gray background titles in the category tree) you select here. Tags: You can select up to tree tags (from the existing ones or you can create your own) for the garment. The garment will be listed in the catalog when you click, at the left panel, any of the tags you have assigned to it. Variations: you need one variation for each different garment color you add. Press the + icon to add a variation. Images: Ideally, you will need two images for each garment (usually front and back), but you can enter just one. When you load a garment image, the software detects its main color (by reading the color of pixels at the center) and the background color (by reading the color of the top-left pixels). Click on Select Color to assign a different color to the garment. Check the Default Color mark to force the library to use that garment color as the one to be shown in the catalog thumbnail. Use Clear Background to set an uniform background color. This will make easier to create a transparent background. Use Set Size Reference and the table sizes to define the size of the garment and Design Position to set a preferred position for the design (you need to define one position for each image)
|
|