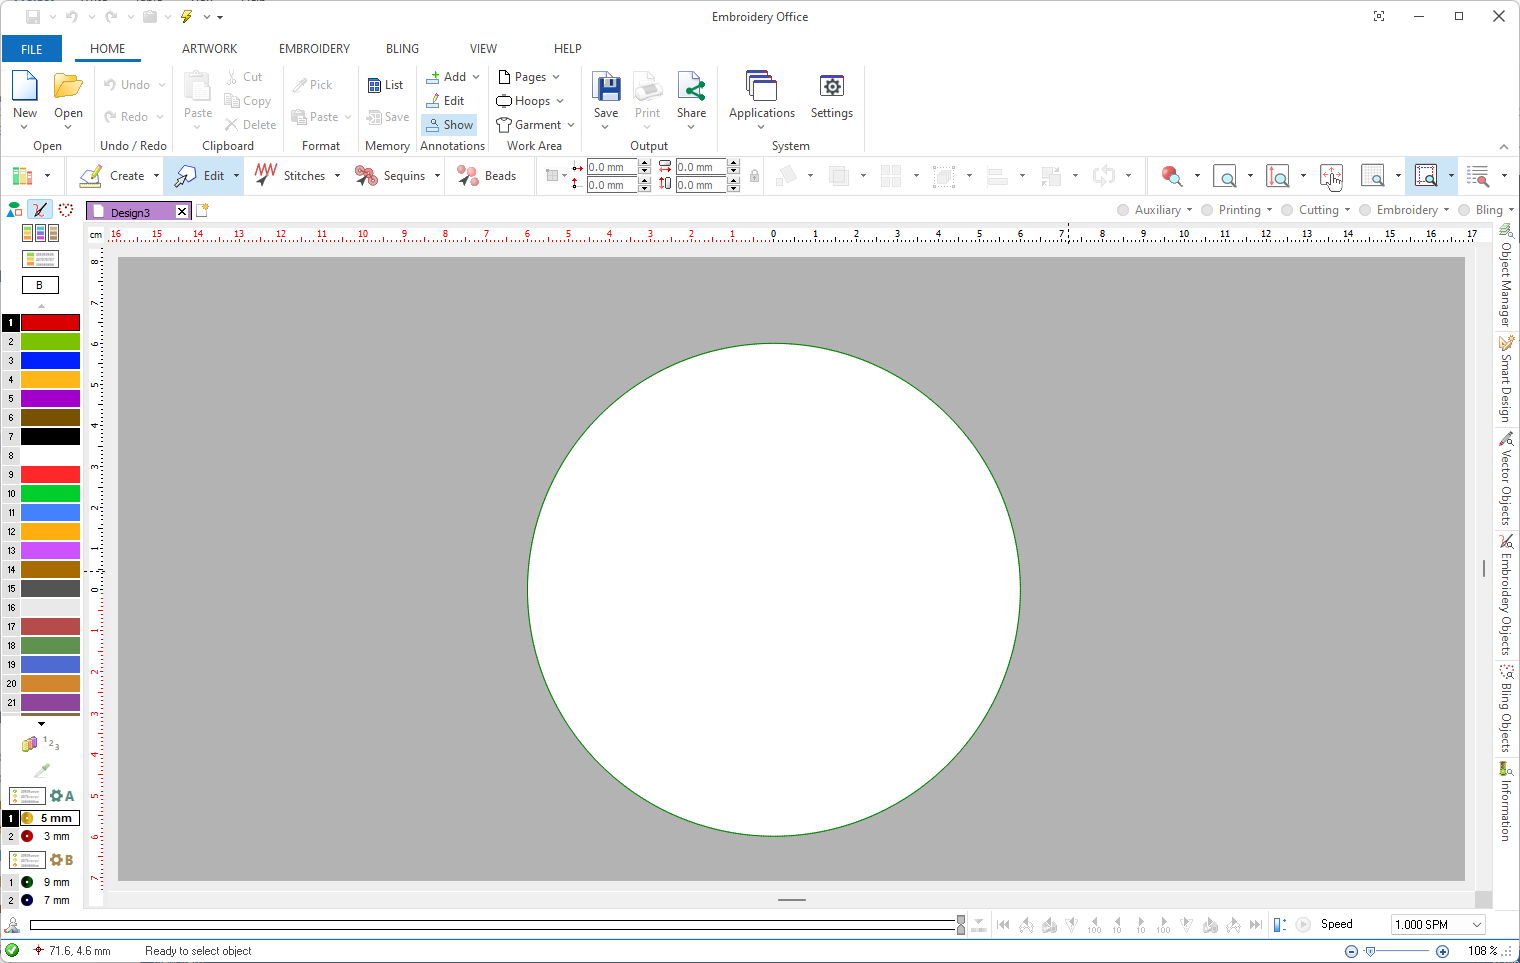
This function allows to display "a hoop" on the working window.
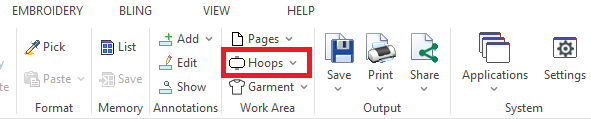
You can set the hoop from tooltab HOME > WORK AREA.
Hoops allow to display a schematic representation of the hoop you will use at the time to embroider the design. Displaying the hoop on screen allows to check if design will fit in the hoop area safely, avoiding any machine incidents, and to fix its position if required.
Click on the arrow next to the "Hoops" button to unfold the available options. You can select any of the available hoops from the "Embroidery Hoop / Bling Machine Workspace" option, change the work area color, show or hide the hoop, remove it, etc. |
|

You can also create a new hoop with a custom size from the "Embroidery / Bling Hoops Database" option.
Creating new hoops
If the hoop you need is not among the ones available, go to Embroidery/Hotfix Hoops Database, and create your own. Use the Add command (the button with a + sign located above the hoops list) to add a new hoop. You will need to specify a name, brand, code and the basic shape and size.
You can also specify a safety margin, that will be displayed as a dotted line around the hoop, and will prevent you to place the design too close to the hoop edge.
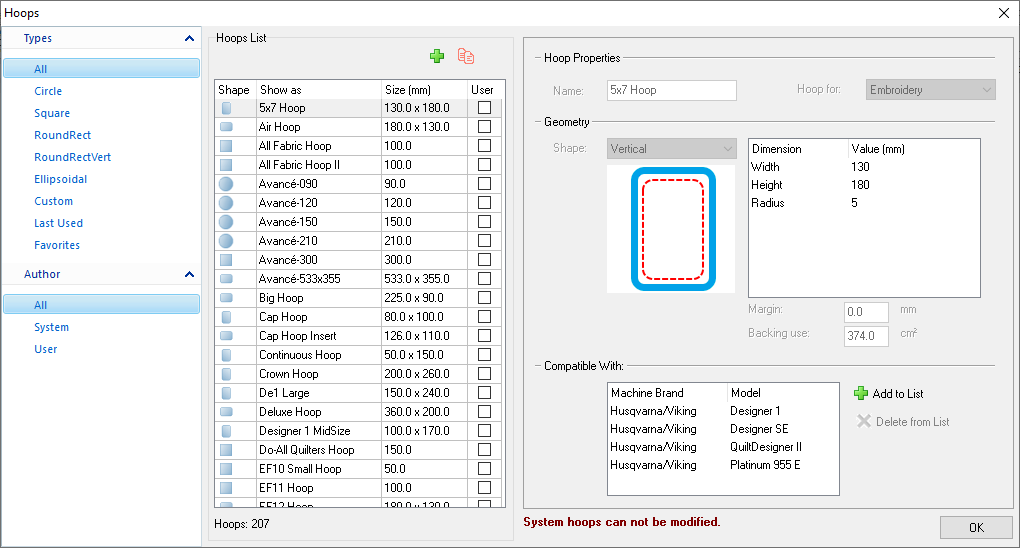
Note: If you own several machines, you may add a reference to identify the machines compatible with that hoop, by filling the "Compatible with" list.