What you need to complete this step ?
▪The product setup files and password file you have downloaded from internet
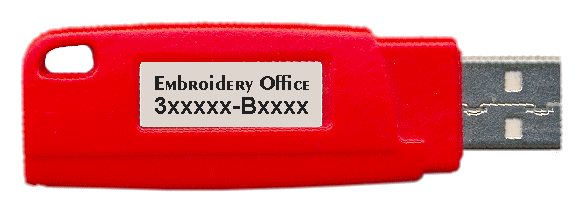
▪The USB protection device
How to install the software product?
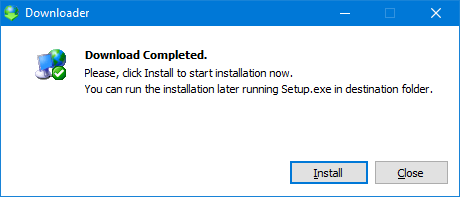
If you are going to install the product in the same computer that you used to download the files, and the downloader tool is still running, just press the Install button to start the product setup wizard. This will execute the step 1 of the installation process for you and you may continue with step 2.
If you are planning to install the product in a different computer or the downloader tool is not running, use your Windows Explorer to point to the folder where you saved the product setup files and locate the file named setup.exe. Then, please follow the steps listed below:
1.Launch the installation wizard with a double click on setup.exe file.
2.Install the protection device. Use any free USB port and insert the protection device. No need to power down your computer, it's safe to insert the device with the computer powered on. Windows will recognize the device and install the required driver. The device uses a standard driver, included with all Windows editions. Once the operating system shows the message that device is ready to use, you may continue with the next step.
3.Windows may show the User Account Control message, requesting your authorization to run the file. Click Yes; the file is safe and you can verify in the message that it is digitally signed by our software development company, AR Robots S.A. The installation wizard will scan your computer and it could show a message if it found any previous version of Sierra Software products installed. We strongly recommend to uninstall any previous version before proceeding.
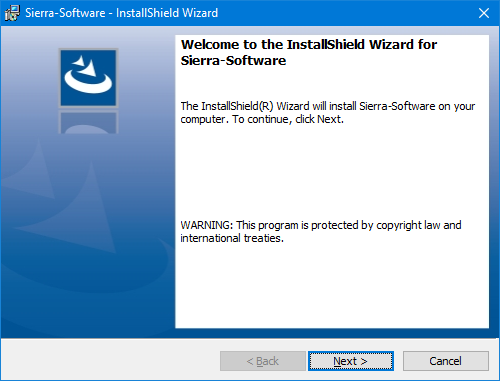
4.After some seconds, the wizard will show the Welcome screen and it will be ready. Click Next
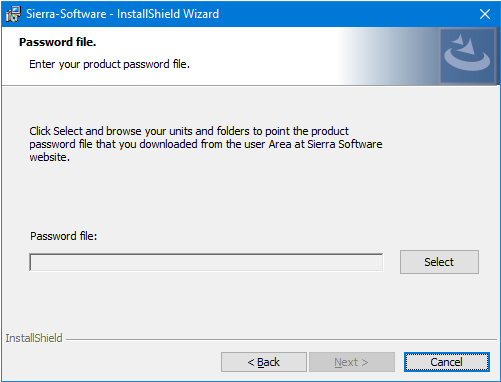
5.Enter the password file by clicking the Select button and pointing to the file you downloaded from internet. The wizard will process the file and will show information about your product and serial number. Click Next
6.Assign a name to your computer. When necessary, we will use this name to identify this equipment. In this step you may also select the folder where the product will be installed. It's recommended to accept the default value.
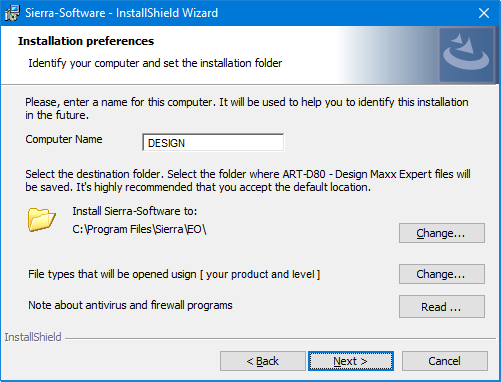
A button besides the legend "File types that will be..." lets you select what file types will be associated to the product. This means what file types will be opened using this product when you select them and press enter or when you double click on them. You will also find a button to a note about Antivirus and firewall programs troubleshooting during the installation.
Click Next o continue.
7.At this point the wizard has collected all the information required to install the product. Just click Install to start the process. The wizard will copy the files and configure you system. Then, it will prepare your design components (patterns, fonts, etc.) to be used by your product. The whole process make take several minutes to complete. Finally, it will display a screen with a Finish button.
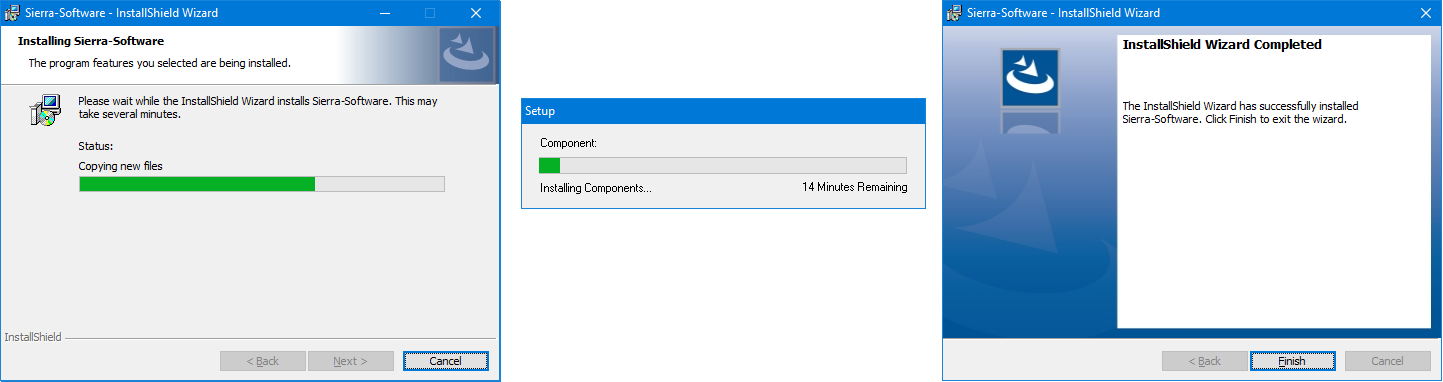
Eventually, the wizard could display a message requesting you to restart your computer to properly finishing the installation.
Next Step...