Creating a simple hotfix design from any image, using interactive digitizing modes, and some stone editing.
You can create this design while you read this article.
|
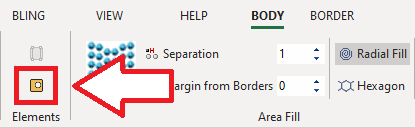
This example includes: •Creating a new design document •Load a raster (bitmap) Image. Resize it. •Bling Types Library. Set the Bling Palette. •Bling Object Type: Area + Uniform Fill •Digitizing Mode: Auto-trace •Object Elements: Holes •Manual Bling •Edit Bling Beads |
Open a new blank design document
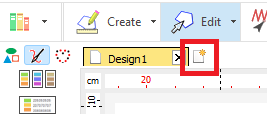
➢Click on the New Document Tab, that is the small tab on the top of the workspace with blank document icon. You can also open a Blank Design Document from FILE > OPEN menu. |
|
Load a Raster Image
➢Click on CATALOG on the MAIN toolbar to open the Catalog tool. |
|
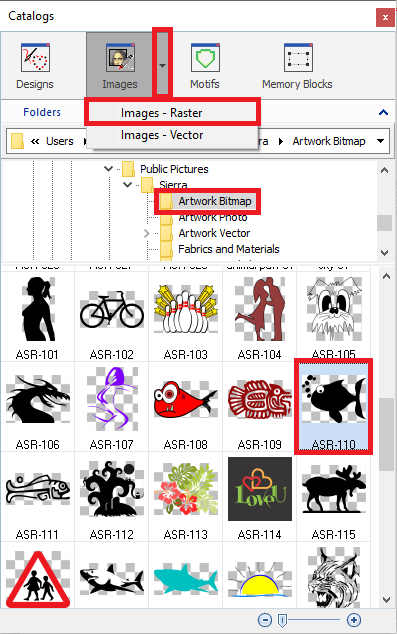
➢As we need to import a raster image, select the media type Images-Raster on the Catalog tool. ➢Select the folder where the image is located. ➢The bottom panel of the Catalog displays the contents of the folder for the selected media type. ➢Selected the clown-hat 01 raster image from the Artwork Bitmap folder. ➢Drag the image into the workspace to load it. |
|
Resize the raster image
➢Change the raster image size from the Main Toolbar. Activate the padlock (proportional sizing), type in 130 in the horizontal size control and press Enter. The vertical size will be adjusted automatically to 97.4 mm |
|
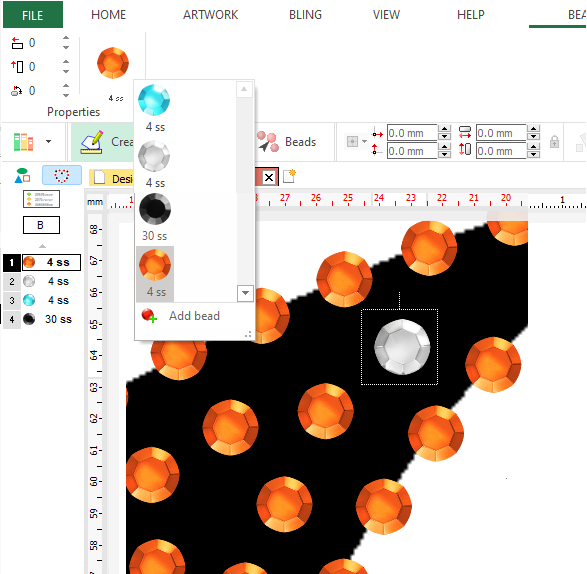
Personalize the Bling Palette
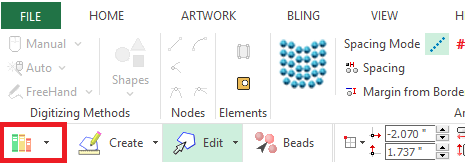
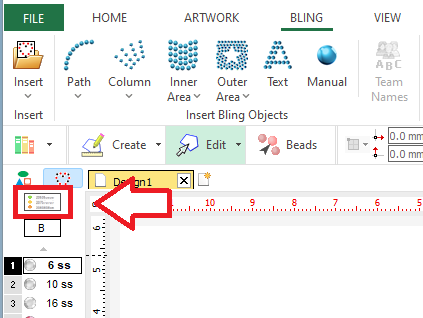
➢Before starting the digitizing process, we use to customize the bling palette. ➢Select the tooltab BLING ➢Click on the Bling Palette icon. |
|
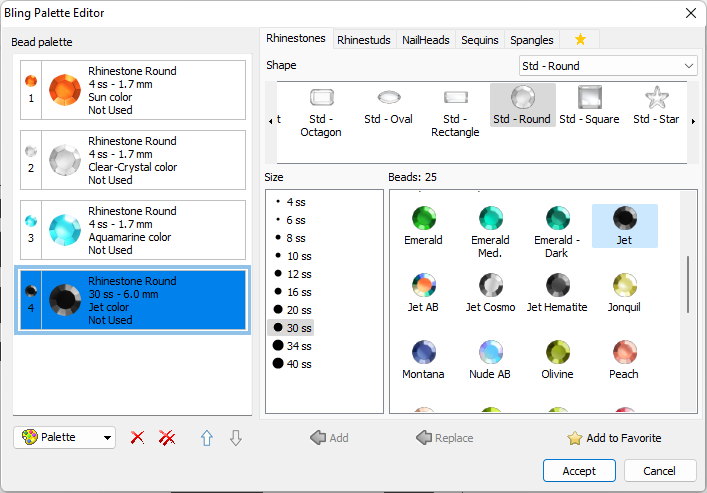
➢On the Bling Palette Editor, press on "Remove all beads from palette button" (double red cross icon) to create a blank palette. ➢Navigate through the different tabs and options on the right panel to select the desired bling type, shape, size and color. ➢To add a bling type to the palette on the left panel, double click on it or press on the green arrow between the panels. ➢For the example, we selected four Rhinestone Round stones: •The 4ss - 1.7 mm Sun Color. •The 4ss - 1.7 mm Clear-Crystal Color. •The 4ss - 1.7 mm Aquamarine Color •The 30ss - 6.0 mm Jet Color. |
|
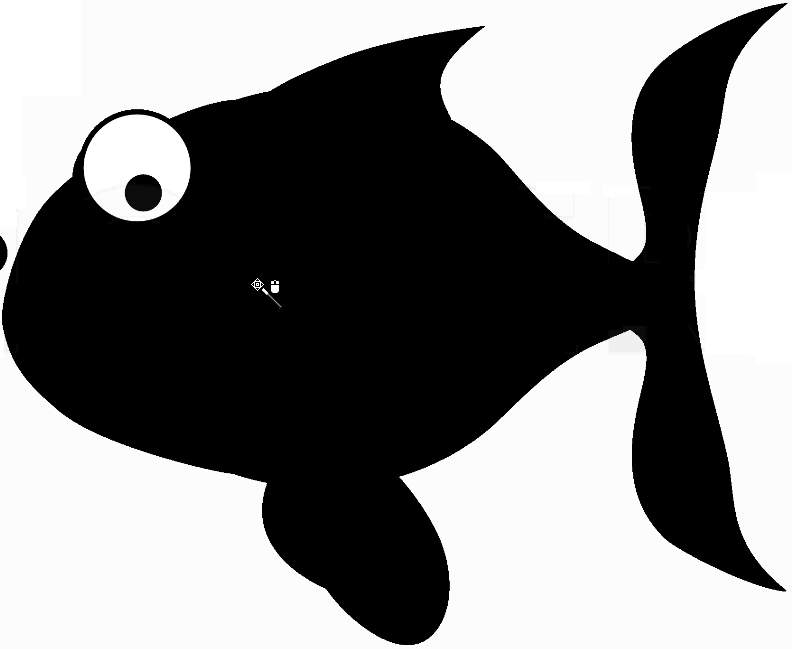
Create the fish shape
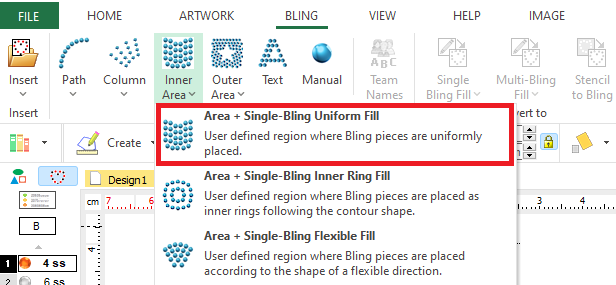
Define the object type ➢Press on Single Bling Fill and select Area + Uniform Bling Fill style. |
|
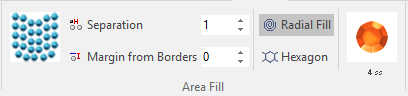
Define the object properties ➢Set a 1 mm bead separation and a 0 mm margin. ➢Select the 4ss - 1.7 mm Sun Color stone. |
|
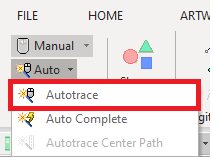
Digitize the object ➢Press on Auto and select the Autotrace tool. |
|

➢To start digitizing an area, click on the part of the image you want to trace. ➢The image border will be highlighted. |
|
➢Click on the Enter key to confirm the object and generate the beads. |
|
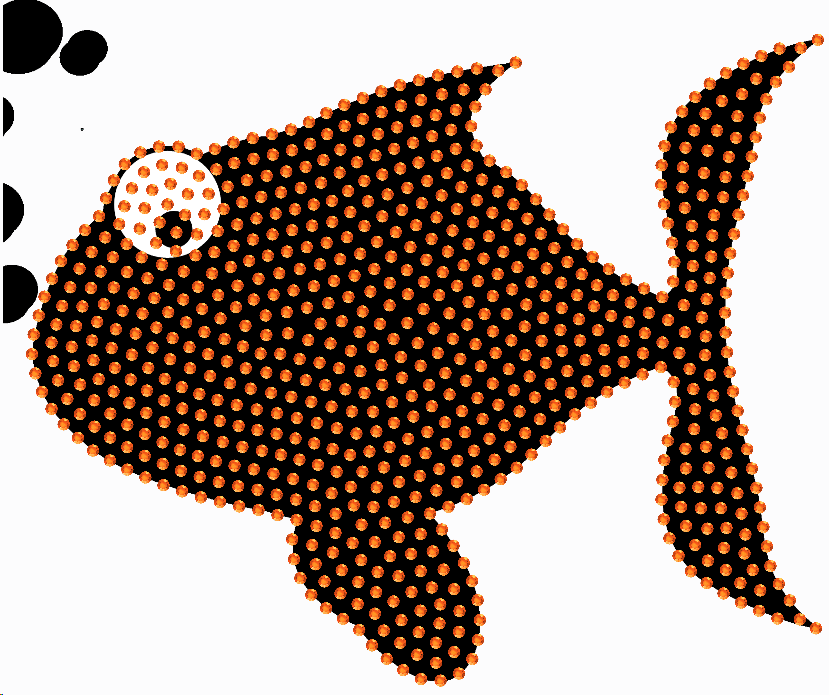
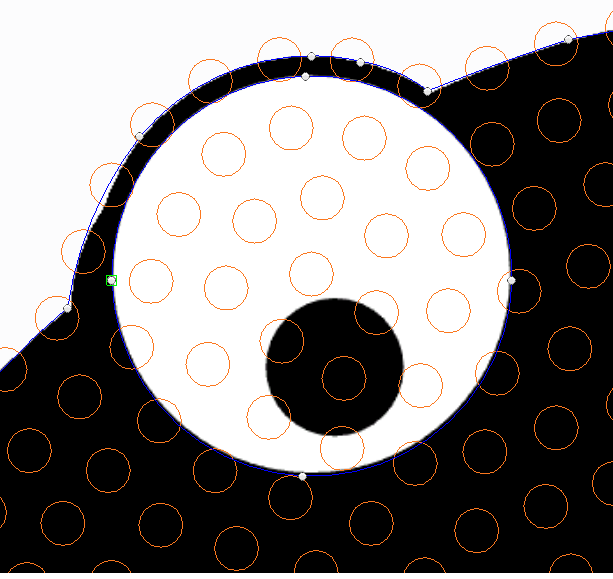
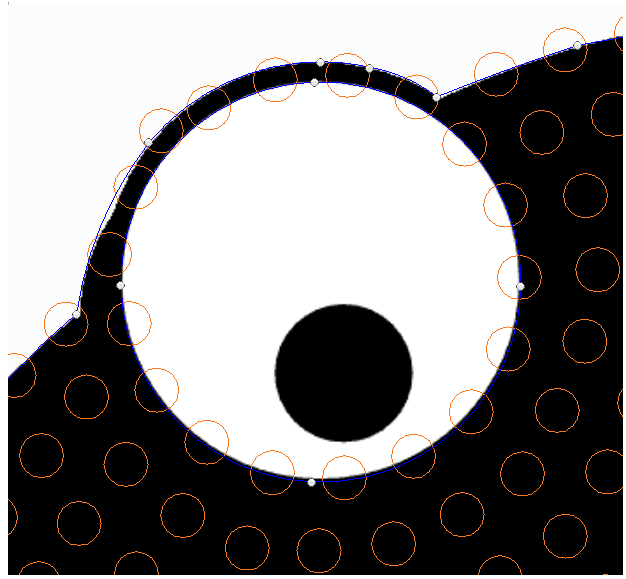
Create the holes
➢Click on Edit Object ➢Select the object. ➢Click on the "Hole" button on the tooltab. |
|
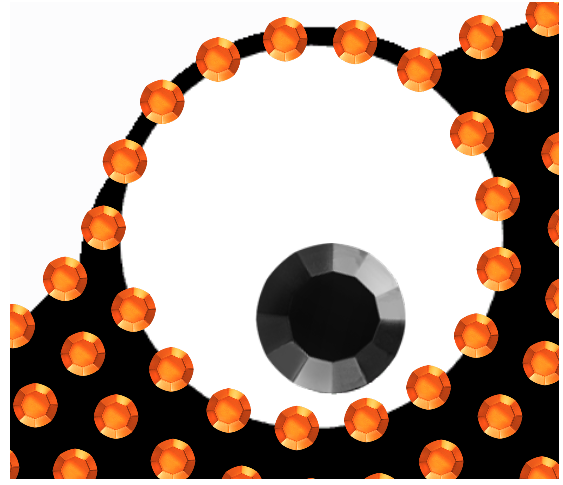
➢Digitize the eye. ➢To confirm the hole, place the last node above the first node. The applicarion will close the hole automatically. |
|
Create the bubbles
Define the object type ➢On the tooltab BLING, press on Single Bling fill and select Path + Regular Bling Fill style. |
|

Define the object properties ➢Set a 0.5 mm beads separation. ➢Select the 4ss - 1.7 mm Aquamarine Color stone. |
|
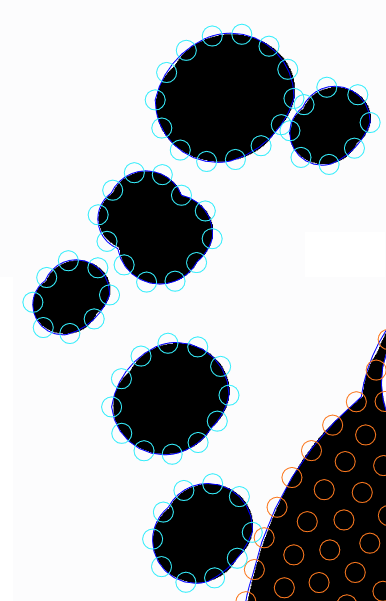
Digitize the object using the Auto-trace tool ➢Press on Auto and select the Auto-trace tool. |
|
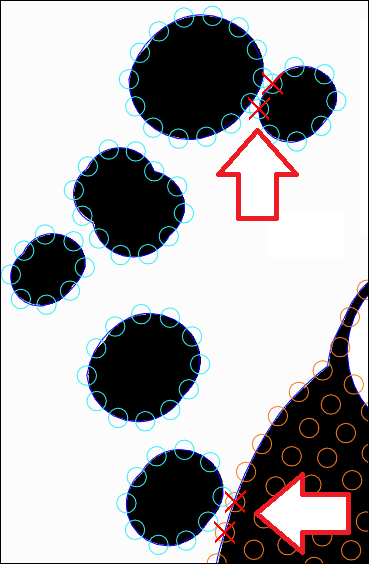
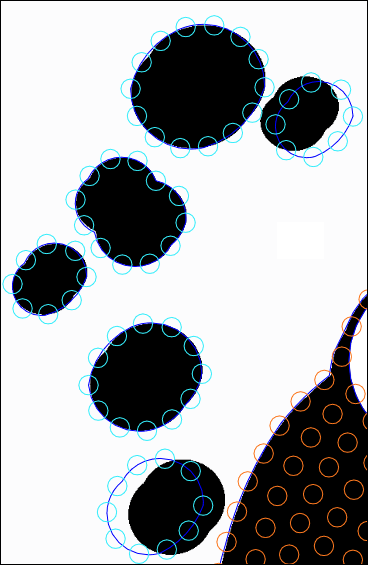
➢Move the mouse cursor over a shape to digitize and click on it. ➢The shape will be recognized and will be surrounded by a flashing dashed line. ➢Repeat the steps with the other shapes. |
|
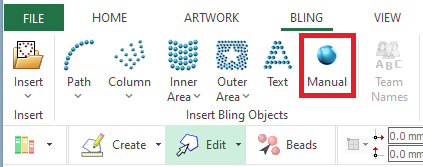
Manual Bling
Define the object type ➢On the tooltab BLING, click on Manual Bling. |
|
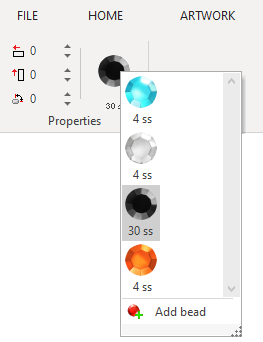
Define the object properties ➢Select the 30ss - 6.0 mm Jet Color. |
|
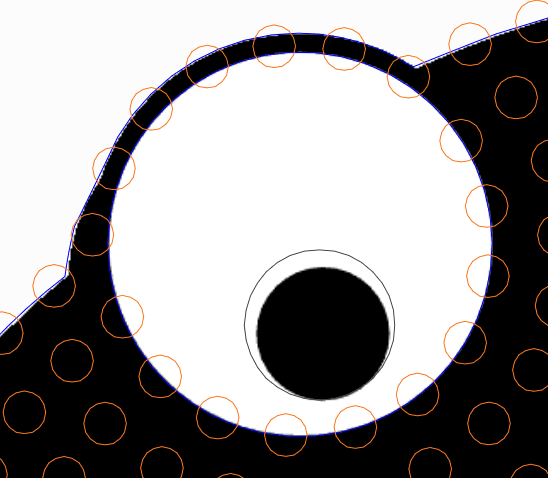
Define the objects ➢Place one bling bead on the iris of the eye. |
|
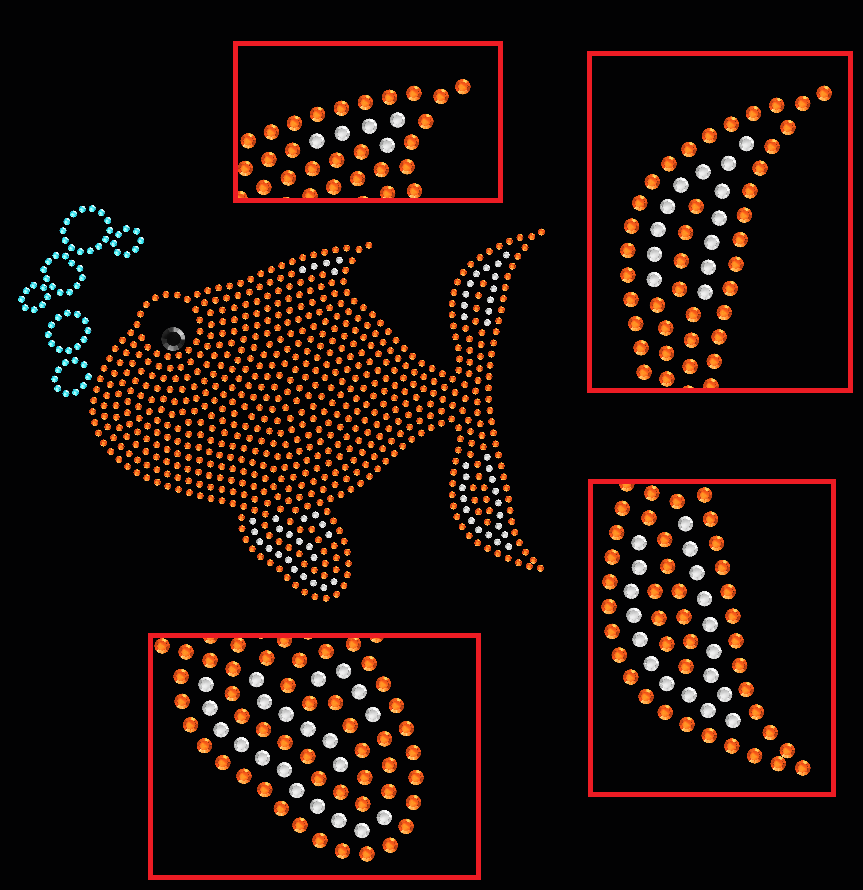
Editing the bling beads
If some beads are overlapped or too close, you can move them (Beads Editing).
|
|
➢Click on Edit Bead. ➢Select a bling bead on the workspace. |
|
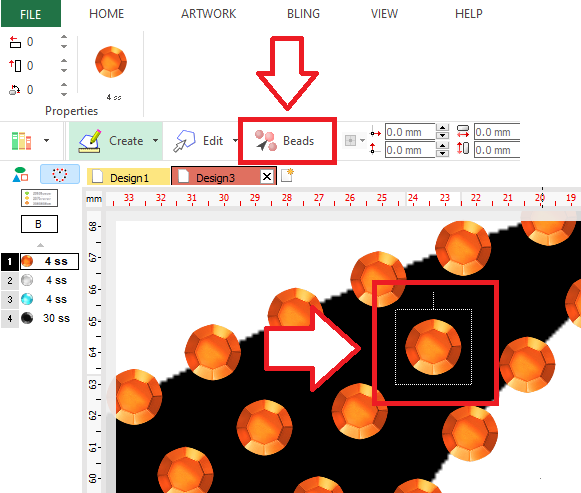
➢On the tooltab, select a different bling type to replace it. ➢Repeat the process on the beads you want to change. ➢Move or delete the beads you want. |
|
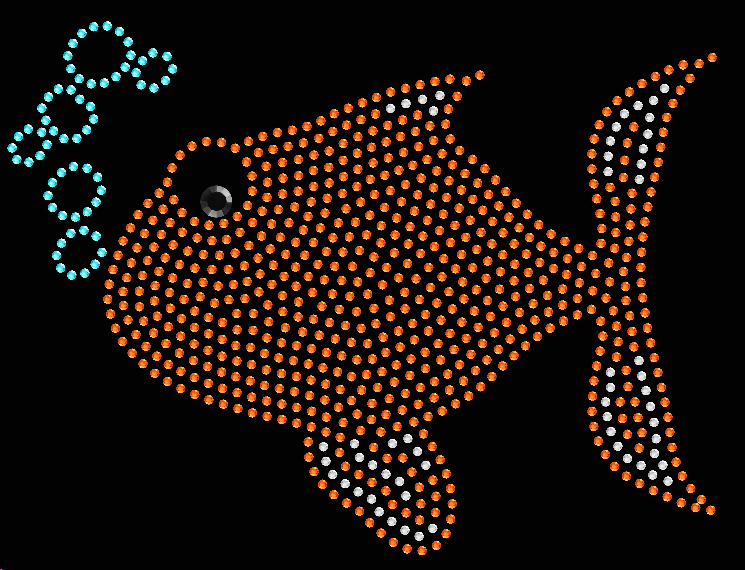
Final Design