This is the ideal tool if you need to produce several design where only the text varies from one design to another. That is the reason of the name of this feature, which is also know as name drop.
You can create the template for the team names from an embroidery design that contains text objects, and make a list of words that replace the text objects for each design. Almost any design that includes text objects can be used as templates for team names. This feature will produce as many designs as required each one containing the corresponding words from the list, or a single design including the sequence of all those designs.
How to use Team Names
You can create a template just from a designs that only contains a text object, or any design where there is a text object.
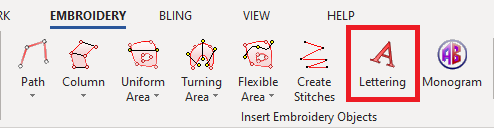
➢Click on the toolbar EMBROIDERY
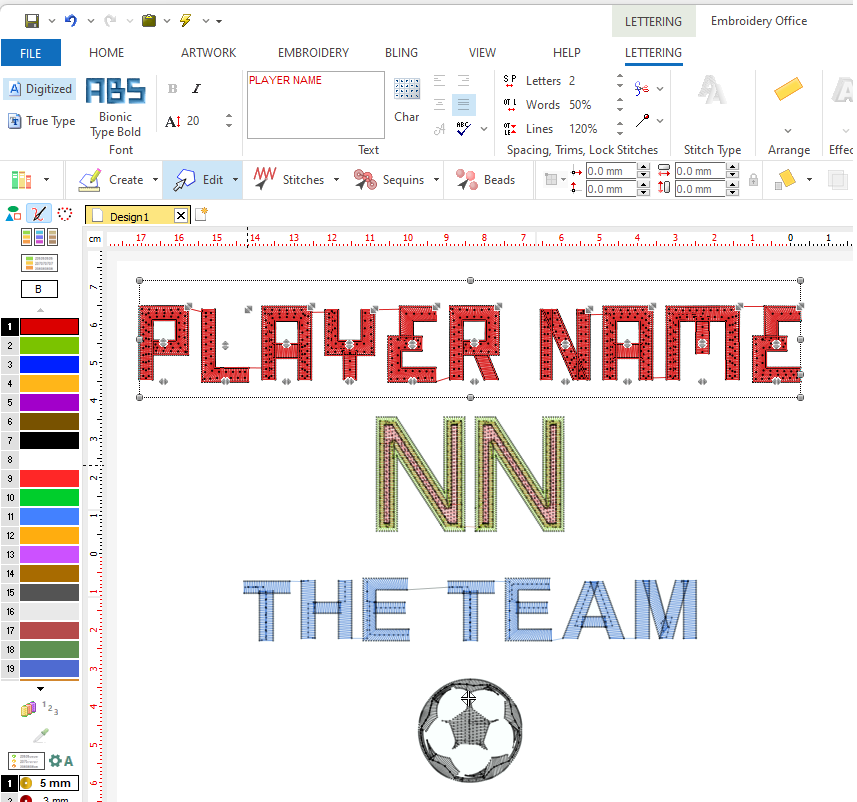
➢Insert a text with a representative name that correspond to the first variable text ("PLAYER NAME").
➢If you want more variable texts, repeat the previous step for the other variable texts ("NN", THE TEAM")
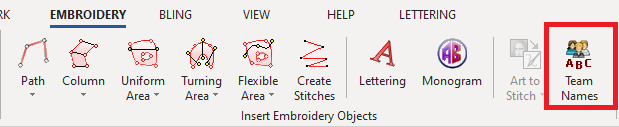
On the tooltab EMBROIDERY, and click on TEAM NAMES.
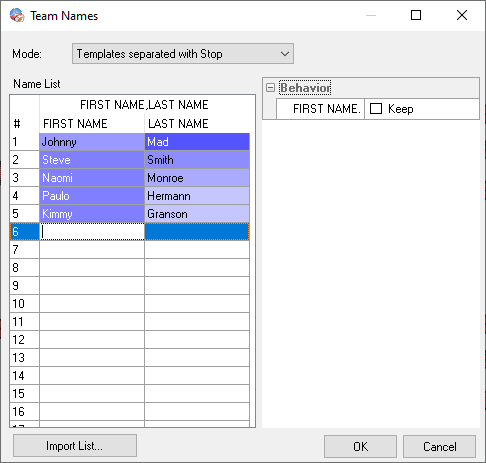
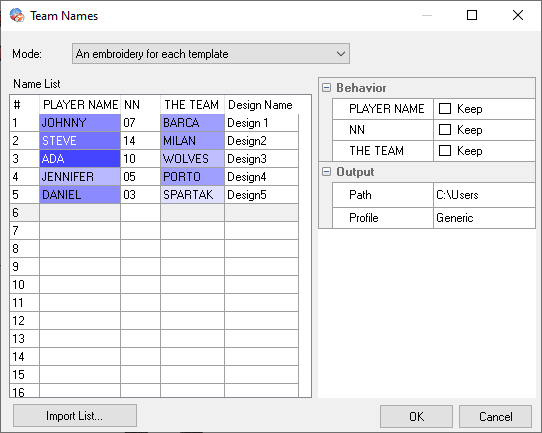
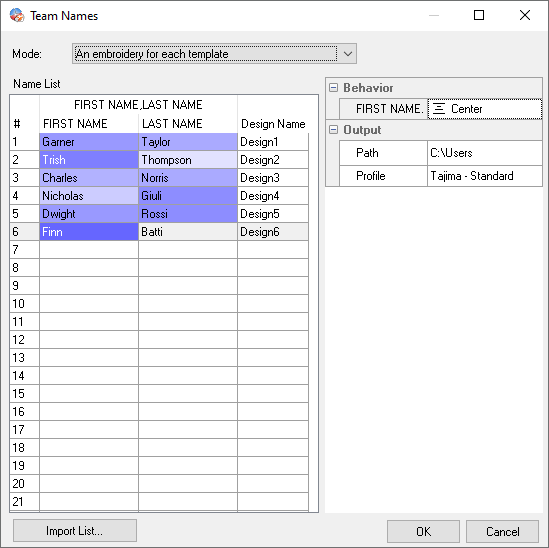
The Team Names tool is displayed. It shows a table with columns that are labeled as the variable texts you defined. |
|
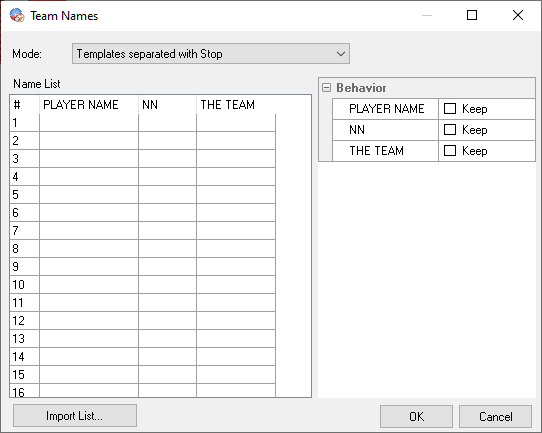
Enter the data in each of the lines and columns from the Name List. On the Behavior field, you can select the configuration options such as the text alignment. Define a team names creation mode. Click on OK to confirm. |
|
Team Names Creation Modes
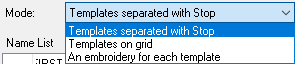
There are 3 creation modes, which can be selected from the drop-down menu: •Designs separated with Stop command •Designs on grid layout •Embroidery designs in separated files |
|
Designs separated with a Stop command
Each text is separated from each other by a Stop command, as you can see in the Document Map.
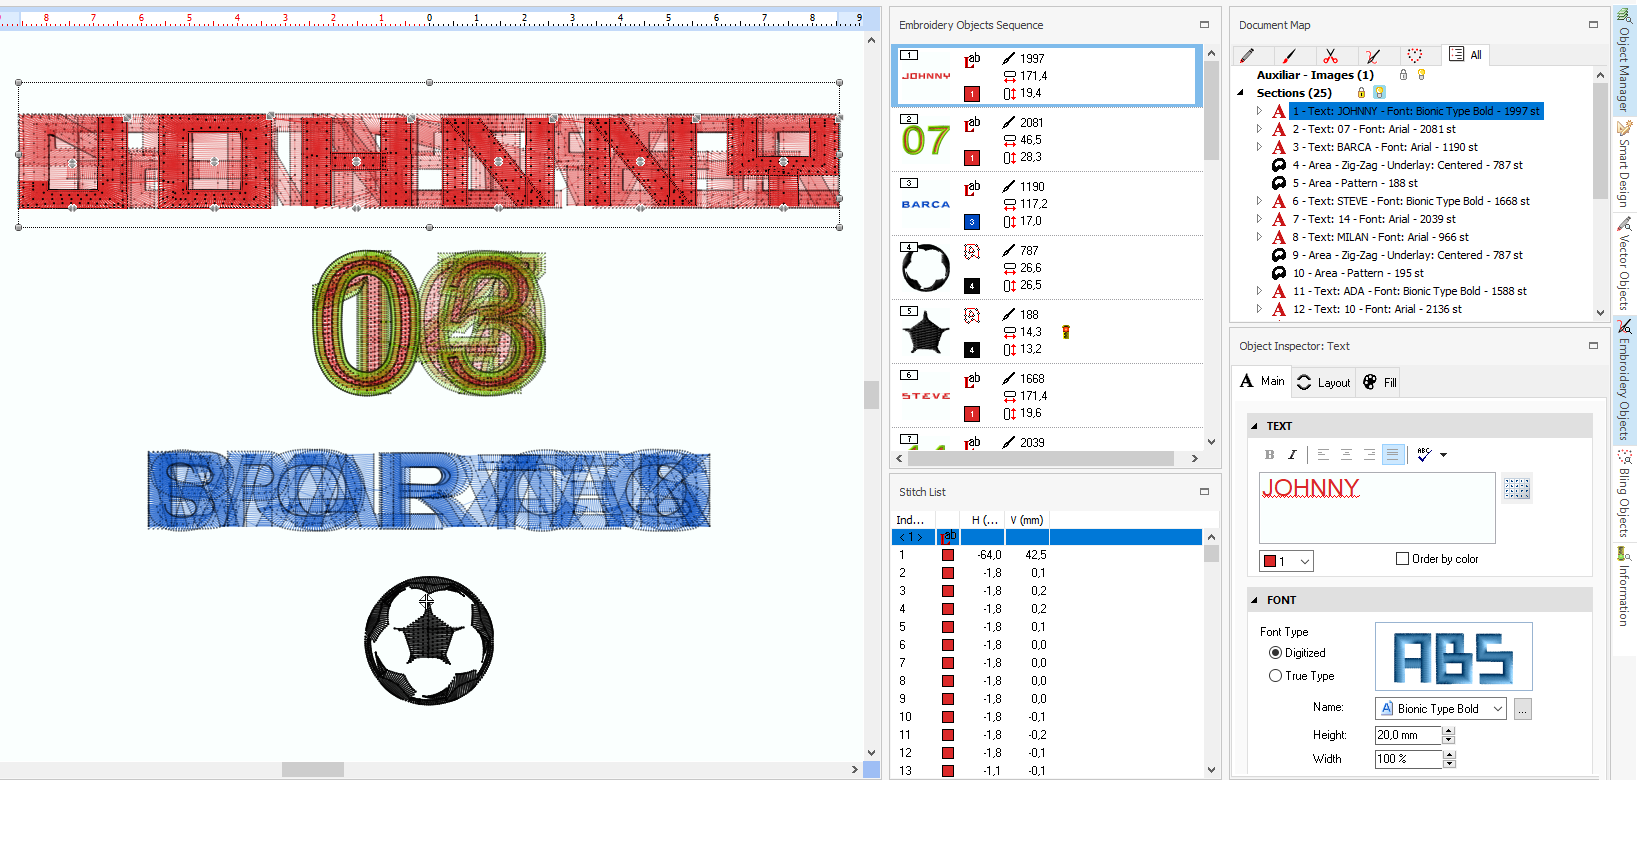
It is normal that you see the texts overlapped on screen.
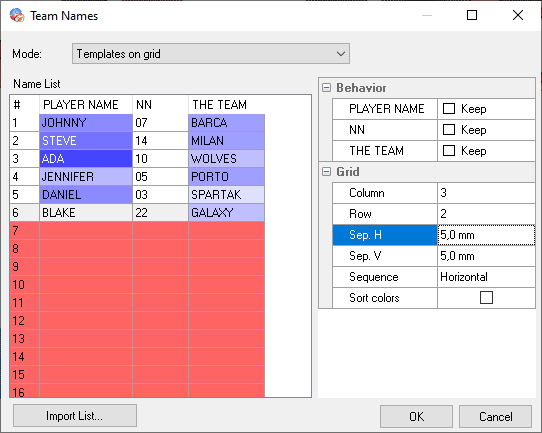
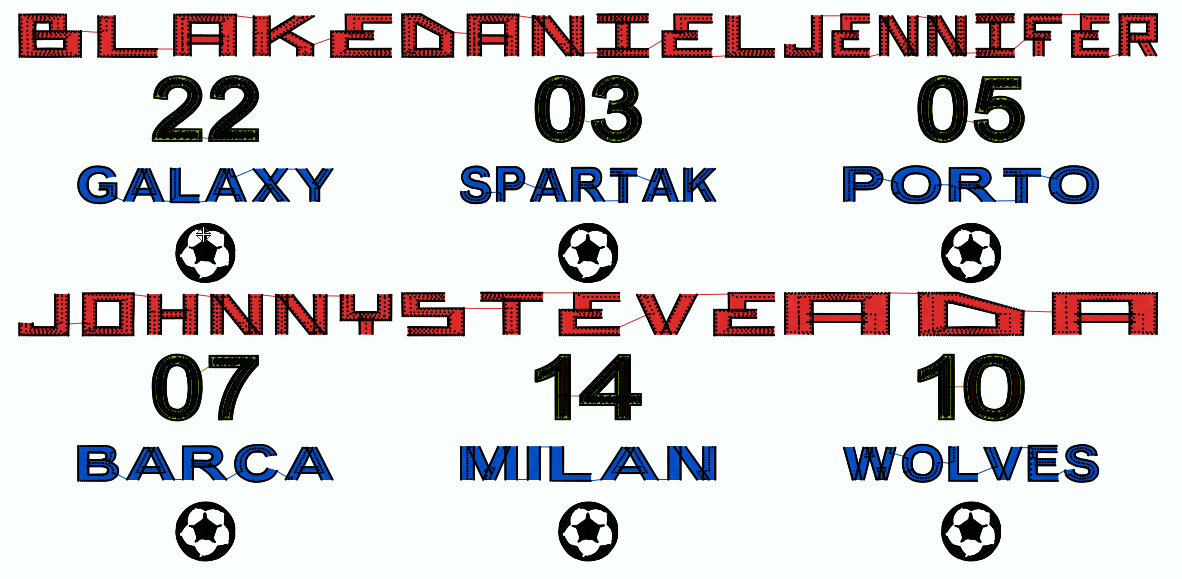
Designs on grid layout
In this mode, a single design is created as a grid containing each custom design. From the Grid field, you can configure the number of columns and rows, the horizontal and vertical separation, the sequence and enable the Sort Colors option. |
|
Embroidery designs in separate files
In this mode, an embroidery file is automatically created for each row entered in the table. You must choose the Design Name, Path (folder which the embroidery files will be saved in) and the Profile (machine code). |
|
Import List
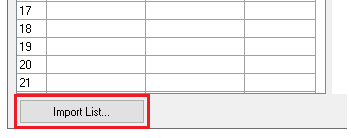
If the number of names is considerably big, you can import a file including the list of texts, instead of typing each text on the Name List.
Click on IMPORT LIST. |
|
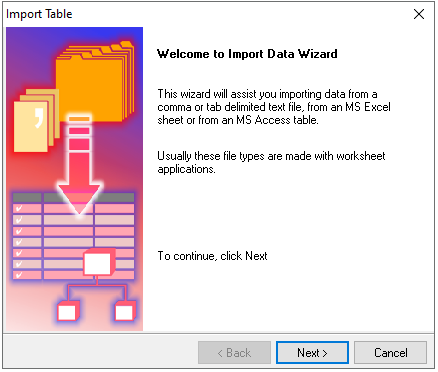
The Import Table wizard is displayed. Click on NEXT to continue. |
|
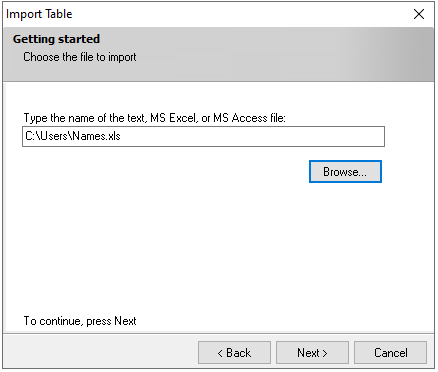
Click on BROWSE to choose the file to import. You can import a data table from a text type file separated by commas or tabs (.cvs or .txt), MS Excel (.xls) or MS Access (.mdb). Click on NEXT to continue. |
|
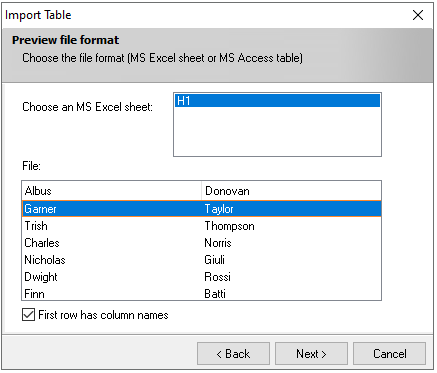
The file format preview is displayed. You must mark the checkbox if the first row has column names. |
|
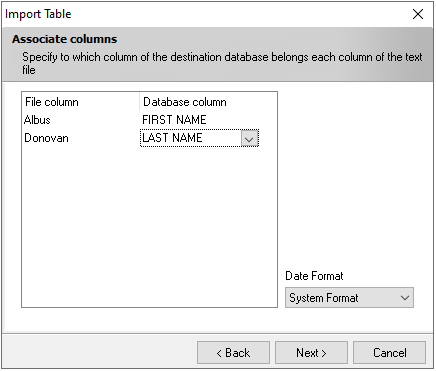
Associate the columns of the name list with each column of the text file. Select the Date Format type |
|
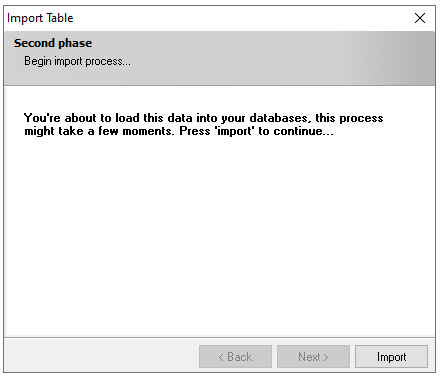
Depending on the size of the imported file, the importing process can take some time. Click on IMPORT to import the file and load the list. |
|
Once finished, the imported data will be displayed in the Name List. |
|
Read about the availability of this feature in your software level: Embroidery Office Levels & Features |