There are two options for printing your embroidery designs
•Print Design (standard)
•Print Formats (advanced).
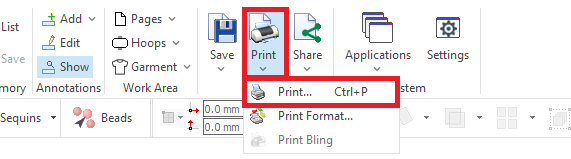
You can execute the PRINT function from the tooltab HOME > Output group > Print
You can also execute the Print function from the menu FILE > PRINT.
|
|

Print Design (standard)
This is a general design printout, using a simple layout, with a quick setup and basic printing parameters.
|
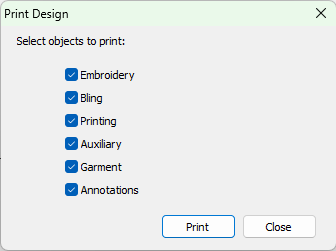
First, you decide what to include in your printout Decoration •Embroidery •Bling (if the option is present) •Printing (artwork objects marked as Printing) And additional objects •Auxiliary reference images •Garment •Annotations (This option is available starting version 23.20) |
|
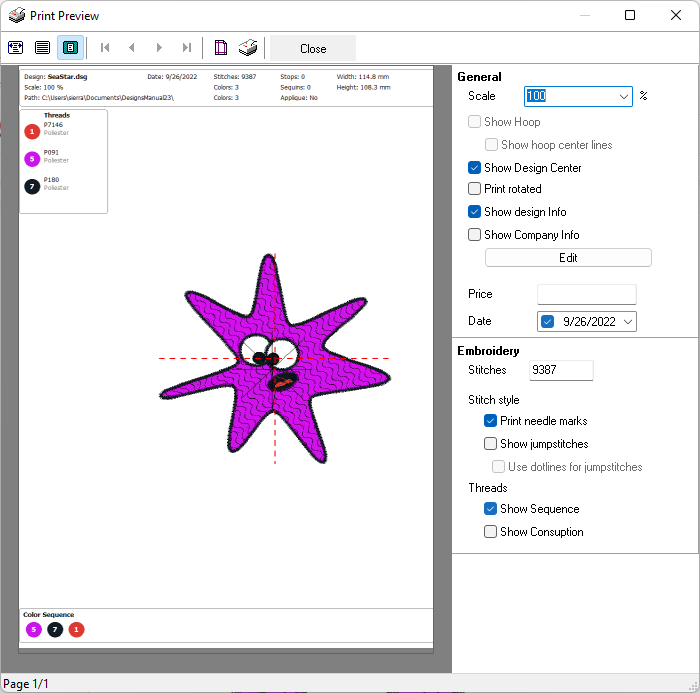
When you press Print, the Print Preview box appears. The panel at the right side allow you to control several printing options: •Print Scale (100% is a 1:1 printout) and print rotation •Show Hoop (and its center lines), Design Center, Design Info and Company Info. Press "Edit" to customize the company information, add a logo, etc. •Design Price (leave the field blank to skip printing it)
•Stitch count (you can modify it if required) •Needle marks and Jump Stitches (make jumps visible with solid or dotted lines) •Thread color sequence and thread consumption
The preview will be updated while you change the print options automatically |
Print Region
Starting with version 23.20, the Print Region option prints a single sheet, at 1:1 scale, of a selected region of the design.
This feature, together with the annotation printing feature, allows the creation of printouts with production details
|
Click on the Region button to display the Set Print Region box This box shows the whole design and a rectangle representing the size of the print area available, that depends on the paper size and the information panels you included (Design info, Company Info, etc.) You can move the box by dragging it so as the region of interest will be included within the rectangle Press Apply to update the main print preview. Finally, close the box Print Region works at 100% scale. Changing the scale once the Region was set, will reset it. |

Print Formats (advanced)
Several customizable design printouts, including a wide range of options, for different purposes.
When you execute the PRINT FORMAT function, the Print Format assistant is open. This tool offers all the options to select any of the available formats and to select the information to print.

Toolbar: Select Print Format group
|
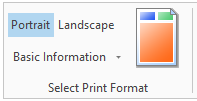
Template Select any of the available the print format templates: •Basic Information •Technical Information •Color Sequence •Simulation Sheet •Complete Technical Information •Color Variations Orientation You can also select the orientation (portrait or landscape). |
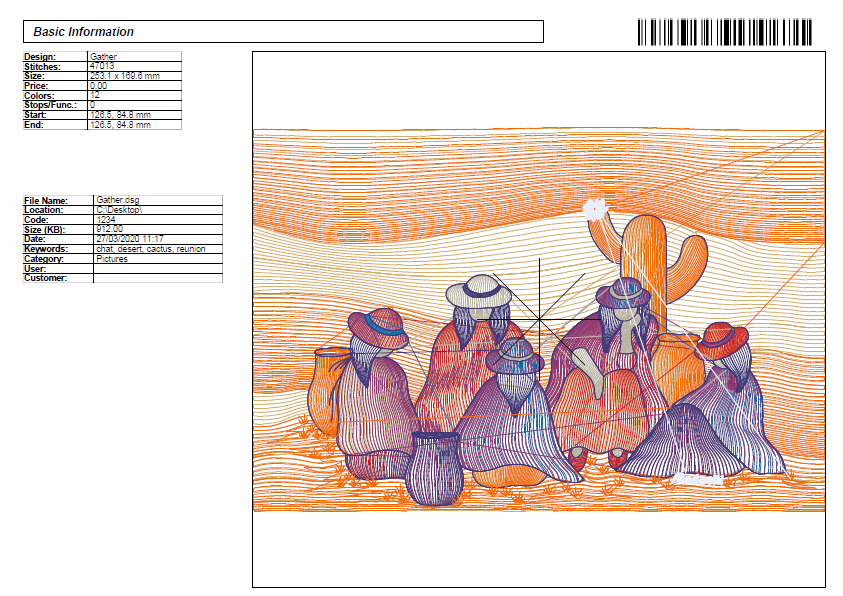
Template: Basic Information
This template includes: •The drawing of the embroidery design •General information of the design •File information •Bar code |
|
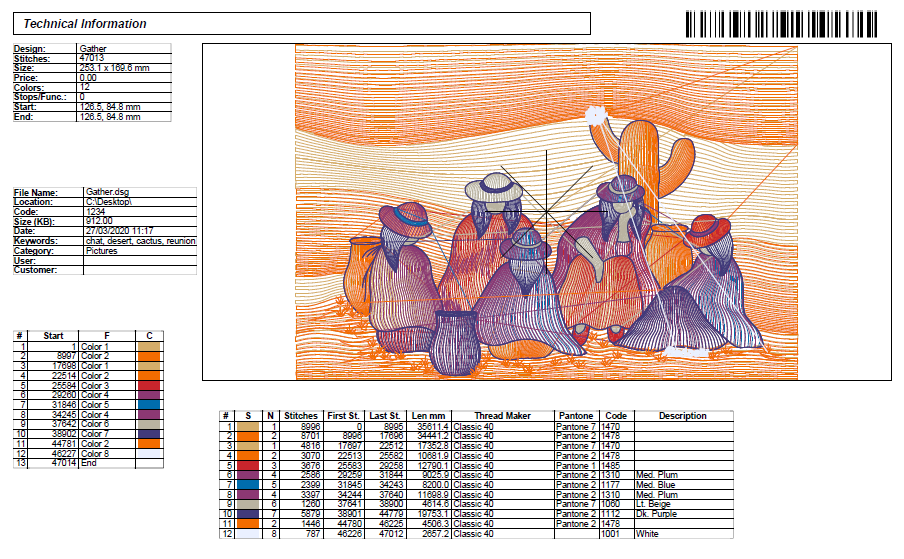
Template: Technical Information
This template includes: •The drawing of the embroidery design. •General information of the design. •File information. •Thread information. •Sequence of commands. •Bar code. |
|
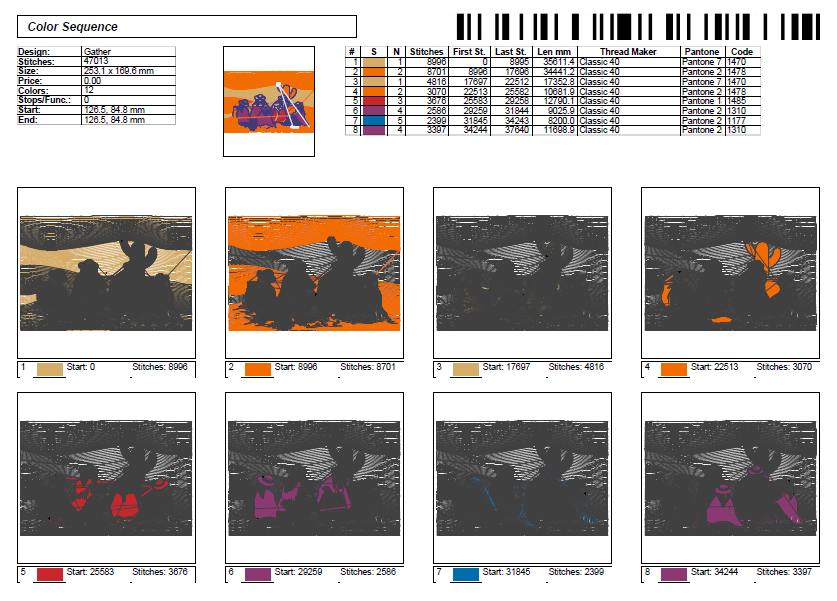
Template: Color Sequence
This template includes: •The drawings of the embroidery design, separated by colors. •General information of the design. •Thread information. •Bar code. |
|
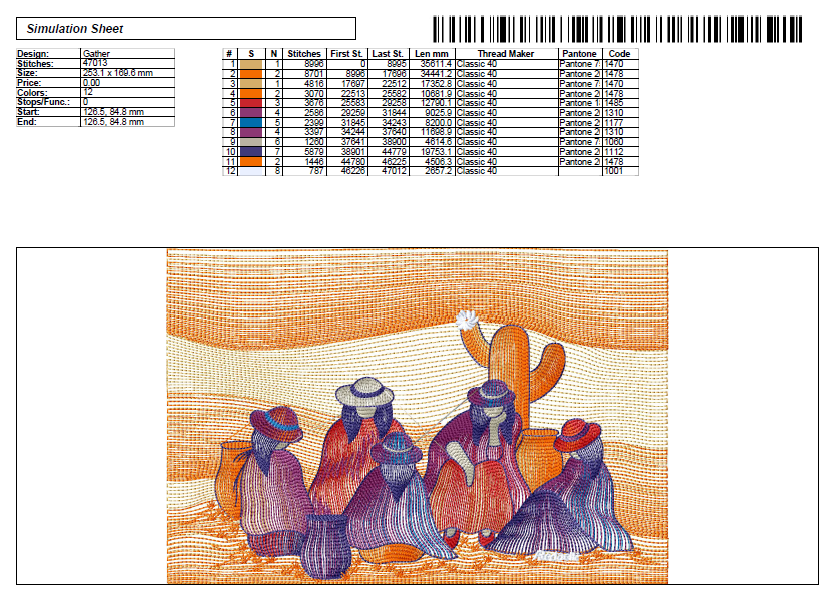
Template: Simulation sheet
This template includes: •The simulated drawing of the embroidery design. •General information of the design. •Thread information. •Bar code. |
|
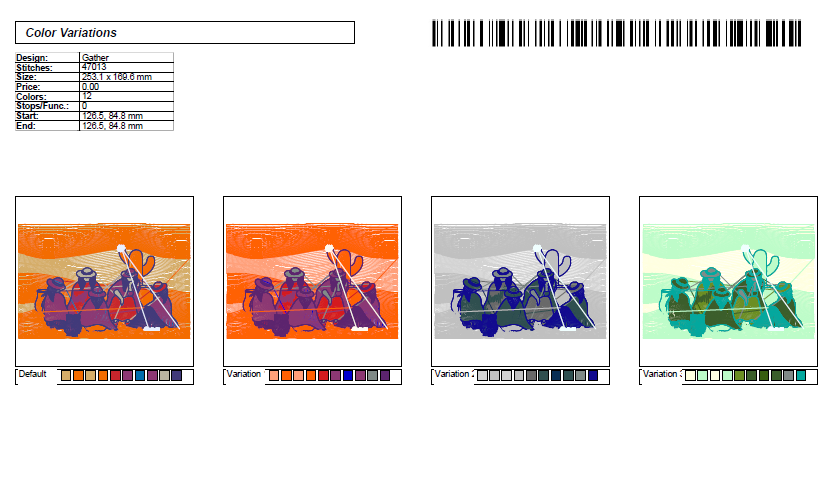
Template: Color Variations
This template includes: •The drawing of the embroidery design. •General information of the design. •Thread information. •Bar code. |
|
Toolbar: Information Setup group
|
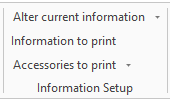
Alter Current Information Allows to change the information to print. Options are: •General Information: It displays information related to the design to print. It allows to change the content of all the items related to the file information. These changes can be only made for the printing, not in the design. •Machine Commands: It displays the commands (controls) of the design. You can also change them. For example, you can re-establish the original commands, in cases that they have been modified during the conversion to the current code. •Thread Consume: It displays the following options (its also allows to change them): ▪The needle sequence. ▪Number of stitches per color. ▪Thread length per color. ▪The color assigned to each needle (description or code of any color chart). •Stitch Statistics: It displays the following options (its also allows to change them, but it is not recommended): ▪The needle sequence. ▪Number of stitches per color. ▪Thread length per color. ▪Number of stitches in every stitch length range. Information to Print You can define the information to print (design information, file information, functions, threads and statistics), and set the print information order as well. By pressing the left mouse button on the verification boxes, you can enable or disable the printing of each of the items. These changes can be applied to all the printing styles. There are five tabs: Statistics, Design, File Info, Functions, and Thread. Each of these tabs contain the information that will be grouped in the printout and organized in tables. To change the information order presented in the printing, press and hold the mouse left button on any of the tabs or items, and then drag it to the new position. Accessories to print Select the option "Rectangle on Outline" to print a border around the layout. Select the option "Bar Code" to include a barcode printing of the design file name. |
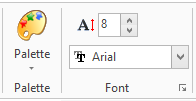
Toolbar: Palette and Font group
|
Palette Open the Color box, where you can assign different thread colors to the design. Font Change the Font type, Style and Size used in the printout to present the information. Press on the little arrow at the bottom right to open the Font box and make the desired changes. |
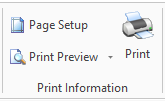
Toolbar: Print Information group
|
Page Setup Configure page size, source, orientation, margins, etc. Print Preview Display a Print Preview Form in an independent window. Print the design. |