Motifs are pre-defined designs that you can insert in designs documents to create new custom designs (like building blocks). This application includes many motifs ready to use. In addition, you can create your own motifs to enlarge the existing library.
The activities related to embroidery motifs are:
•Insert a motif in a design document
•Create a new motif
•Edit an existing motif
Insert a Motif in a design
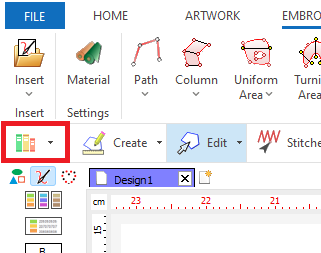
➢Open a new blank document. ➢Click on the "Catalogs" button on |
|
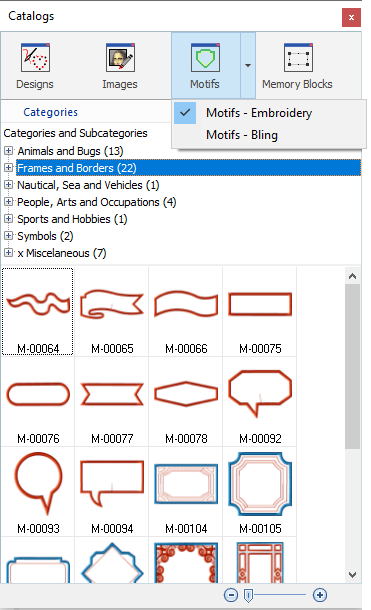
The Catalogs tool will open. It shows 3 groups (3 panels) from top to bottom: •Media panel (resource type) •Folder or Category panel (location) •Contents panel (design or part)
|
|
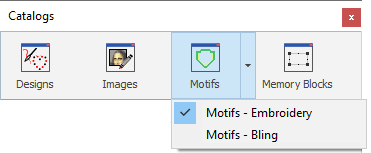
Media panel (resource type)➢Click on the drop-down arrow next to the media group to unfold the available options. ➢Select: Motifs – Embroidery |
|
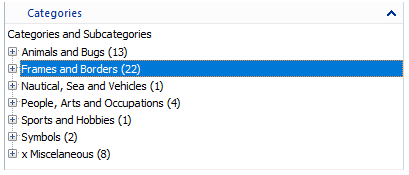
Folder or Category panel (location)➢Click on the drop-down arrow next to the categories header to unfold the available options. ➢Click on the desired category to display the contents on the third panel. |
|
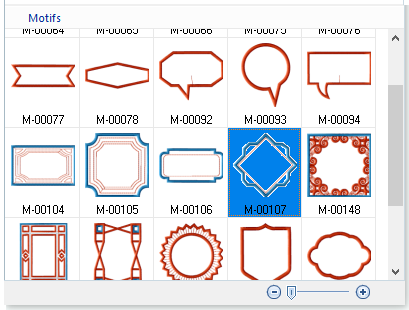
➢The third panel shows all the embroidery motifs included in the selected category. ➢Select the desired motif. |
|
For this example, we will select: •category: Animals and Bugs •design: M-00532
|
|
If you want to open the motif with the original size: ➢Drag it into the workspace to load it.
If you want to open the motif with a new size: ➢Double click the left mouse button on the motif ➢Place the mouse cursor on the workspace where the upper-left corner of the new object will be located. Press and hold the mouse left button while dragging the cursor to the position of the bottom-right corner of the new motif. ➢Release the mouse button to confirm it. |
|

Create a New Motif
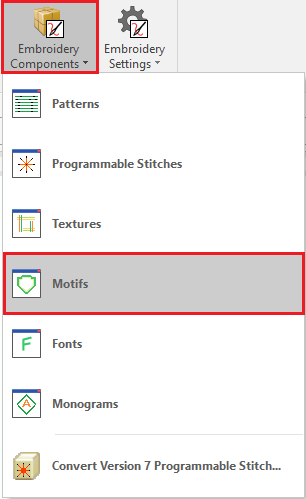
➢Select the tooltab EMBROIDERY ➢Click on the small arrow next to the "Embroidery Components" button. ➢Select the component type "Motifs". |
|
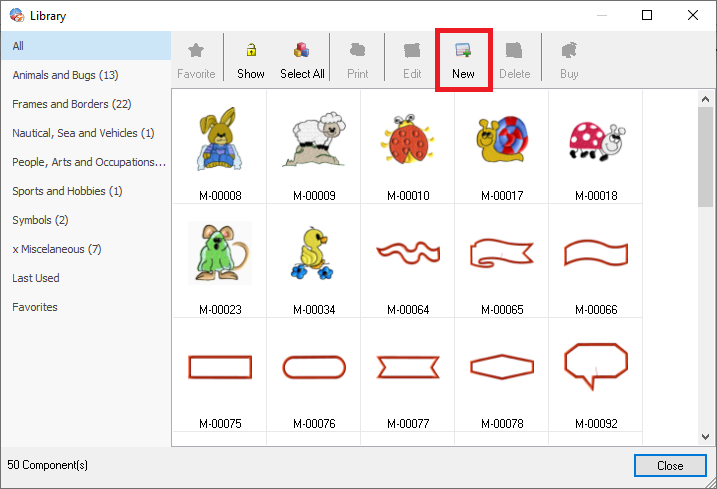
The Motifs Library tool will open. ➢Click on "New" to open a new blank document. |
|
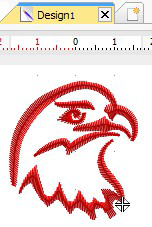
An embroidery motif is just an embroidery design that you want to store organized to use it later in several opportunities. ➢Use the embroidery digitizing tools to create a small design on the new design document to add to the motif library. Note: You can also copy part of another design. |
|
➢Once finished, save the new Motif. Click on the "disk" icon from the Quick Access toolbar.
|
|
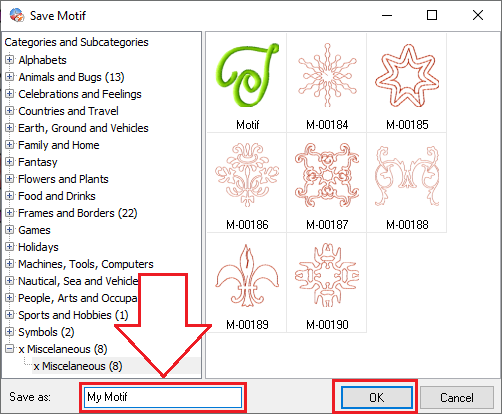
➢Select the category (and subcategory) for the new motif from the left pane. Designs included on the selected category are displayed on the right pane. ➢Enter the new motif name and click on the "OK" button to confirm. |
|
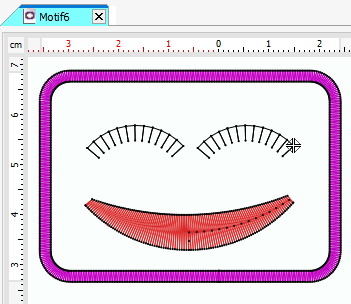
Create a Motif "on the fly"
|
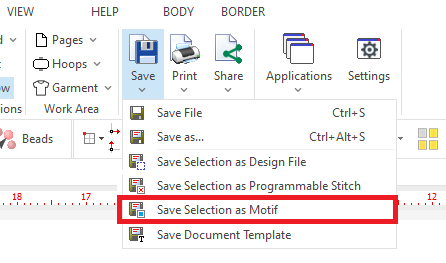
You can easily create a Motif by selecting objects in the design and using the command "Save Selection as Motif" located at the HOME tool tab, Output group, SAVE button. The Motif library will be opened so you can classify the motif within the existing categories and subcategories.
|
Edit existing Motifs
➢Select the tooltab EMBROIDERY ➢Click on the small arrow next to the "Embroidery Components" button. ➢Select the component type "Motifs". |
|
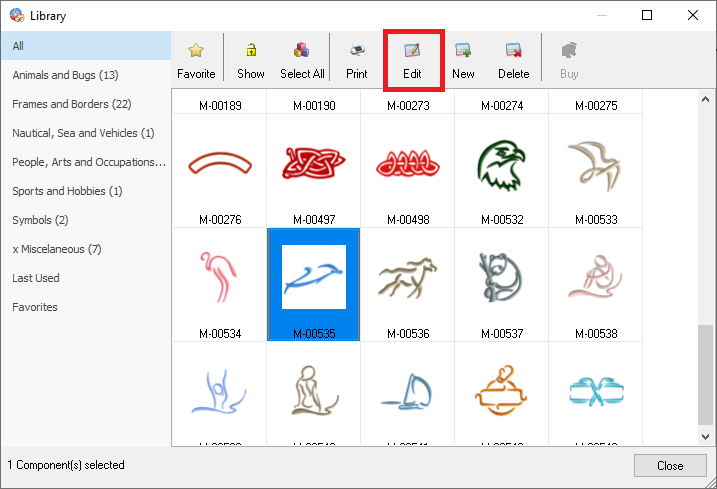
The Motifs Library tool will open. ➢Select the motif to edit. ➢Click on "Edit". |
|
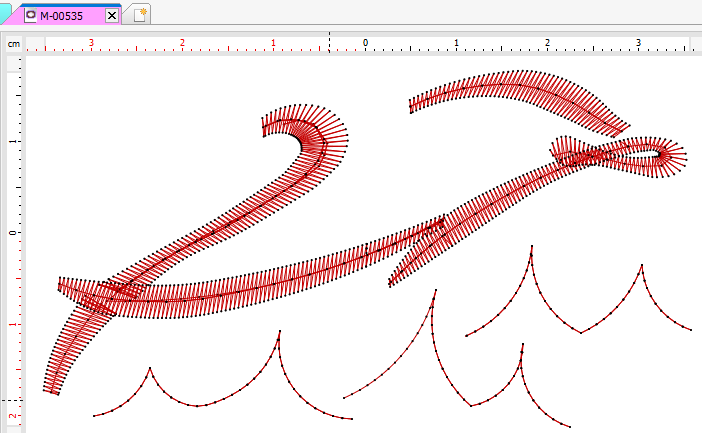
A new document (tab) will open containing the selected motif. ➢Use any of the Object Editing functions to modify this motif.
|
|
➢Once finished, save the updated motif. Click on the "disk" icon from the Quick Access toolbar. Note: The new design will overwrite the previous motif.
|
|
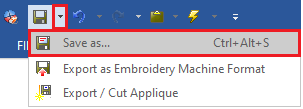
You can also save the design as a new motif to avoid overwriting the original motif. ➢Click on the dropdown arrow next to the "disk" icon and select the option "Save as...". |
|
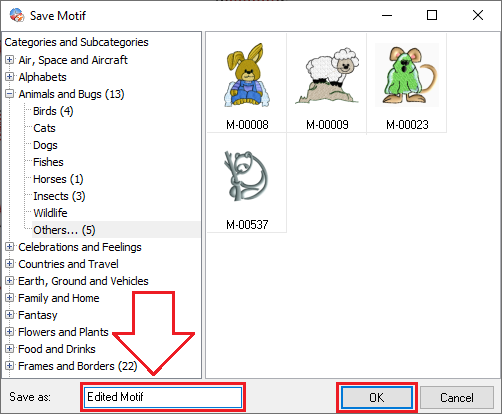
➢Select the category (and subcategory) for the new motif from the left pane. Designs included on the selected category are displayed on the right pane. ➢Enter the new motif name and click on the "OK" button to confirm. |
|
Read about the availability of this feature in your software level: Embroidery Office Levels & Features |