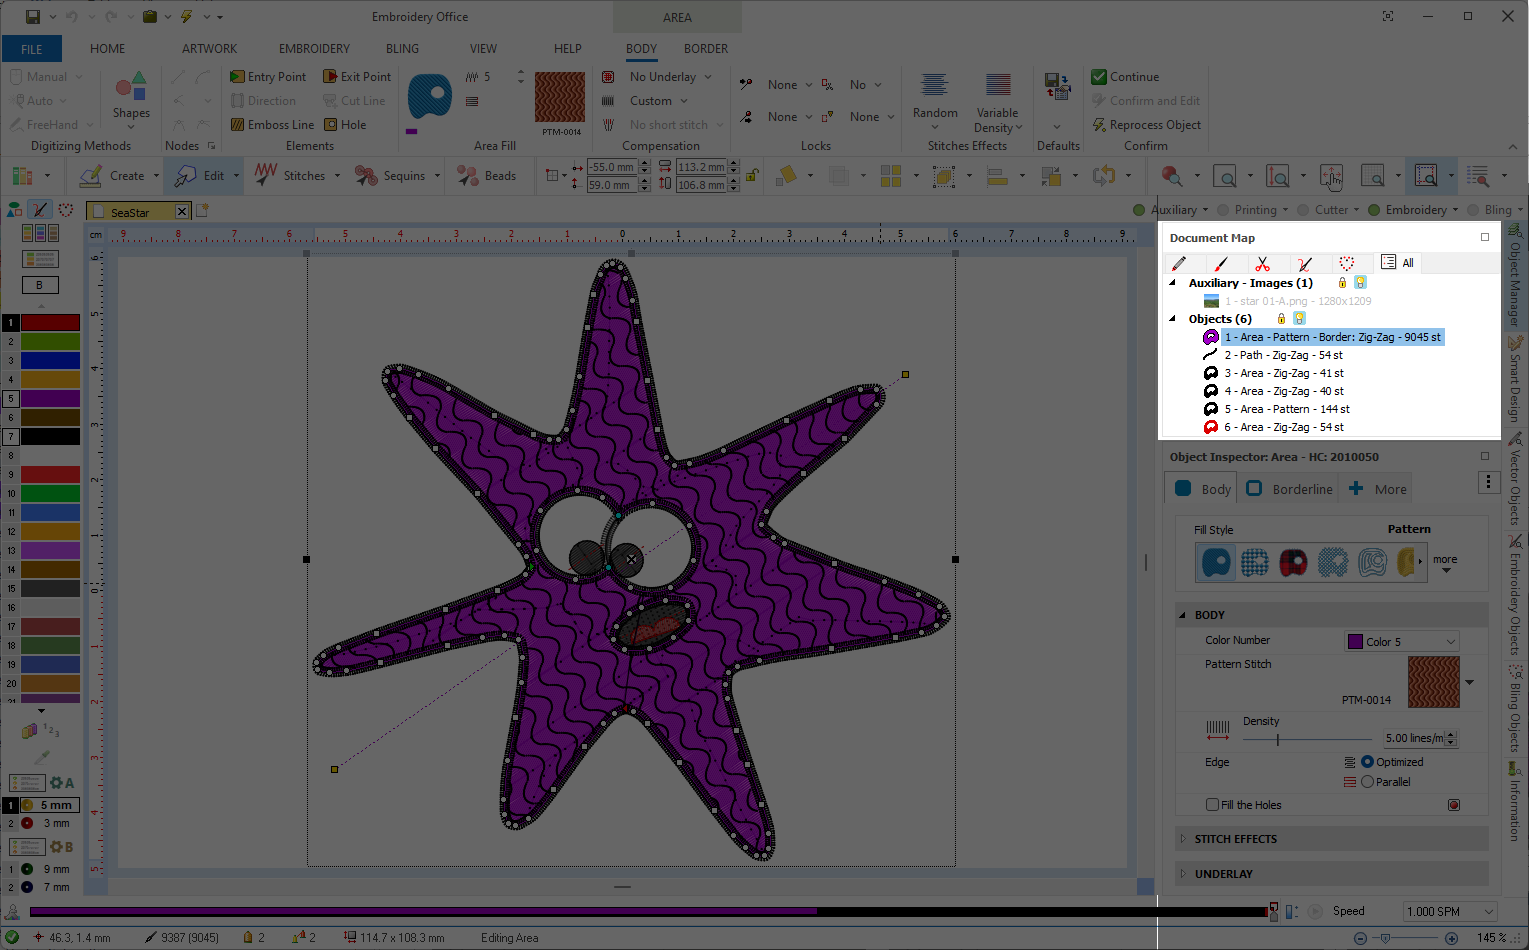
The Document Map is a panel that includes a list of all the objects of any kind contained in the design. The objects are listed in the same sequence as they were defined in the design. Not only the Document Map is a static list of objects, but there are many available functions that you can execute by using the Document map. You can open the Document map by clicking on the "Object Manager" tab on the right side of the screen. The Document Map is synchronized with the active design, that is, any change made in the Document Map will be reflected in the design of the Workspace, and any change made in the design of the Workspace will be reflected in the Document Map. |
|
Objects Visibility
|
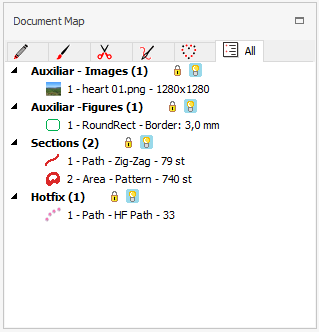
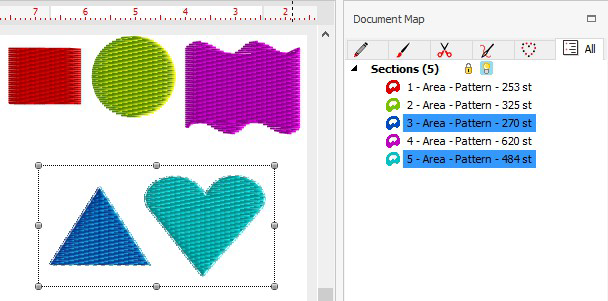
Filter by decoration type ➢Select the type of decoration you want to see on the list through the tabs By default, the tab "All" shows all the decoration types in the same list (images, vectors, embroidery objects, hotfix objects, etc.) Block/Hide objects The functions of the icons at the right of each object type are: •The padlock icon allows to lock/unlock the selected object type. •The bulb icon allows to hide/show the selected object type. |
View Options
|
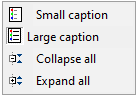
➢Press the right mouse button on the Document Map header to access visualization options, such as: •Small caption / Large Caption: Allows to control how many information is displayed for each element. •Collapse all / Expand all: Collapses or expands the entire tree. |
Objects Editing using the Document Map
Select Objects, Sequence Objects
|
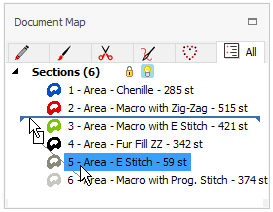
Select object or objects ➢Just click on the object. The selected object will be also highlighted on the Workspace ➢If you want to select more objects, click each additional object while pressing the Ctrl key. Delete selected object or objects ➢Select an object or several objects ➢Press the Del (delete) key. Change the objects sequence You can use the Document Map to edit the object sequence. ➢Press and hold the left mouse button to drag any section within the Document Map. ➢The horizontal blue line showing indicates the position within the sequence where the object being dragged will be placed if you release the mouse button. |
Objects GROUP
A Group is a set of objects geometrically linked, that is, every object in a Group will be moved, scaled and transformed together, as a whole.
The objects of a group may not to be consecutive in the object sequence. Groups are not displayed in a special way on the Document Map, but the included objects will be highlighted when you select the group.
|
How to create a group?
➢Select the objects
➢Group the objects from the Block Menu, Group Objects function..
Objects PACK
A Pack is a set of objects geometrically linked.
The objects included in the pack are consecutive in the sequence of objects. A letter is an example of Pack. It is basically a group of consecutive objects.
|
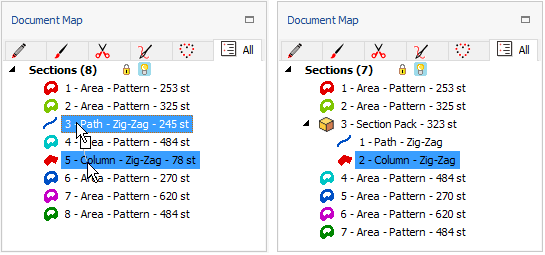
Object Packs are displayed with a plus (+) icon. You can press on it to explore the pack content.
How to create an Objects Pack?
➢Press and hold the CTRL key and drag an object over any other. Both objects will be joint in a Pack.
➢You can add more objects to an existing Pack by dragging them inside it.
How to dissolve an Objects Pack?
➢Select it on the Document Map and click on the function Explode on the Block Menu.
Objects BRANCH
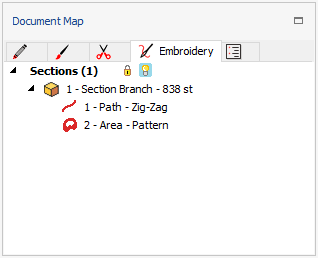
The Objects Branch is an Objects Pack with another feature: the stitches of all the objects are generated as a special group with just one entry and exit point for all the group.
|
Branches are displayed with a box icon. Although sections are shown in order, the stitch sequence inside a branch is controlled by the program.
|
How to create a Section Branch?
➢Select the objects and click on the function Branch on the Block Menu.
➢You can also explode or disconnect an Objects Branch from the same Block Menu.