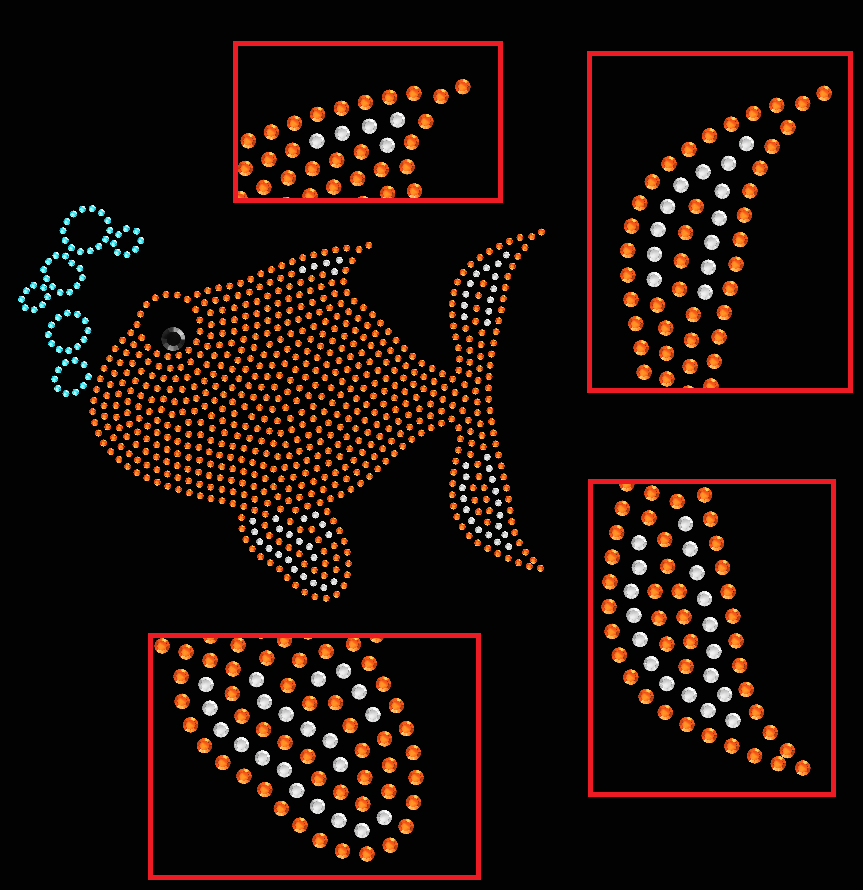
Creating a simple hotfix design from any image, using interactive digitizing modes, and some stone editing.
You can create this design while you read this article.
|
This example includes: •Creating a new design document •Load a raster (bitmap) Image. Resize it. •Bling Types Library. Set the Bling Palette. •Bling Object Type: Area + Uniform Fill •Digitizing Mode: Auto-trace •Object Elements: Holes •Manual Bling •Edit Bling Beads |
Open a new blank design document
➢Click on the New Document Tab, that is the small tab on the top of the workspace with blank document icon. You can also open a Blank Design Document from FILE > OPEN menu. |
|

Load a Raster Image
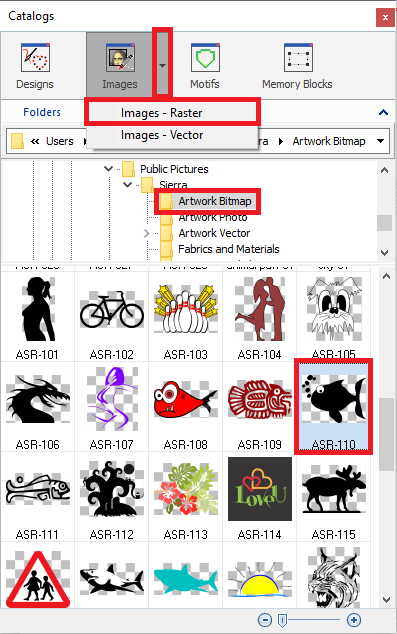
➢Click on CATALOG on the MAIN toolbar to open the Catalog tool. |
|
➢As we need to import a raster image, select the media type Images-Raster on the Catalog tool. ➢Select the folder where the image is located. ➢The bottom panel of the Catalog displays the contents of the folder for the selected media type. ➢Selected the clown-hat 01 raster image from the Artwork Bitmap folder. ➢Drag the image into the workspace to load it. |
|
Resize the raster image
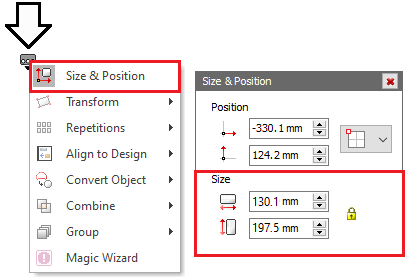
➢Change the raster image size from the Block Menu. Place the mouse on BLOCK MENU to unfold the tools. ➢Click on Size & Position. ➢Set Use a 130.1 x 97.5 mm size from the Size group. |
|
Personalize the Bling Palette
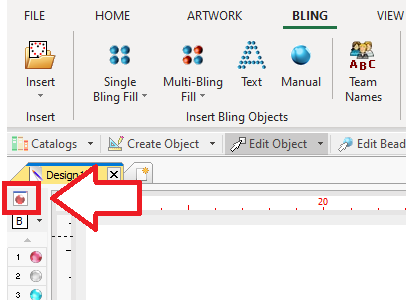
➢Before starting the digitizing process, we use to customize the bling palette. ➢Select the tooltab BLING ➢Click on the Bling Palette icon. |
|
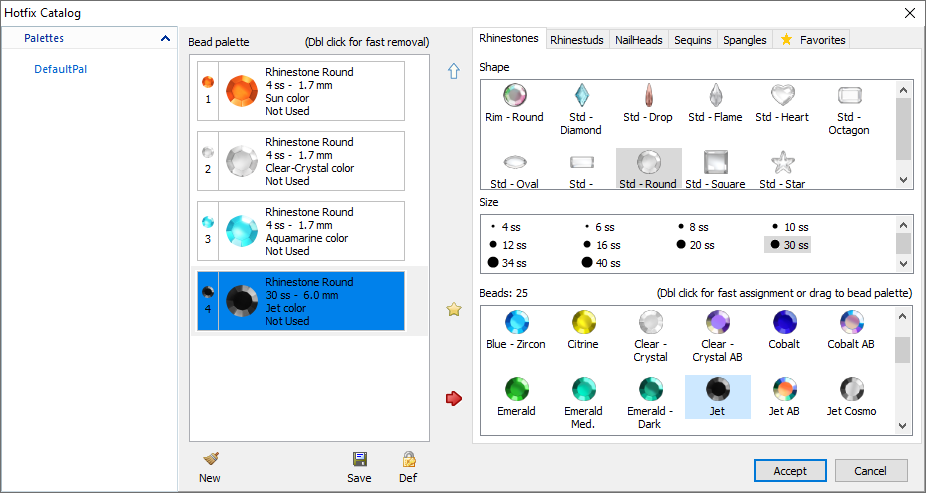
➢On the Bling Palette Editor, press on New at the bottom left to create a blank palette. ➢Navigate through the different tabs and options on the right panel to select the desired bling type, shape, size and color. ➢To add a bling type to the palette on the left panel, double click on it or press on the green arrow between the panels. ➢For the example, we selected four Rhinestone Round stones: •The 4ss - 1.7 mm Sun Color. •The 4ss - 1.7 mm Clear-Crystal Color. •The 4ss - 1.7 mm Aquamarine Color •The 30ss - 6.0 mm Jet Color. |
|
Create the fish shape
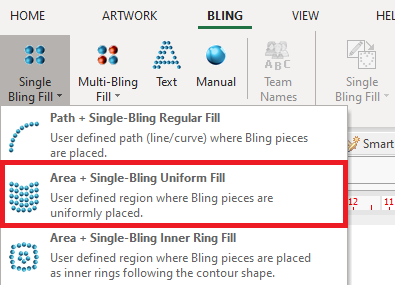
Define the object type ➢Press on Single Bling Fill and select Area + Uniform Bling Fill style. |
|
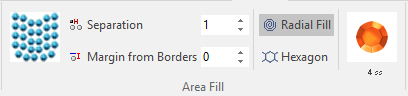
Define the object properties ➢Set a 1 mm bead separation and a 0 mm margin. ➢Select the 4ss - 1.7 mm Sun Color stone. |
|
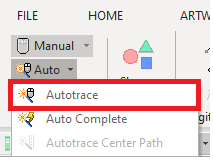
Digitize the object ➢Press on Auto and select the Autotrace tool. |
|
➢To start digitizing an area, click on the part of the image you want to trace. ➢The image border will be highlighted. |
|

➢Click on the Enter key to confirm the object and generate the beads. |
|
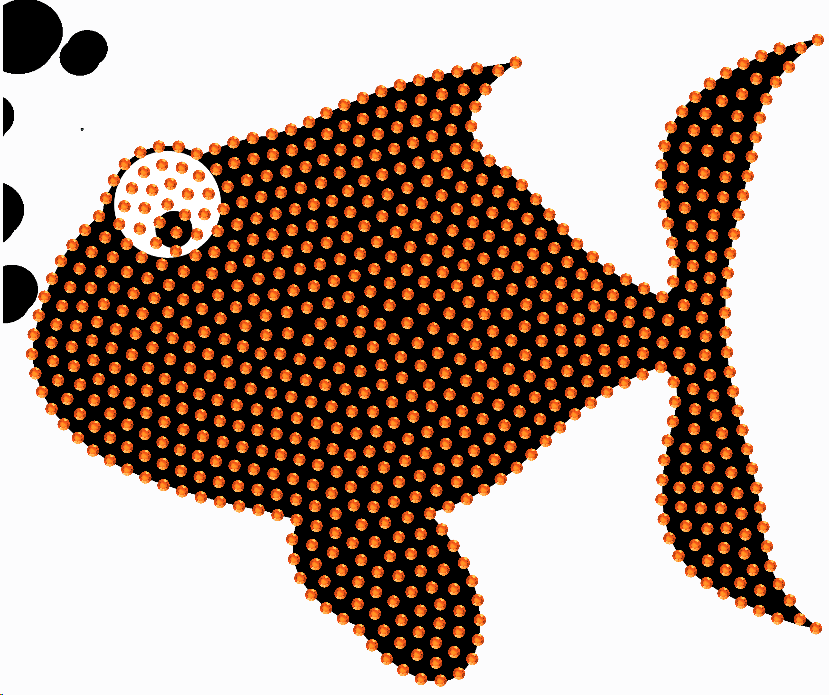
Create the holes
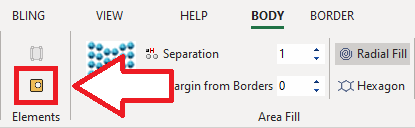
➢Click on Edit Object ➢Select the object. ➢Click on the "Hole" button on the tooltab. |
|
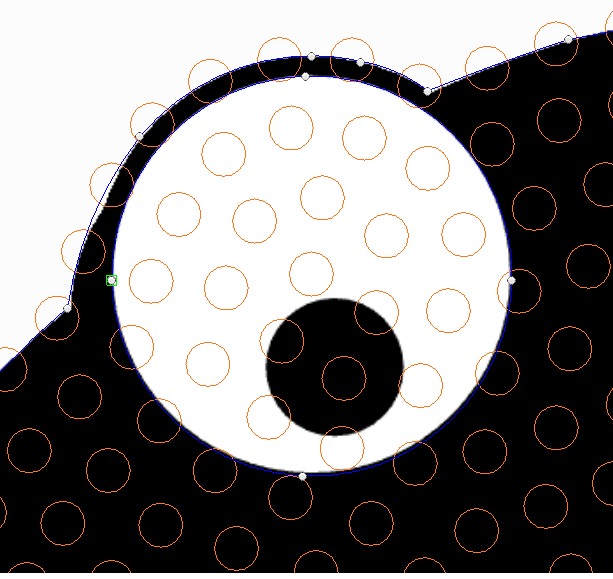
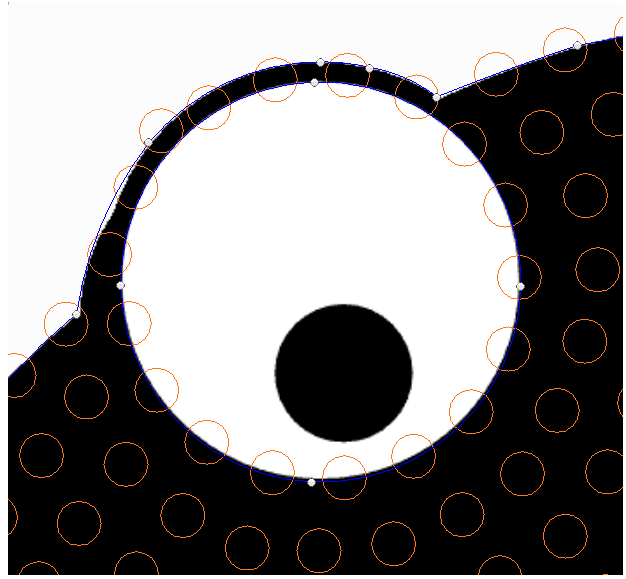
➢Digitize the eye. ➢To confirm the hole, place the last node above the first node. The applicarion will close the hole automatically. |
|
Create the bubbles
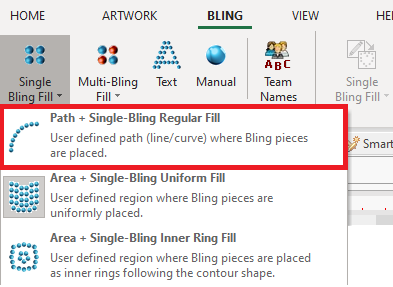
Define the object type ➢On the tooltab BLING, press on Single Bling fill and select Path + Regular Bling Fill style. |
|
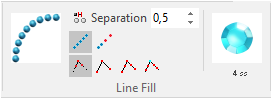
Define the object properties ➢Set a 0.5 mm beads separation. ➢Select the 4ss - 1.7 mm Aquamarine Color stone. |
|
Digitize the object using the Auto-trace tool ➢Press on Auto and select the Auto-trace tool. |
|
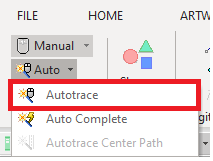
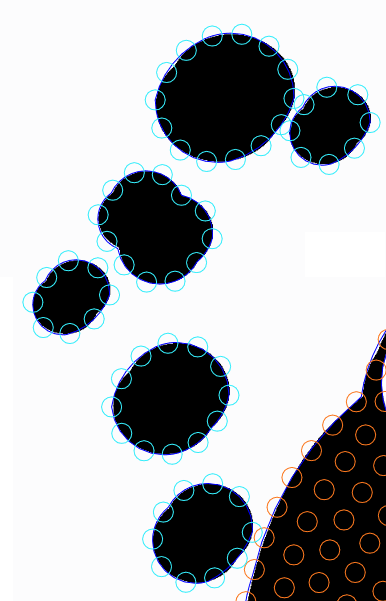
➢Move the mouse cursor over a shape to digitize and click on it. ➢The shape will be recognized and will be surrounded by a flashing dashed line. ➢Repeat the steps with the other shapes. |
|
Manual Bling
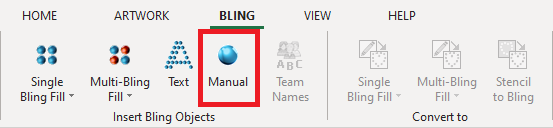
Define the object type ➢On the tooltab BLING, click on Manual Bling. |
|
Define the object properties ➢Select the 30ss - 6.0 mm Jet Color. |
|
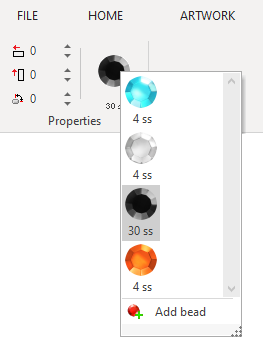
Define the objects ➢Place one bling bead on the iris of the eye. |
|
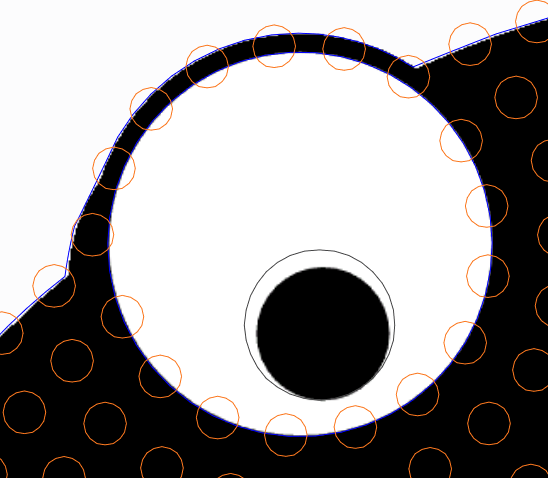
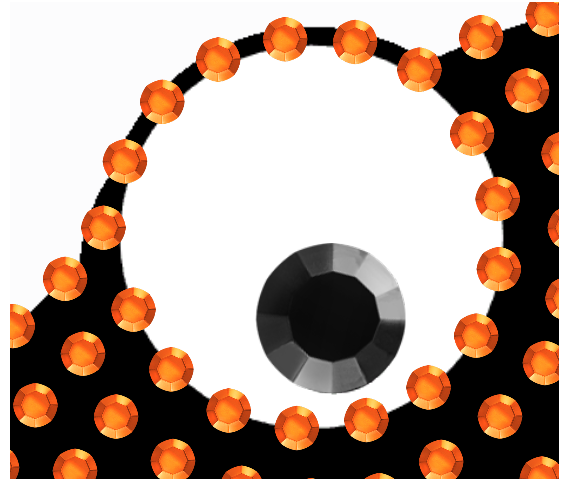
Editing the bling beads
If some beads are overlapped or too close, you can move them (Beads Editing).
|
|
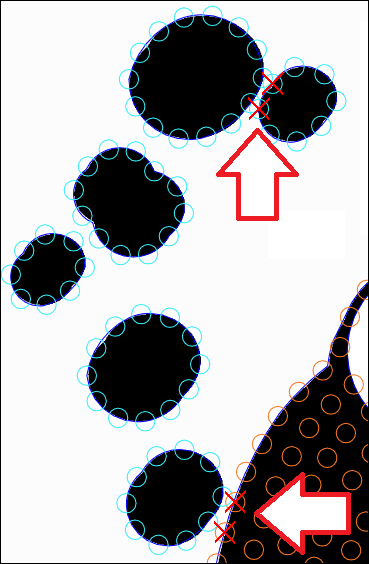
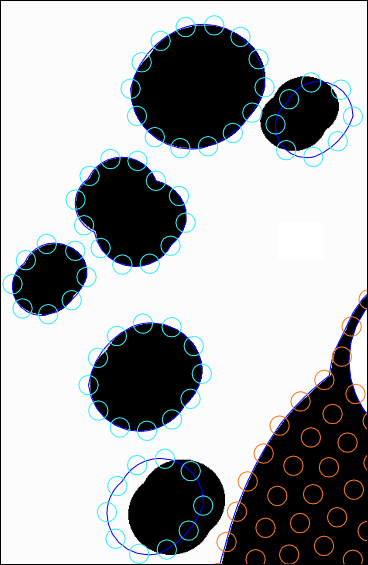
➢Click on Edit Bead. ➢Select a bling bead on the workspace. |
|
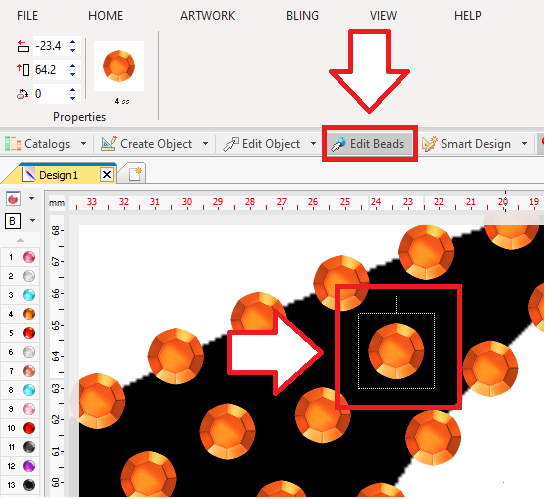
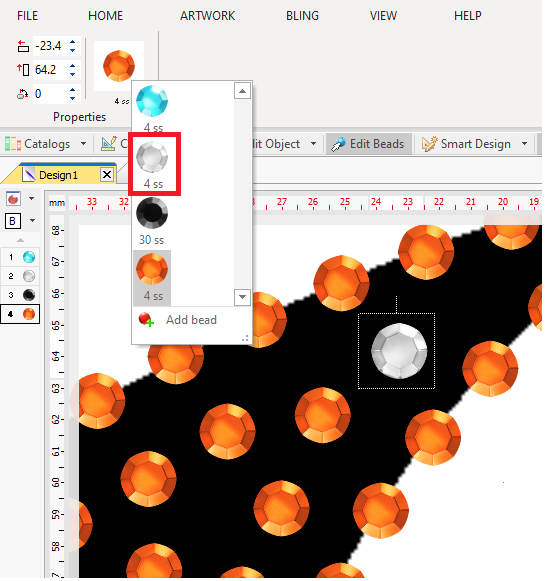
➢On the tooltab, select a different bling type to replace it. ➢Repeat the process on the beads you want to change. ➢Move or delete the beads you want. |
|
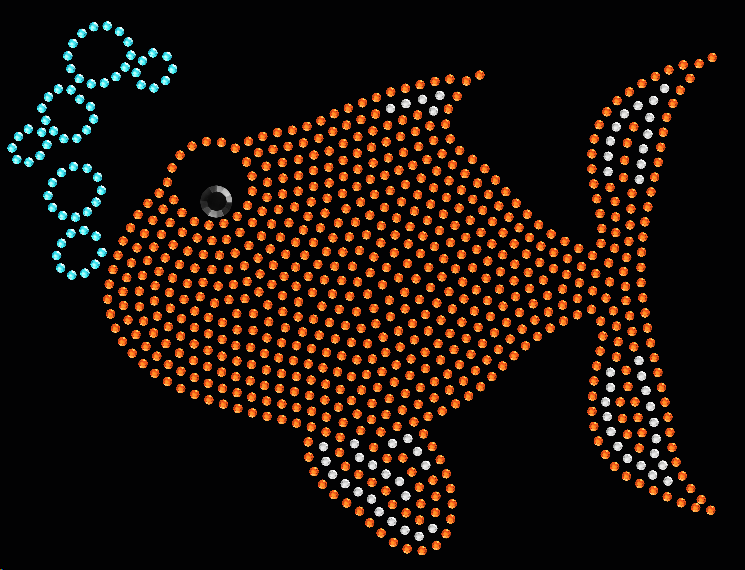
Final Design