Creating a simple bling design using the lettering system and some other objects from pre-defined geometric shapes.
You can create this design while you read this article.
|
This example includes: •Creating a new design document •Bling Text. Arrange it. •Bling Object Type: Area + Uniform Bling Fill •Geometic Shapes •Bling Object Borderline |

Open a new blank design document
➢Click on the New Document Tab, that is the small tab on the top of the workspace with blank document icon. You can also open a Blank Design Document from FILE > OPEN menu. |
|
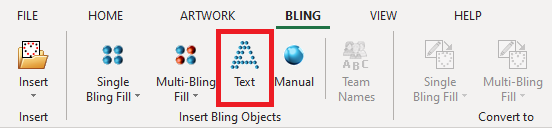
Select the Lettering Tool
➢Select the tooltab BLING ➢Then press on Bling Text. |
|
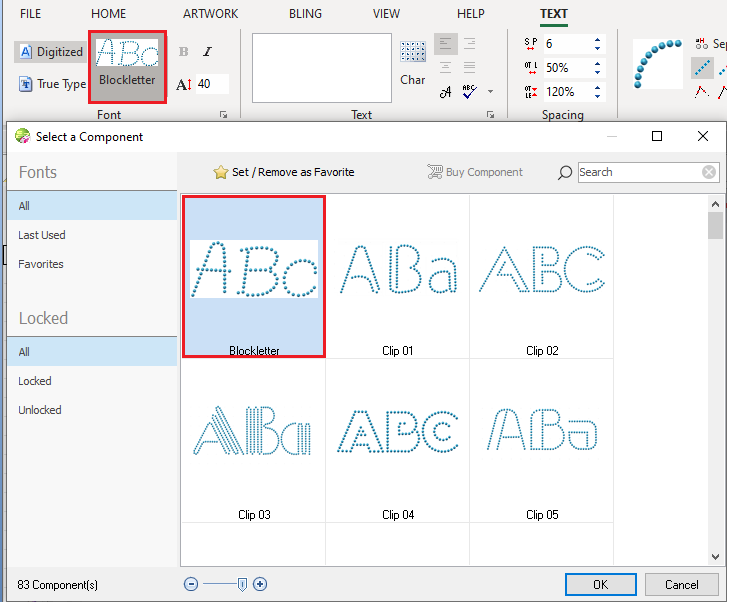
Select the font to use
➢Select the font type: Digitized Fonts ➢Click on the "Font Preview" button to open the library of pre-digitized fonts. ➢Select the BlockLetter font. ➢Click on Ok to continue. |
|
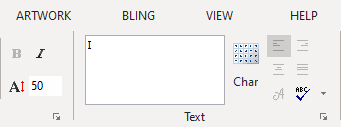
Create 2 text objects
➢Click on the Text edit box (rectangle) ➢Type the text "I". ➢Press Enter key to confirm the text.
|
|
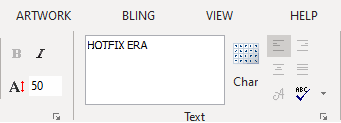
Repeat the process to create a new text. ➢Click on the Text edit box (rectangle) ➢Type the text "HOTFIX ERA". ➢Align text to center. ➢Press Enter key to confirm the text. |
|
Both text objects are displayed on the workspace. |
|

Define the text properties
➢Select the text object using the Edit Object tool. |
|
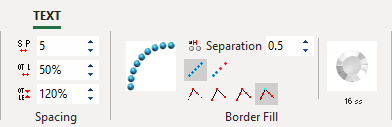
➢Set a bling type by pressing on the bling type thumbnail on the tooltab. Use a Rhinestone Round 16ss - 3.8 mm Color Clear-Crystal stone. ➢Change the beads separation for both text objects to 0.5 mm. ➢For the "HOTFIX ERA" text object, set the letter spacing to 5.0 mm and word spacing to 40%. |
|
Define the text layout
➢Select the "HOTFIX ERA" text object. ➢Select Arrange function from the tooltab. ➢Select the Lower Arc arrangement. |
|
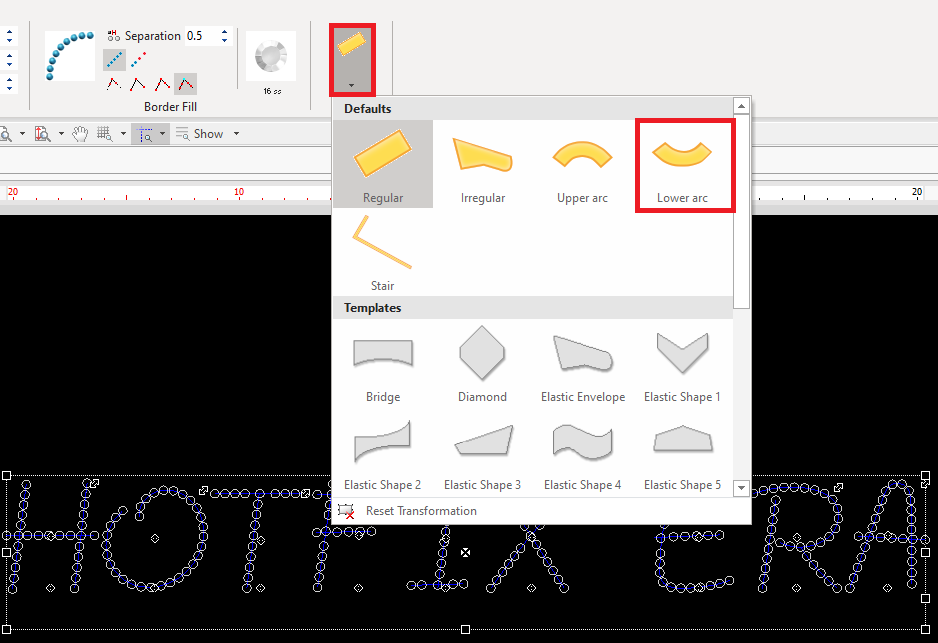
➢Place the mouse on the upper middle grip of the selection box. ➢Press and hold the mouse left button and drag down the mouse to modify the shape of the arrangement. ➢Release the mouse ➢Click on Enter to confirm. |
|
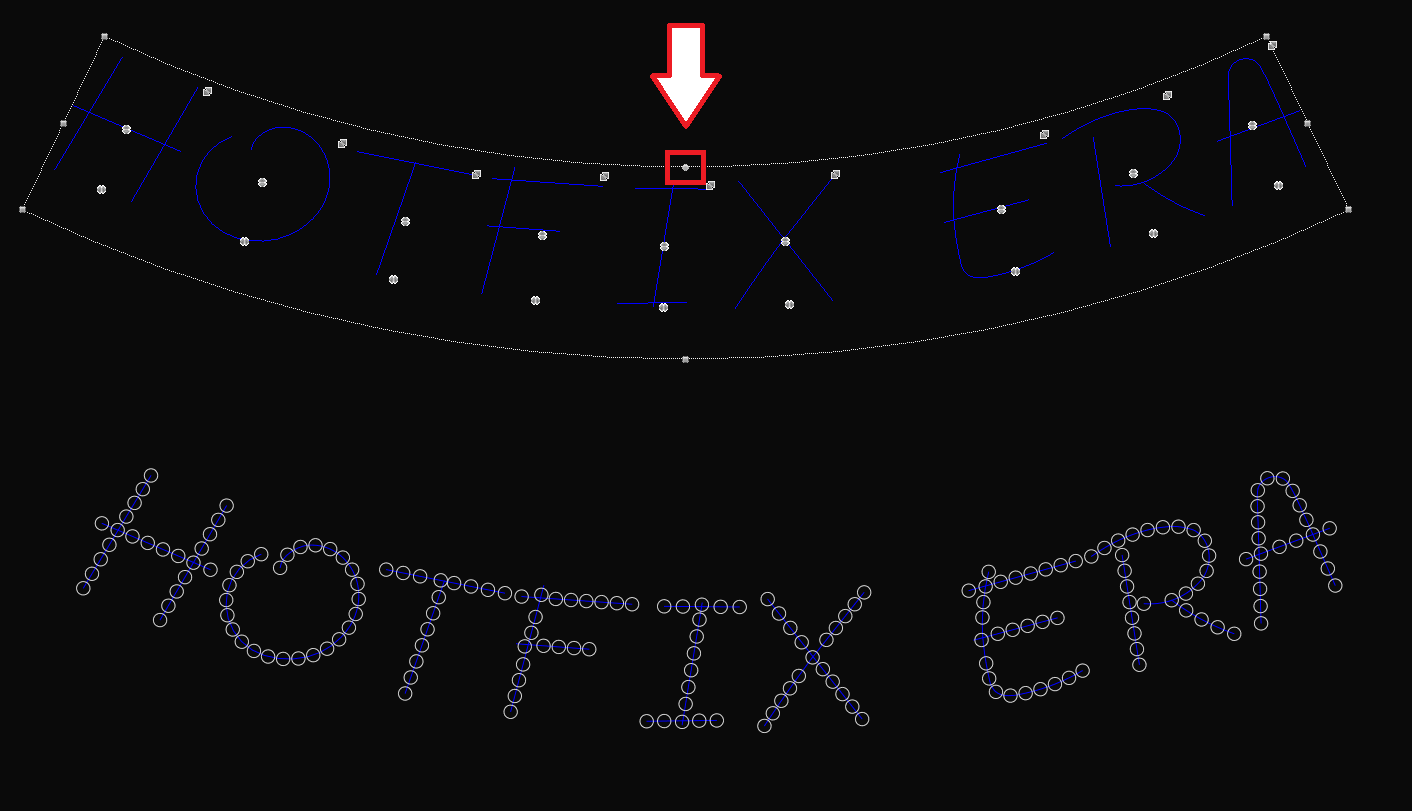
Create the star shape
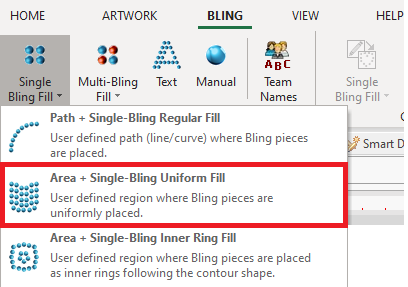
➢Select the tooltab BLING. ➢Press on Single Bling Fill and select Area with Uniform Bling Fill. |
|
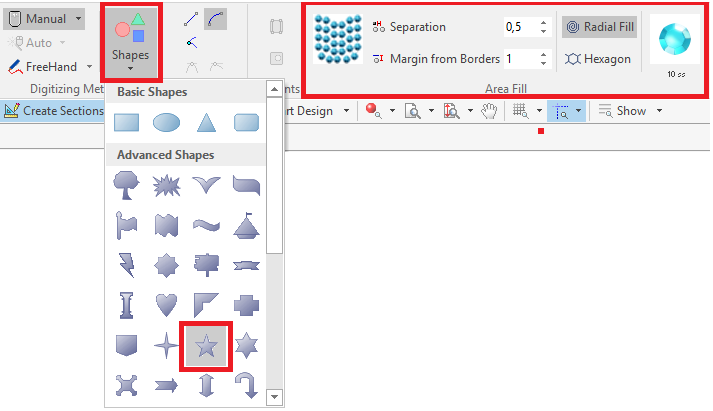
➢Press on Shapes button, and select the star shape. ➢Set a 0.5 mm beads separation and select the Rhinestone Round 10ss - 2.8 mm Aquamarine Color stone. |
|
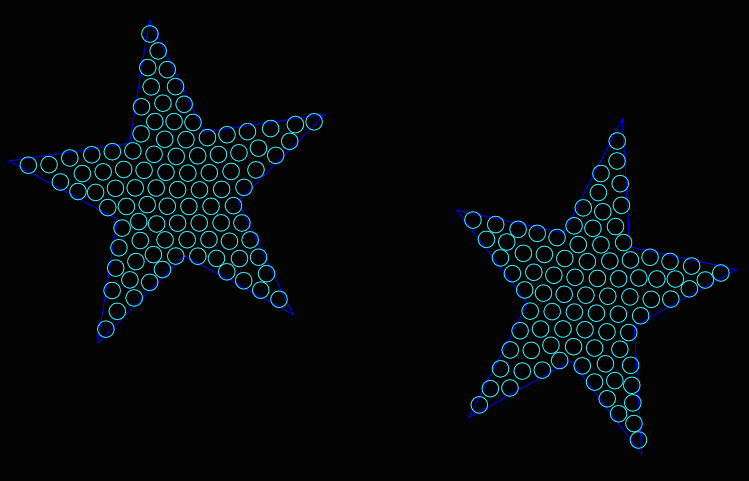
➢Press and hold the mouse left button to start creating the shape. ➢Drag the mouse to set the size. ➢Release the mouse left button to confirm the shape. |
|
Create the stars of the bottom ➢Select the tooltab BLING ➢Click on Single Bling Fill and select Path with Regular Bling. ➢Set a 0.5 mm beads separation and select the Rhinestone Round 10ss - 2.8 mm Color Rose-Lt stone. |
|
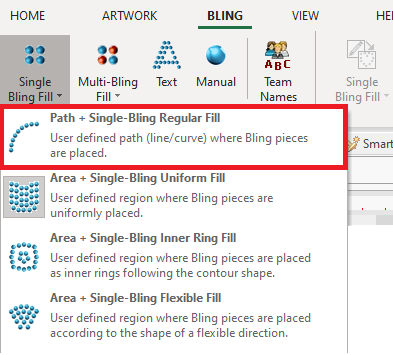
➢Repeat the press/hold/drag process to create the stars. Tip: To easily rotate a section, place the mouse cursor on any corner grip. Press and hold the Ctrl key. The mouse cursor will change to a rotation cursor. Then, without releasing the Ctrl key, press and hold the mouse left button. Drag it to rotate the object. |
|
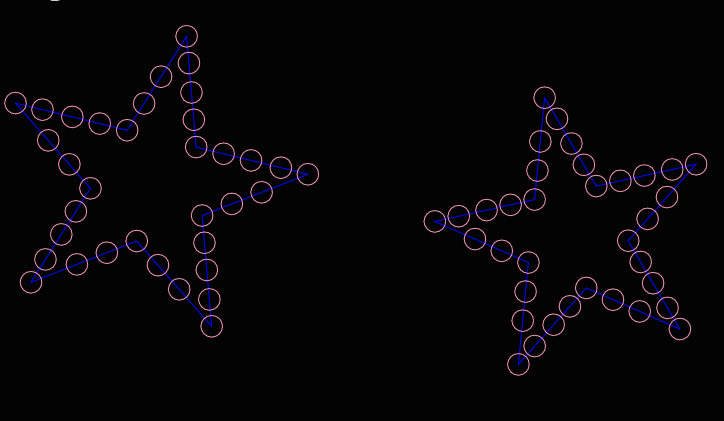
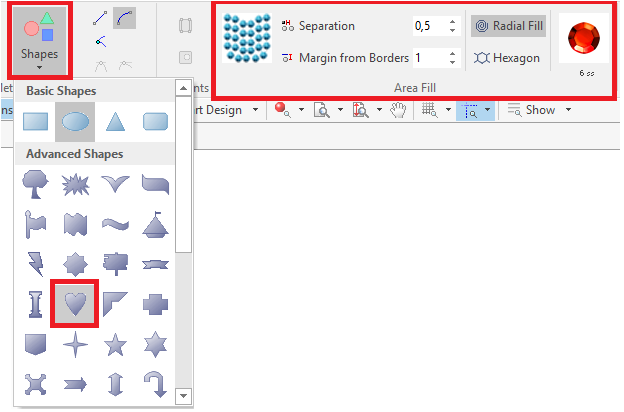
Create the heart shape
➢Select the tooltab BLING. ➢Click on Single Bling fill and select Area with Uniform Bling Fill. ➢Click on Shapes and select the heart shape. ➢Set a 0.5 mm beads separation and select the Rhinestone Round 6ss - 2.0 mm Color Siam stone. |
|
Add a border to the heart. ➢ Select Border on the tooltab. ➢Select Path with Regular Bling Fill for the border. |
|
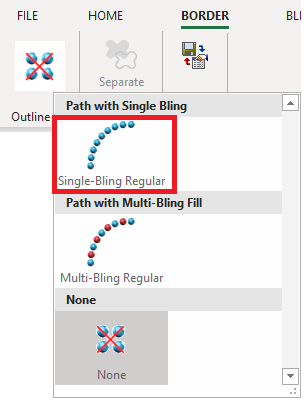
Define the heart properties
➢Set a 1.4 mm beads separation and select the Rhinestone Round 16ss - 3.8 mm Color Amethyst stone. |
|
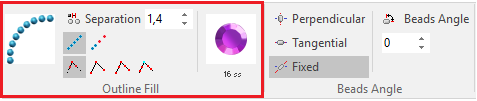
➢Press and hold the mouse left button to create the shape. ➢Drag the mouse to set the size. Release the mouse left button to confirm the shape. ➢To adjust the object position, first select it, press and hold the mouse left button and move the mouse. Release the button and press Enter to confirm. |
|
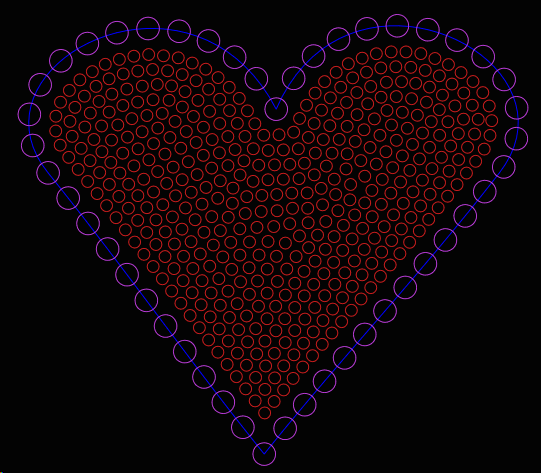
Final Design

3D view of the design