As explained, digitizing is the process of creating embroidery objects. You will be able to digitize objects starting from a raster image (image on the background), from a vector image or just objects created on the fly.
Steps are:
1.Select the Object Type & Bling Fill Style
2.Adjust the Bling Fill Properties
3.Select the digitizing method
4.Define the geometry of the object
This article shows different ways to select the object types & bling fill styles. Details about the different bling object types, their bling fill styles and the properties of the bling fill styles are explained in Object TYPES & Fill STYLES.
Select the object type (and the fill style) you want to create
You can use any of these 3 options to select the object to create.
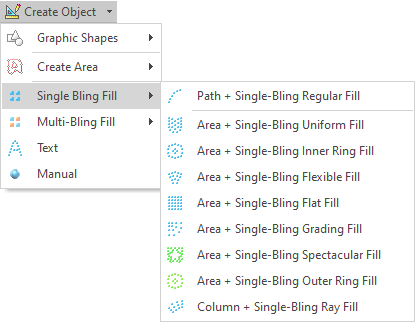
Using the CREATE OBJECT button
➢Click on CREATE OBJECTS in the MAIN toolbar. A sub-menu with the Object Types is displayed. ➢Click on the Object Type you want to create. A sub-menu with the Fill Styles is displayed. ➢Click on the Fill Style you want |
|
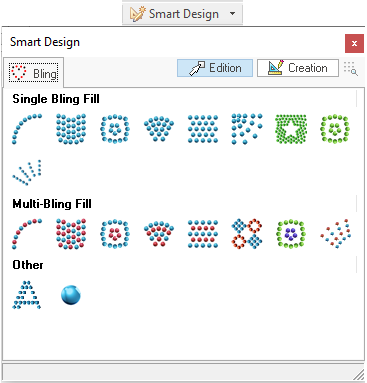
Using the SMART DESIGN tool
➢Click on SMART DESIGN in the MAIN toolbar. The Smart Design tool is displayed. ➢Click on the Object Type and Fill Style (simultaneously) you want to create.
More about this tool? Read Smart Design tool. |
|
Using the tooltab BLING
➢Click on the tooltab BLING. The tooltab BLING is displayed.

➢Click on the arrow of the Object Type you want to create (Insert Bling Objects group). A sub-menu with the Fill Styles for that Object Type is displayed.
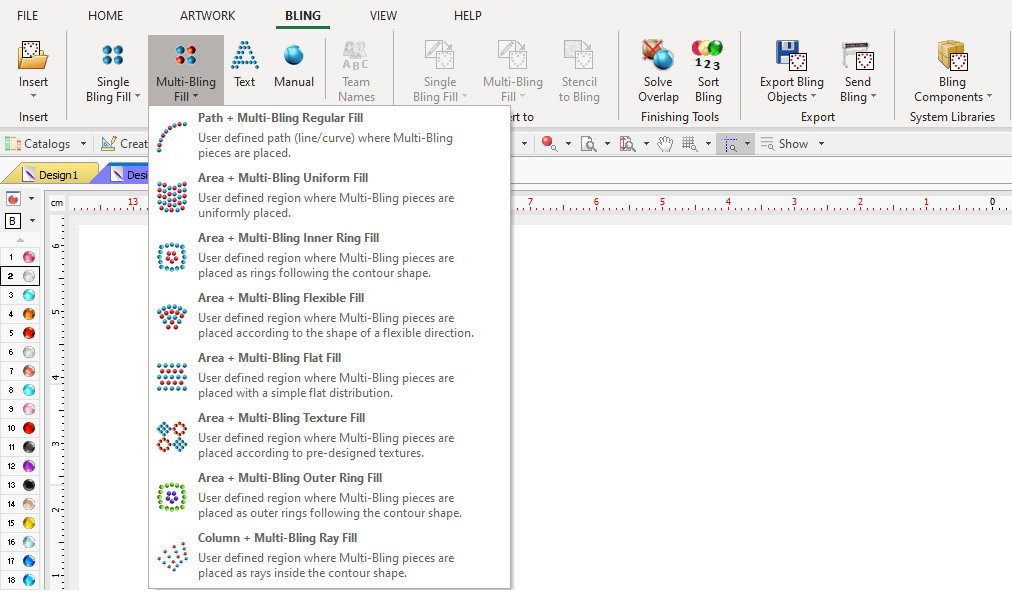
➢Select the Fill Style you want.