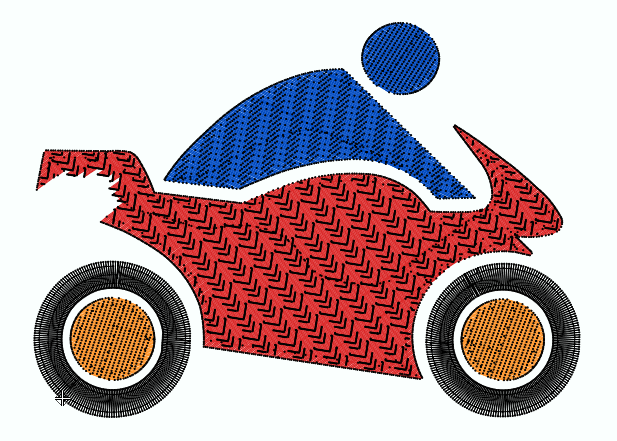
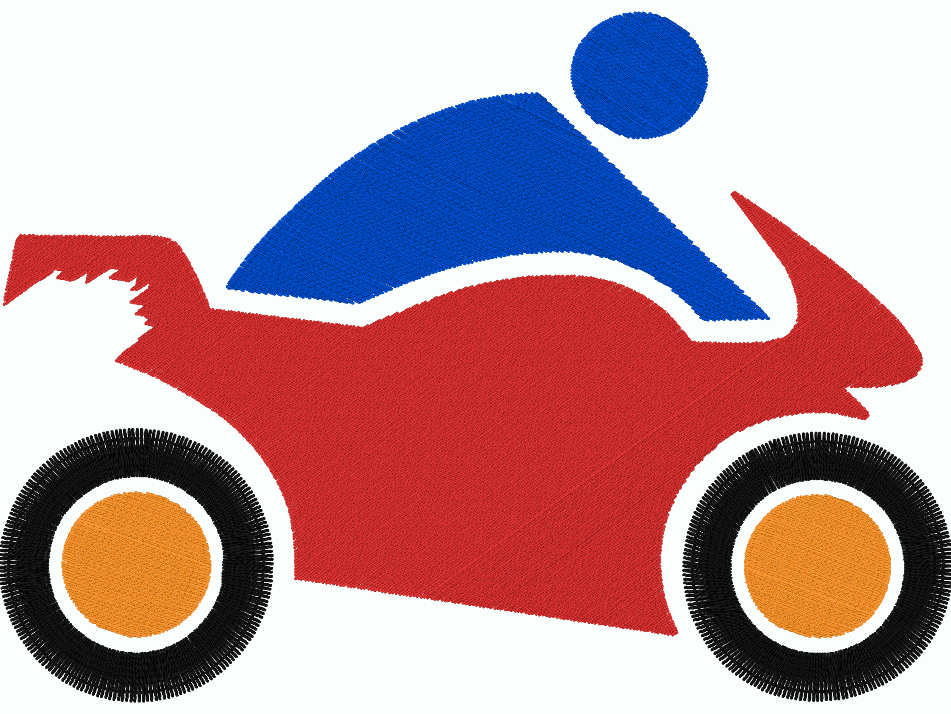
Creating a simple embroidery design from any image, using interactive digitizing modes, and some stitch editing.
You can create this design while you read this article.
|
This example includes: •Creating a new design document •Load a raster (bitmap) Image. •Smart Design •Embroidery Object Type: Uniform Area + Pattern Fill •Manual Digitizing •Stitch Direction •Object Elements: Holes •Embroidery Object Type: Column + Zig Zag Fill •Embroidery Object Type: Path + Zig Zag Fill •Embroidery Object Borderline |
Start a new design
➢Click on the blank document tab (above the workspace) to open a new design document. |
|
Load a Raster Image
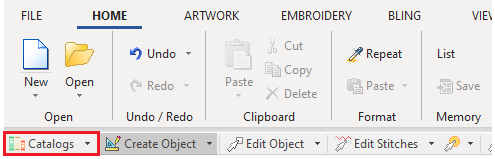
➢Press on CATALOGS on the MAIN toolbar. |
|
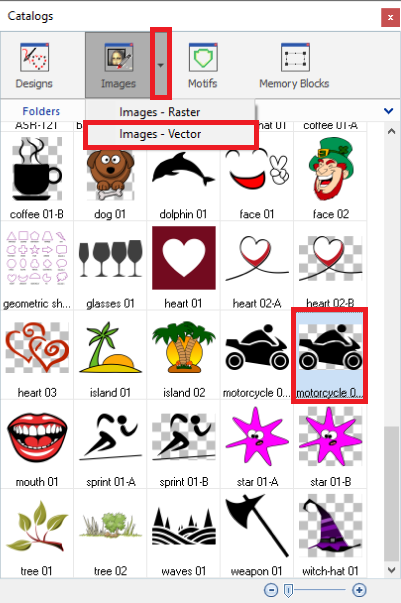
➢Select the media type Images-Raster on the Catalog tool. ➢Select the folder where the image is located. ➢The bottom panel of the Catalog displays the contents of the folder for the selected media type. ➢Select the "motorcucle 01-B" raster image from the Artwork Raster folder. ➢Drag the image into the workspace to load it. |
|
Create the Motorcycle shape
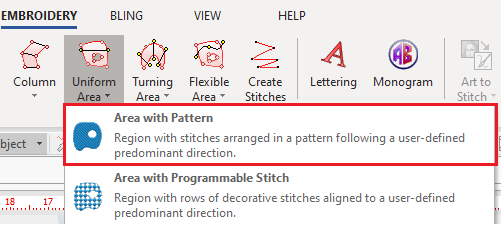
Define the object type ➢On the tooltab EMBROIDERY, Click on Area and select Area + Pattern Stitches Fill style. |
|
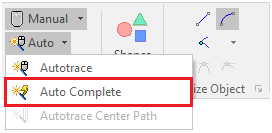
➢Click on the "Auto" button and select the "Auto-Complete" tool. |
|
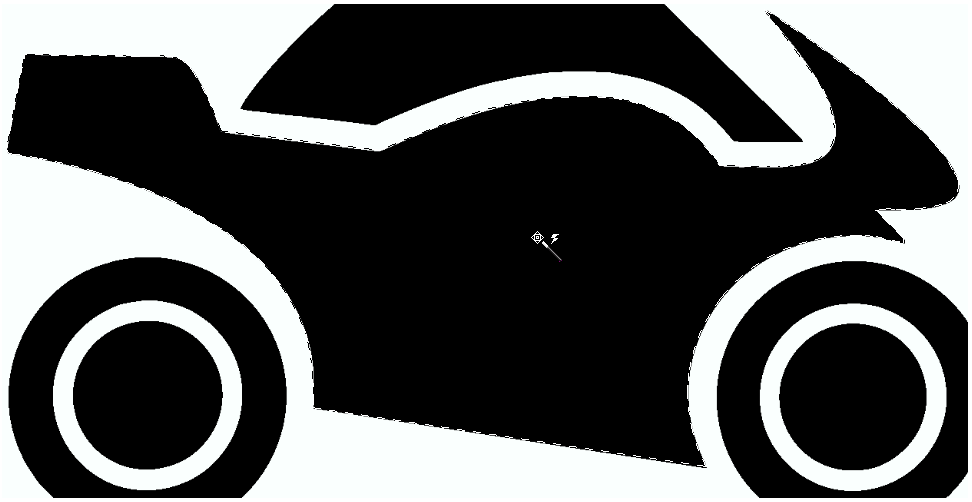
➢Digitize the motorcycle by placing the mouse cursor over the shape and clicking on it. ➢The shape will be recognized and will be surrounded by a flashing dashed line. ➢Click on the Enter key to confirm the trace, confirm the object and generate the stitches. |
|
➢Generated stitches are immediately displayed on the workspace. |
|
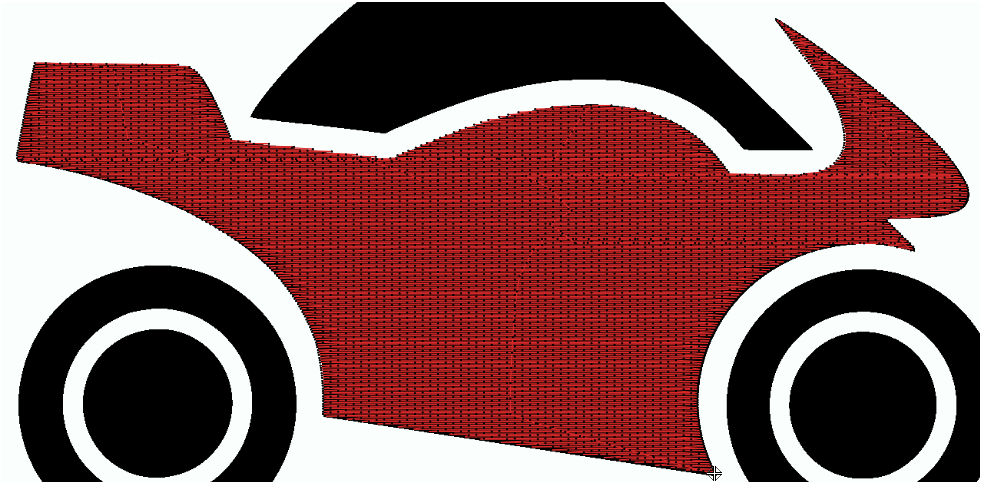
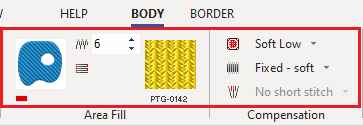
Define the object properties: We could define the object properties before digitizing the shape. But, as we didn't define them before, now we have to edit this object to set the appropriate values. ➢Click on the Edit Object function on the MAIN toolbar. Then select the object to edit. ➢Set a stitch density value of 6 lines/mm. ➢Change the color of the section to red. ➢Select the PTG-0142 pattern. ➢Set a "Fixed - Soft" Stitch Compensation. ➢Set a "Soft Low" Underlay. |
|
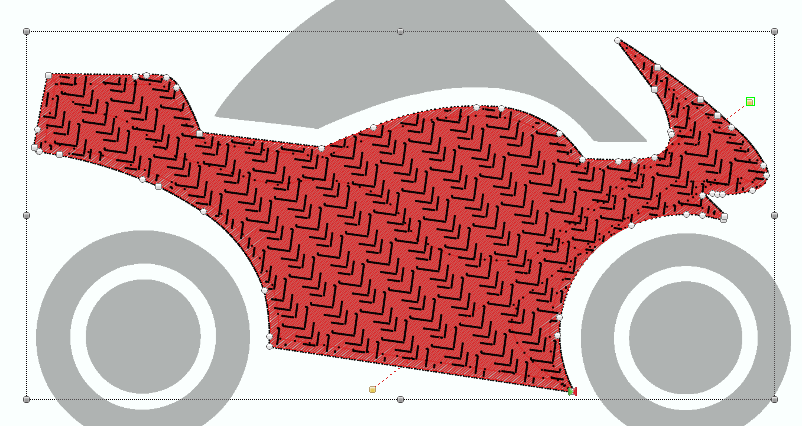
➢Modify the stitch direction of the section. |
|
Create the wheels interior
Define the object type ➢On the tooltab EMBROIDERY, Click on Area and select Area + Pattern Stitches Fill style. |
|
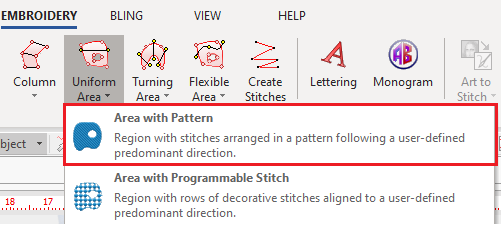
➢Click on the "Auto" button and select the "Auto-Complete" tool. |
|
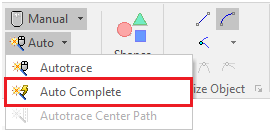
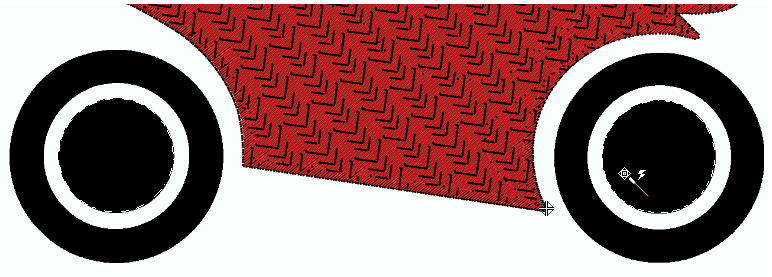
➢Digitize the wheels interior by placing the mouse cursor over the shape and clicking on them. Hint: By pressing and holding the Ctrl key, you will be able to trace several shapes at a time. ➢The shapes will be recognized and will be surrounded by a flashing dashed line. ➢Click on the Enter key to confirm the trace, confirm the object and generate the stitches. |
|
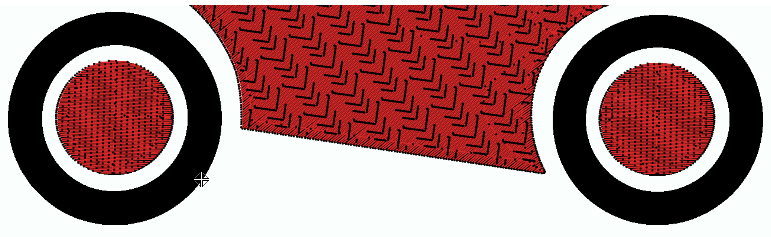
➢Generated stitches are immediately displayed on the workspace. |
|
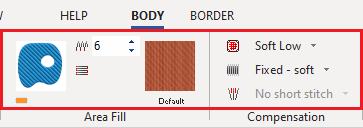
Define the object properties: ➢Click on the Edit Object function on the MAIN toolbar and select the object ➢Set a stitch density value of 6 lines/mm. ➢Change the color of the section to orange. ➢Use the default pattern. ➢Set a "Fixed - Soft" Stitch Compensation. ➢Set a "Soft Low" Underlay. |
|
➢Modify the stitch direction of the section. |
|
Create the wheels
Define the object type ➢On the tooltab EMBROIDERY, Click on Turning Area and select Area + Zig-Zag Stitches Fill style. |
|
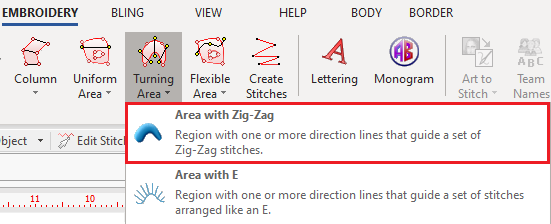
➢Click on the "Auto" button and select the "Auto-Complete" tool. |
|
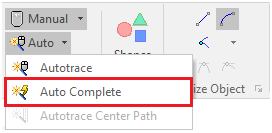
➢Digitize the wheels by placing the mouse cursor over the shapes and clicking on them. Note: By pressing and holding the Ctrl key, you will be able to trace several shapes at a time. ➢The shapes will be recognized and will be surrounded by a flashing dashed line. ➢Click on the Enter key to confirm the trace, confirm the object and generate the stitches. |
|
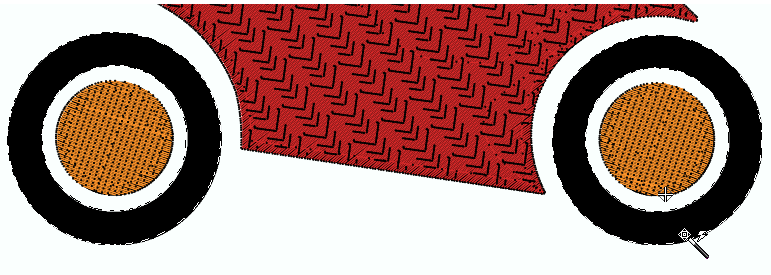
➢Generated stitches are immediately displayed on the workspace. |
|
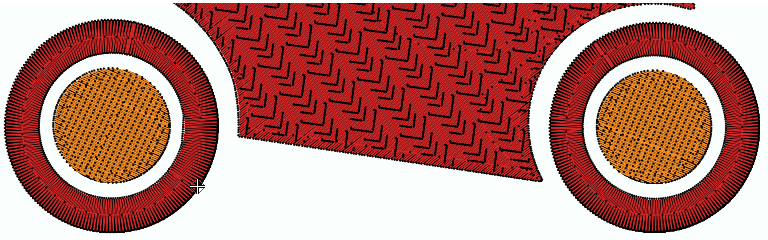
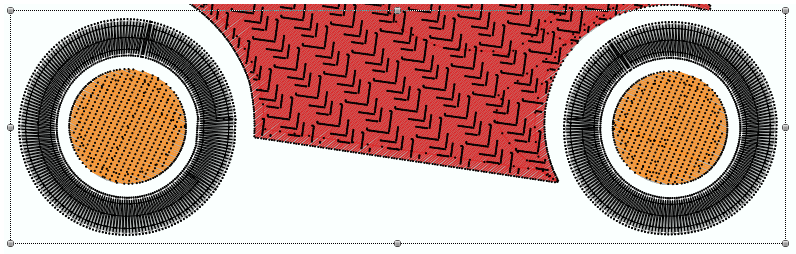
Define the object properties: ➢Click on the Edit Object function on the MAIN toolbar and select the object ➢Set a stitch density value of 4 lines/mm. ➢Change the color of the section to black. ➢Set a "Prop 5%" Stitch Compensation. ➢Set a "Soft High" Underlay. |
|
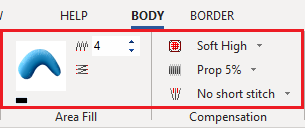
➢Area properties applied on the wheels. |
|
Create the pilot
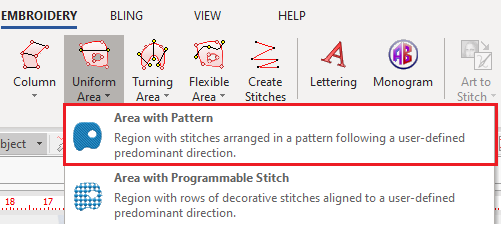
Define the object type ➢On the tooltab EMBROIDERY, Click on Area and select Area + Pattern Stitches Fill style. |
|
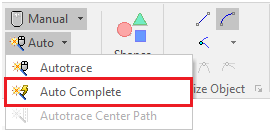
➢Click on the "Auto" button and select the "Auto-Complete" tool. |
|
➢Digitize the body and the head by placing the mouse cursor over the shapes and clicking on them. Note: By pressing and holding the Ctrl key, you will be able to trace several shapes at a time. ➢The shapes will be recognized and will be surrounded by a flashing dashed line. ➢Click on the Enter key to confirm the trace, confirm the object and generate the stitches. |
|
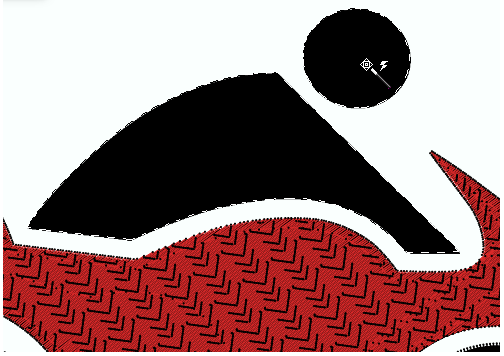
➢Generated stitches are immediately displayed on the workspace. |
|
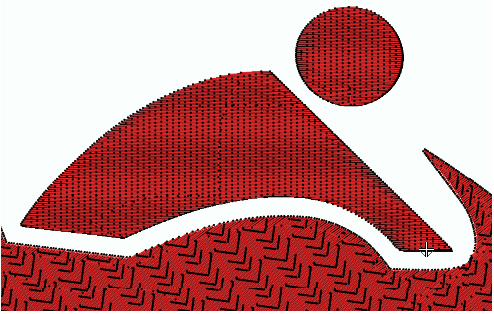
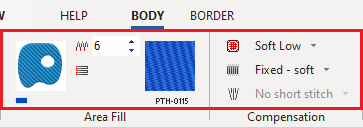
Define the object properties: ➢Click on the Edit Object function on the MAIN toolbar and select the object. ➢Set a stitch density value of 6 lines/mm. ➢Change the color of the section to blue. ➢Select the PTH-0115 pattern. ➢Set a "Fixed - Soft" Stitch Compensation. ➢Set a "Soft Low" Underlay. |
|
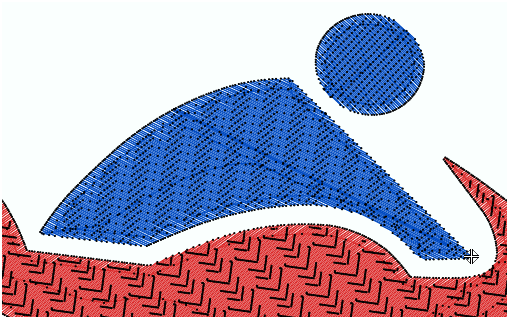
➢Modify the stitch direction of the section. |
|
Manual stitch editing
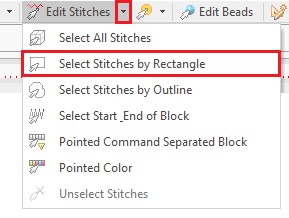
➢Click on Edit Stitches function. ➢Click on the arrow next to EDIT STITCHES to unfold the selection options. ➢Click on "Select Stitches by Rectangle". |
|
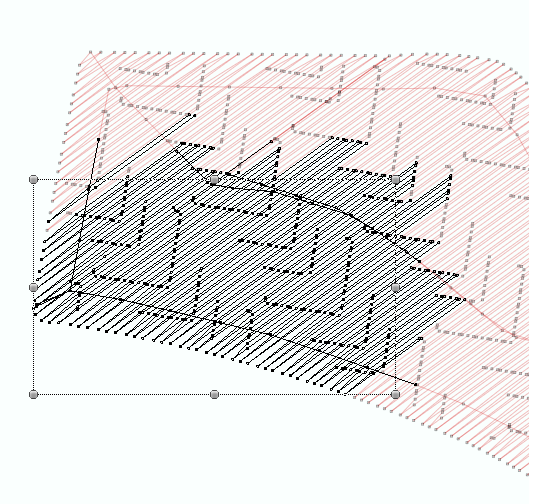
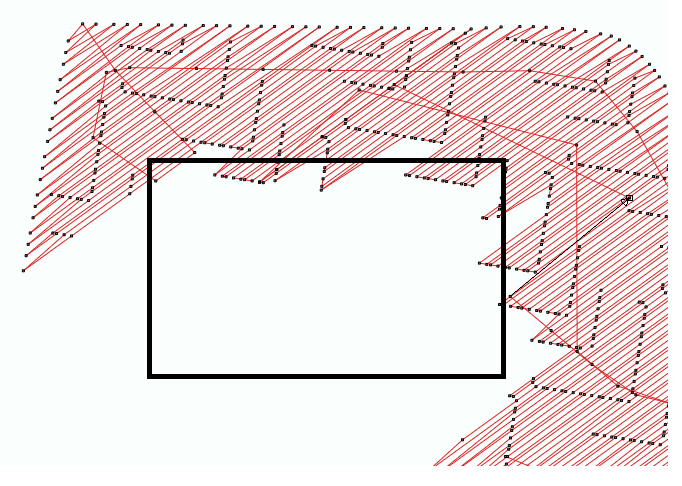
➢Select the lower part of the motorcycle tail. |
|
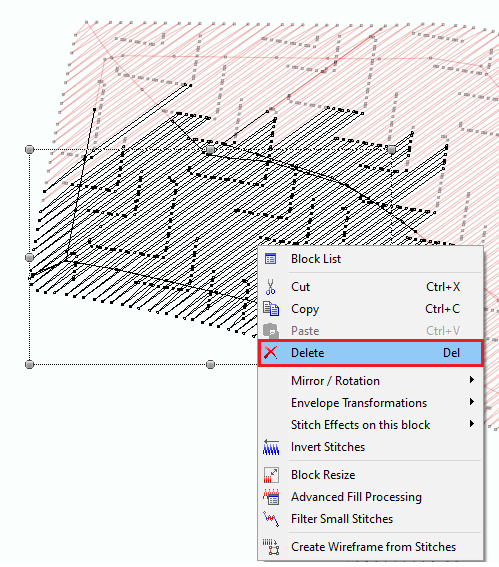
➢Access the context menu by pressing the mouse right button on the selected stitches. ➢Select the "Delete" option to remove this group of stitches. |
|
➢Click on the "Edit Stitches" function to enter the Stitch Editing mode. ➢Press and drag the stitch ends to move them away from the "empty" regions of the object after the removal of the stitch block. |
|
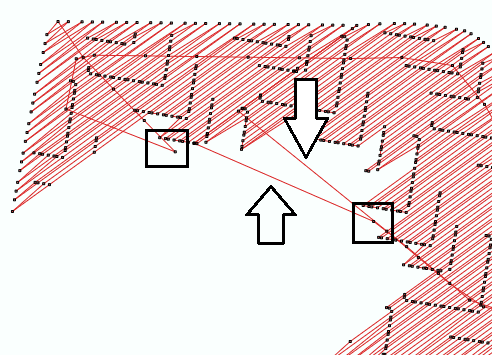
➢We have removed the unwanted stitches. |
|
Final Design