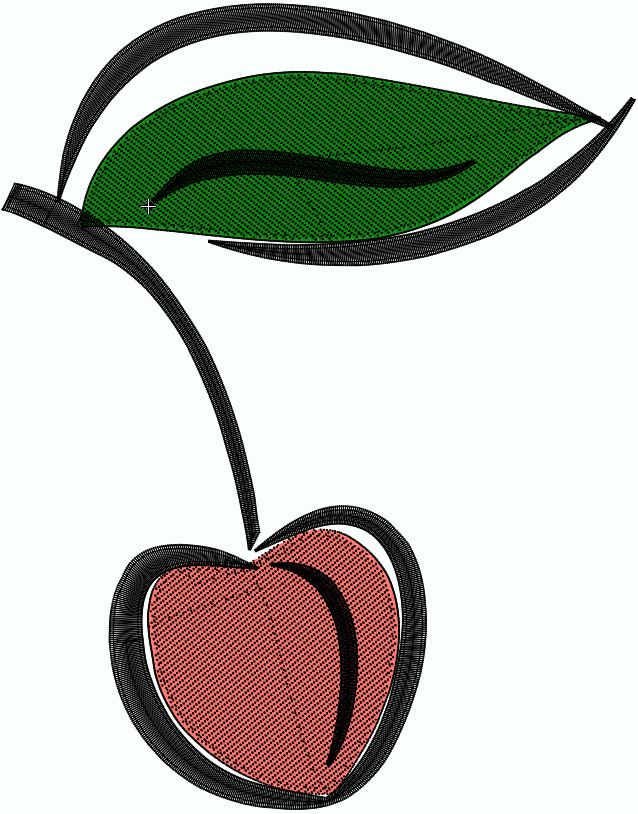
Creating a simple embroidery design from a vector graphic image through vector-digitizing, using the ToolsTab and the Smart Design tool.
You can create this design while you read this article.
|
This example includes: •Creating a new design document •Load a Vector Image. Ungroup it. •Smart Design •Block Menu •Embroidery Object Type: Uniform Area + Pattern Fill •Direction lines •Embroidery Object Type: Turning Area + Zig Zag Fill •Object Manager |

Start a new design
➢Click on the blank document tab (above the workspace) to open a new design document. |
|
Load a Vector Image
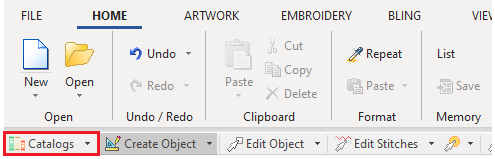
➢Press on the Catalogs button on the MAIN toolbar. |
|
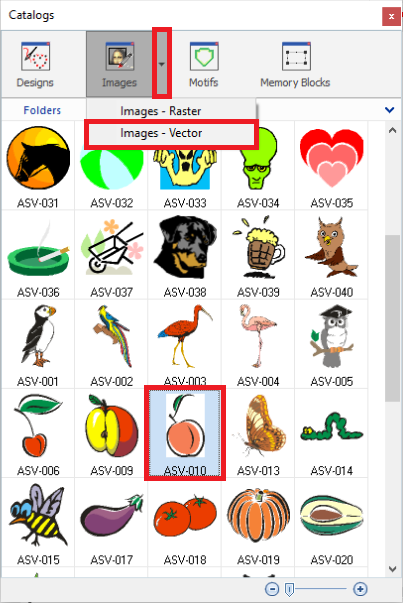
➢Select the media type Images-Vector on the Catalog tool. ➢Select the folder where the image is located. ➢The bottom panel of the Catalog displays the contents of the folder for the selected media type. ➢Select the ASV-029 vector image from the Artwork Vector folder. ➢Drag the image into the workspace to load it. |
|
Preparing the vector image
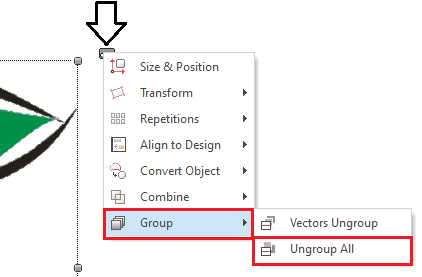
➢ The vector image is probably a group of many combined graphic elements. ➢ To ungroup the elements of the image, press on "Ungroup All" from the BLOCK MENU > "Group" group. |
|
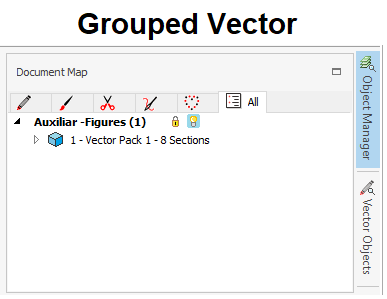
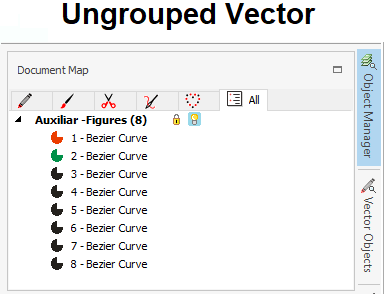
➢On the Object Manager, you can see the vector objects of the image after ungrouping them. |
|
Start digitizing
➢Open the Smart Design tool from MAIN toolbar. |
|
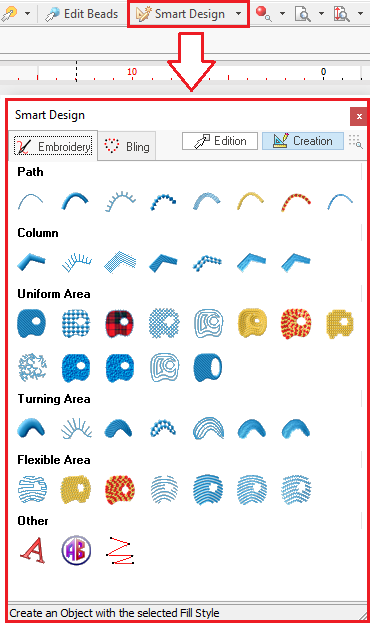
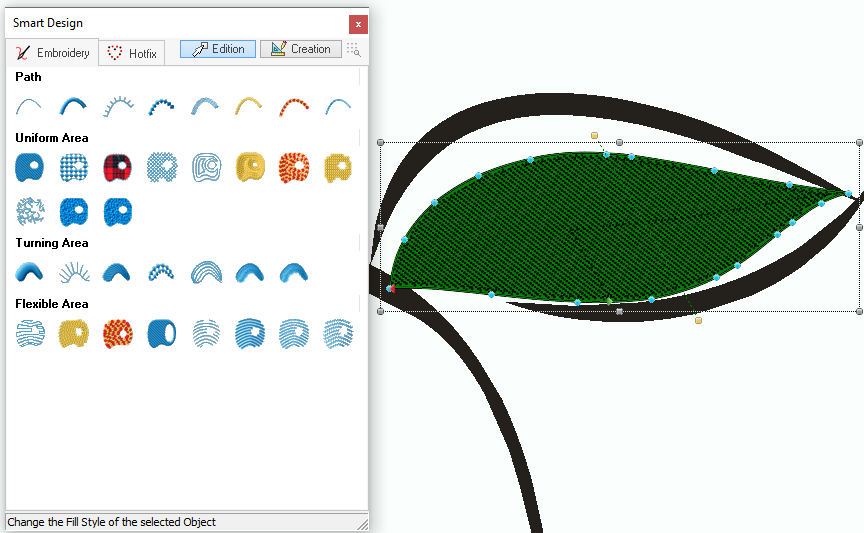
➢Click on the Edit Object function. ➢Select the orange vector object. ➢On the Smart Design tool, click on Area + Pattern Stitches Fill Style. ➢A new embroidery object is automatically created with the shape of the vector object and the defined object type. |
|
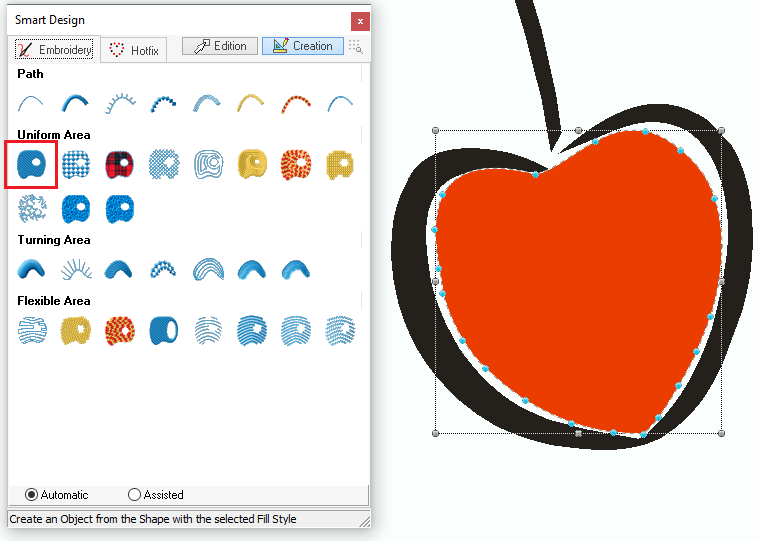
➢Once the area object is created, you can change the stitch direction line. Define the object Properties ➢In this case, we use an orange color, a density value of 6 lines/mm, a "Soft Low" Underlay and a "Fixed - Soft" Pull Compensation. You can change the properties of any object from the tooltab or the Object Inspector. |
|
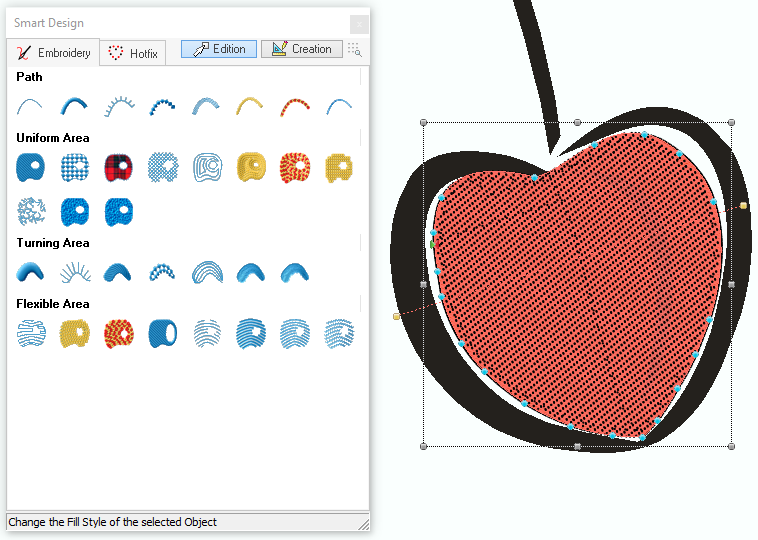
Use the Object Inspector to edit any object property. ➢Click on the "Object Manager" button, at the right side of the screen to open the Object Inspector. ➢Adjust any fill property. |
|
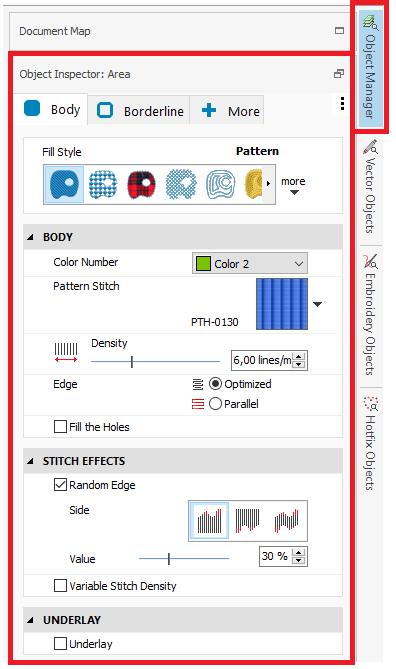
➢Select the green vector object ➢Repeat the above steps using the Area + Pattern Stitches Fill style. ➢A new embroidery object is automatically created with the shape of the vector object and the defined object type. |
|
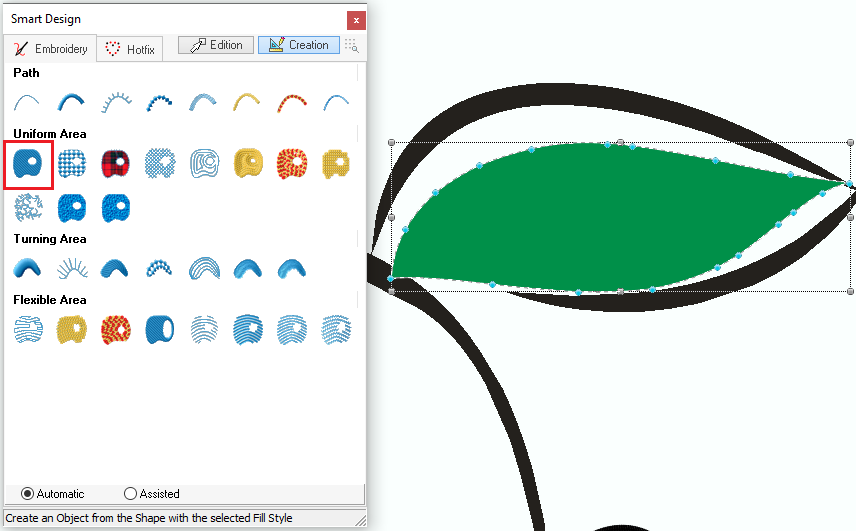
➢Once the area object is created, you can change the stitch direction line. Define the object Properties ➢In this case, we use an green color, a density value of 6 lines/mm, a "Soft Low" Underlay and a "Fixed - Soft" Pull Compensation. You can change the properties of any object from the tooltab or the Object Inspector. |
|
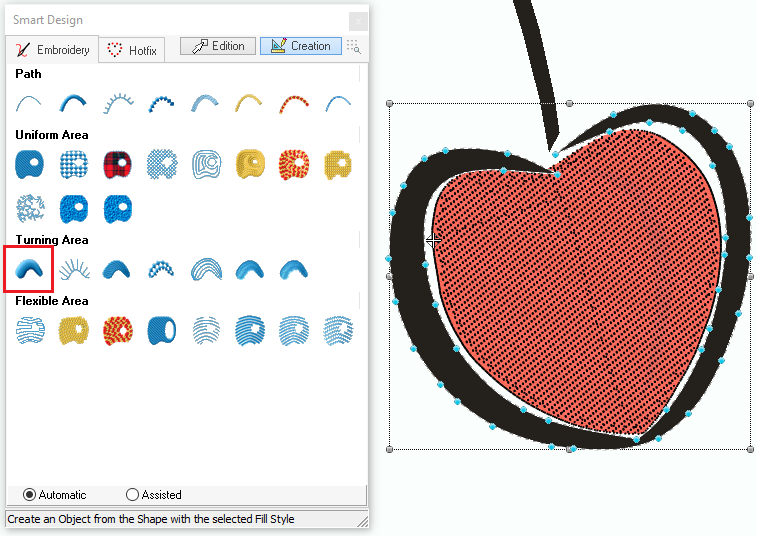
➢Select the black vector object. ➢On the Smart Design tool, click on Turning Area + Zig-Zag Stitches Fill Style. ➢A new embroidery object is automatically created with the shape of the vector object and the defined object type. |
|
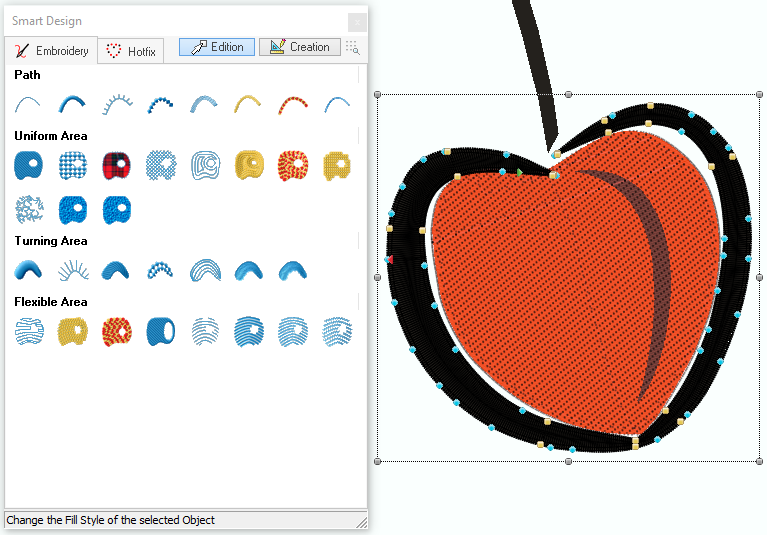
Define the object Properties ➢In this case, we use black color, a density value of 4 lines/mm, a "Soft High" Underlay and a "Fixed - Soft" Pull Compensation. You can change the properties of any object from the tooltab or the Object Inspector. |
|
Using the visualization tools
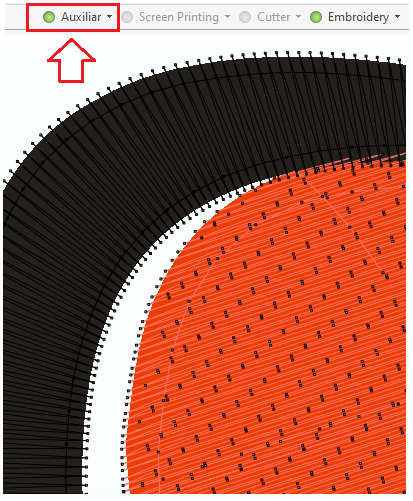
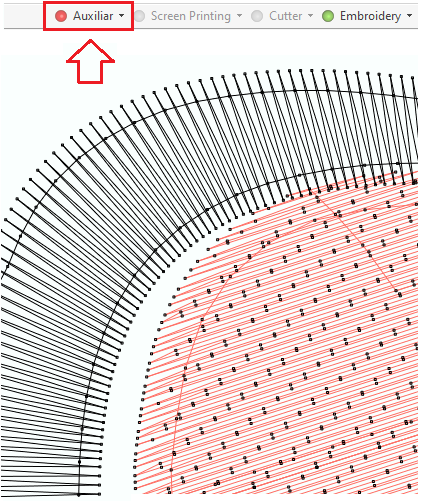
➢To view the object with more detail, you can hide the vector image using the "Auxiliary" button on the MAIN toolbar. |
|
|
|
Show Vector Image |
Hide Vector Image |
Creating the black shapes
➢Select the rest of the black vector objects and repeat the steps using the Turning Area + Zig-Zag Stitches Fill style. ➢New embroidery objects are automatically created with the shapes of the vector objects and the defined object type. |
|
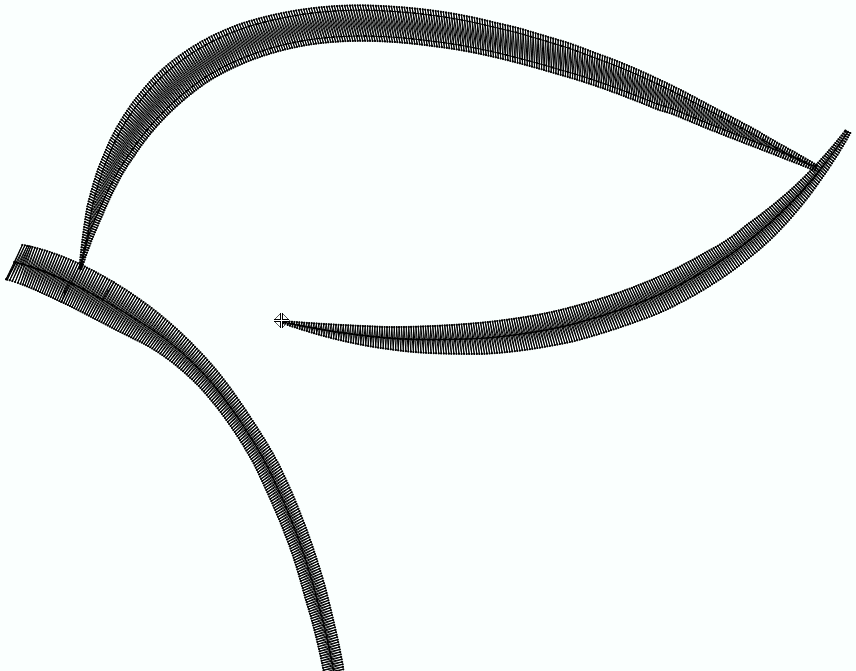
You can select any of the remaining vector objects using the Object Manager (above the Object Inspector). |
|
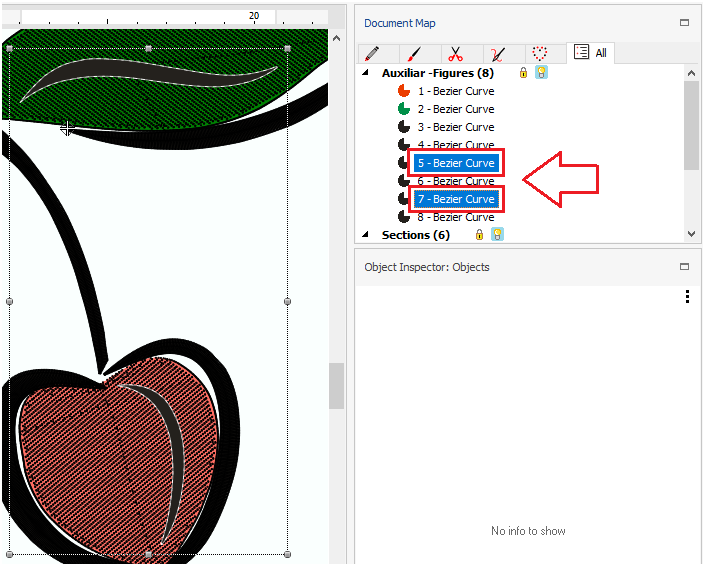
➢Repeat the embroidery objects creation steps for these vector objects, using the Turning Area + Zig-Zag Stitches Fill style. ➢New embroidery objects are automatically created with the shapes of the vector objects and the defined object type. |
|
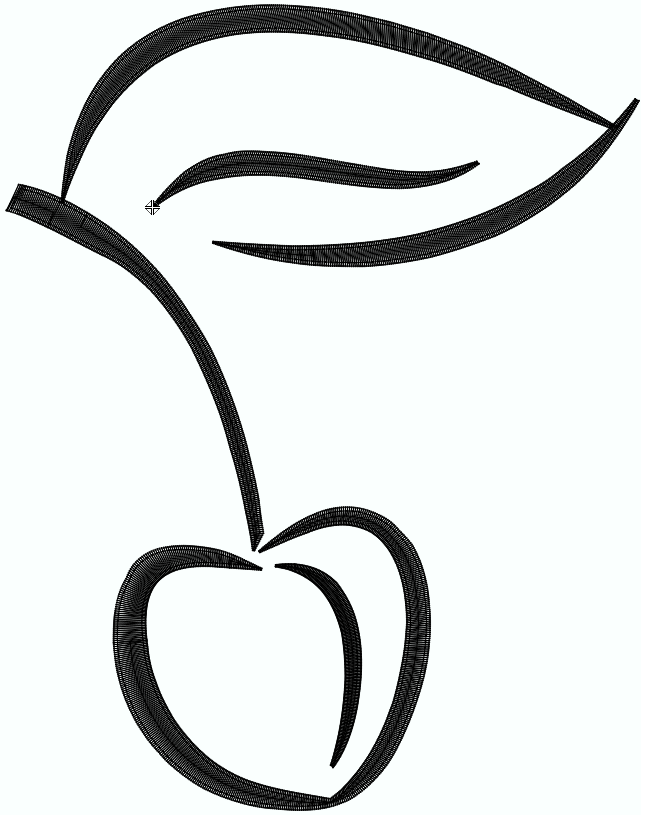
Final Design