There are 2 ways to start a new embroidery design:
•You can start a new design just with a click on the "New Design Document" tab.
•You can start a new design using the design wizard (assistant) to define and specify in advance several important characteristics related to the design (name, storage, author, order, price, material, hoop) before starting to create it.
The Wizard allows to set several options related to the design (name, storage, author, order, price, material, hoop), even before starting to create it.
Wizard to start any Design
➢Click on "Start Wizard", on the "Open" screen. |
|
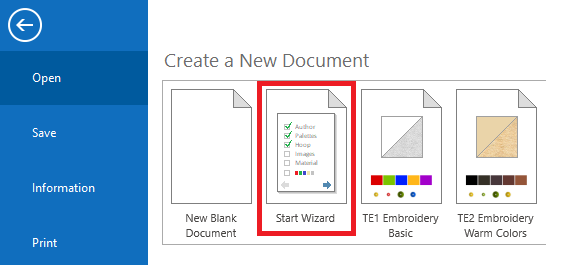
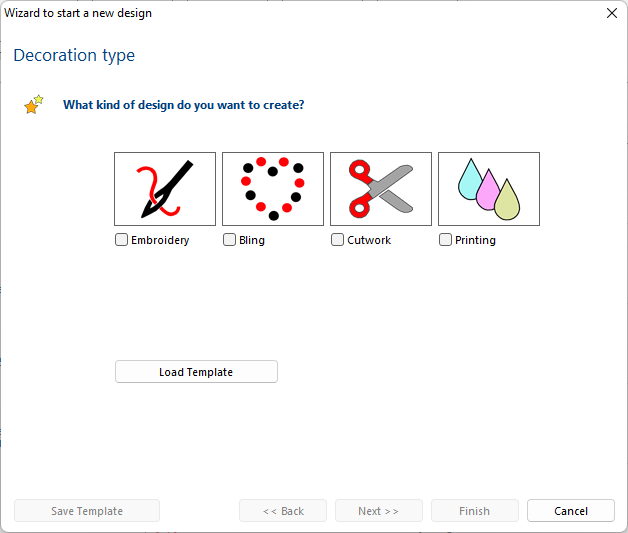
➢This will open the Wizard. ➢The Wizard allows you to select the type of design you want to create, such as Embroidery, Bling, Printing, Cutwork, or simply start a blank design. ➢ |
|
Wizard to start an Embroidery Design
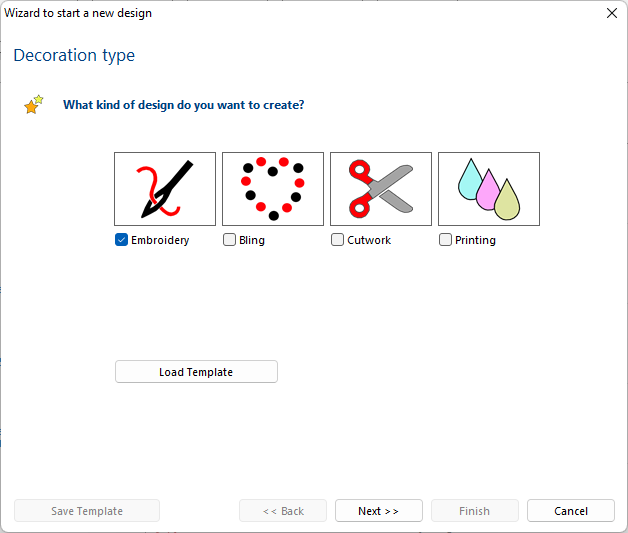
➢On the first step of the Wizard, select Embroidery. ➢At this point, you can also load a design template to predefine some of the wizard items. |
|
➢On the second step, complete the required Design Filename info, such as design name and storage folder.
➢The wizard also allows to classify the design using categories, collections and keywords
|
|
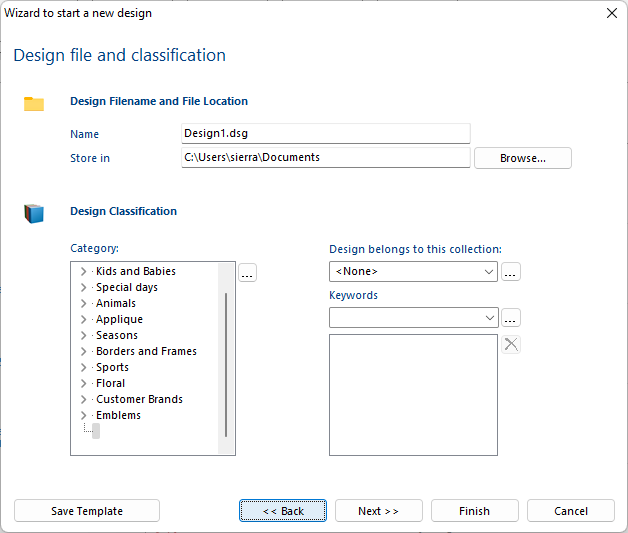
➢On the third step, the wizard allows to enter the Design Authoring info, such as code, title, owner, remarks, etc. ➢The Job Order section, allows you to enter order details such as order number, "request on" and "request for" date, customer, etc.
|
|
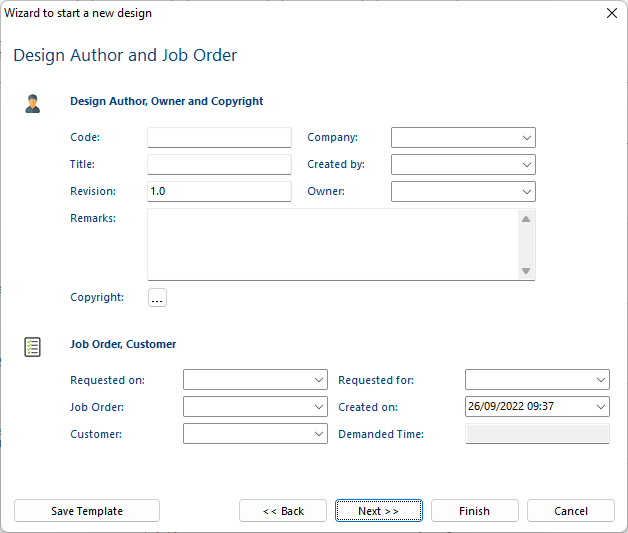
➢On the fourth step, the wizard allows to select an auxiliary image to use as reference to create the design
|
|
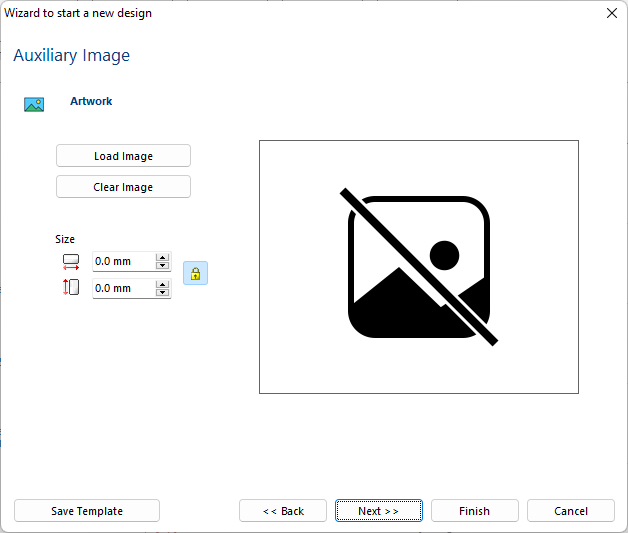
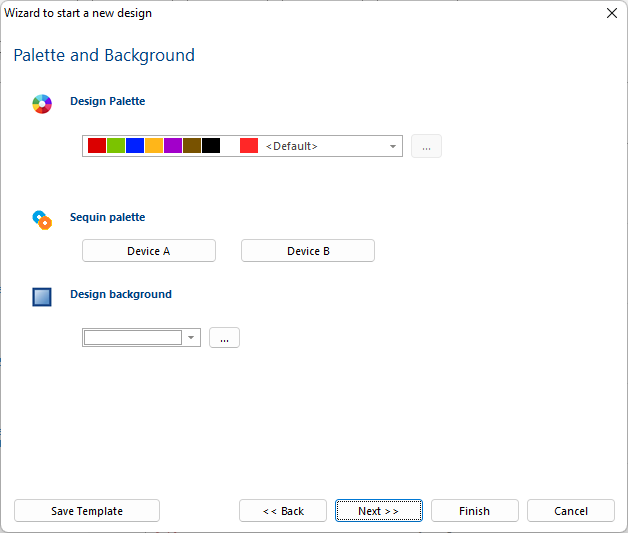
➢On the next step, the wizard allows to select the thread palette (and sequin palette if required) and the background color.
|
|
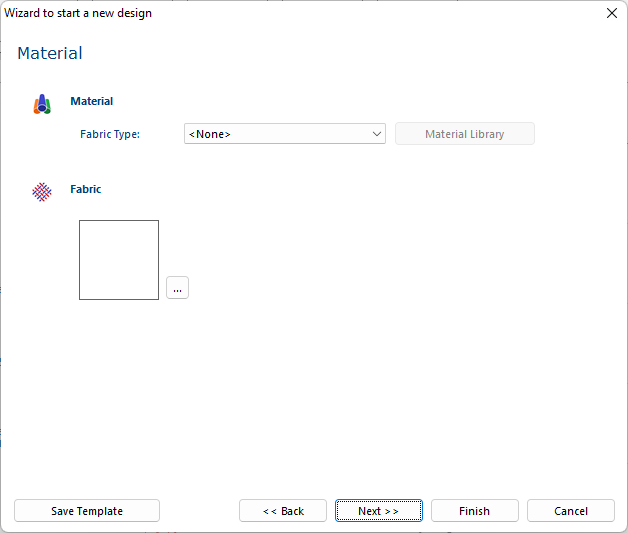
➢In this step you can select the material. The system will use default values for many embroidery properties adjusted to the material, and apply them to the objects you create.
➢You can also define a fabric image to be use as background in 3D simulation views |
|
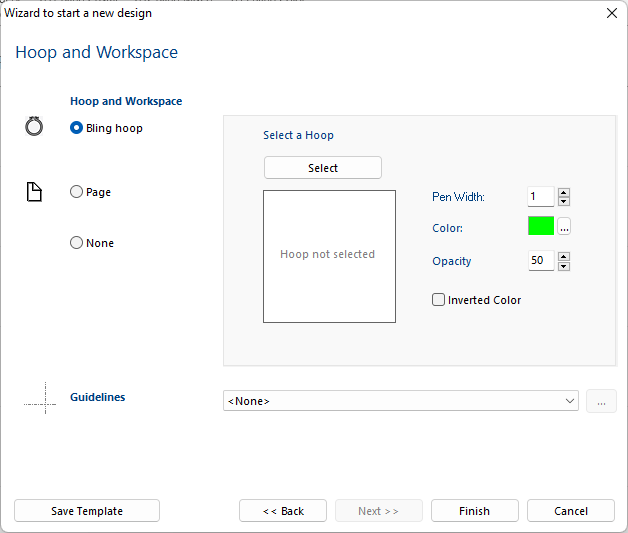
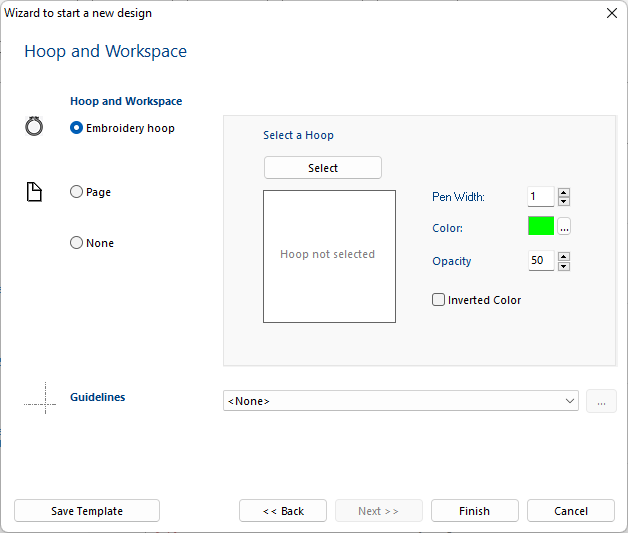
➢On the final step, the wizard allows to select a hoop, that will be shown on screen and allows to decide if the working area will be limited to the hoop boundaries. ➢Also, you can select some of the preset guidelines or create your own. ➢You can use the Save Template button to create a document template with some of the parameters you have defined in the wizard. ➢Click on Finish to confirm the entered information in the wizard. |
|
Wizard to start a Bling Design
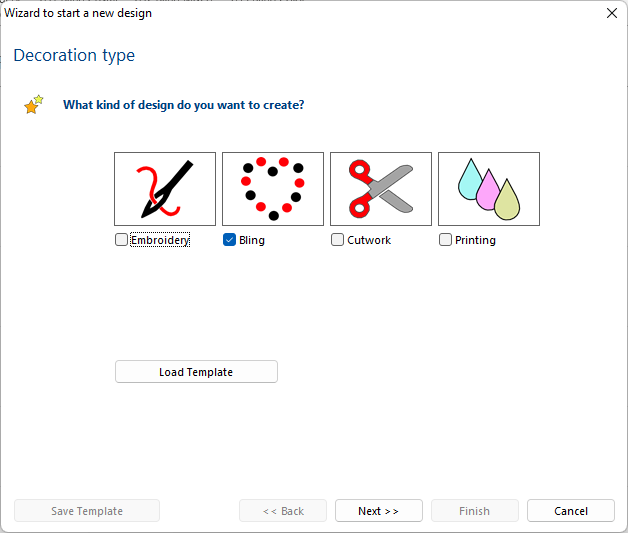
➢On the first step of the Wizard, select Bling.
➢At this point, you can also load a design template to predefine some of the wizard items. |
|
➢On the second step, complete the required Design Filename info, such as design name and storage folder.
➢The wizard also allows to classify the design using categories, collections and keywords
|
|
➢On the third step, the wizard allows to enter the Design Authoring info, such as code, title, owner, remarks, etc. ➢The Job Order section, allows you to enter order details such as order number, "request on" and "request for" date, customer, etc.
|
|
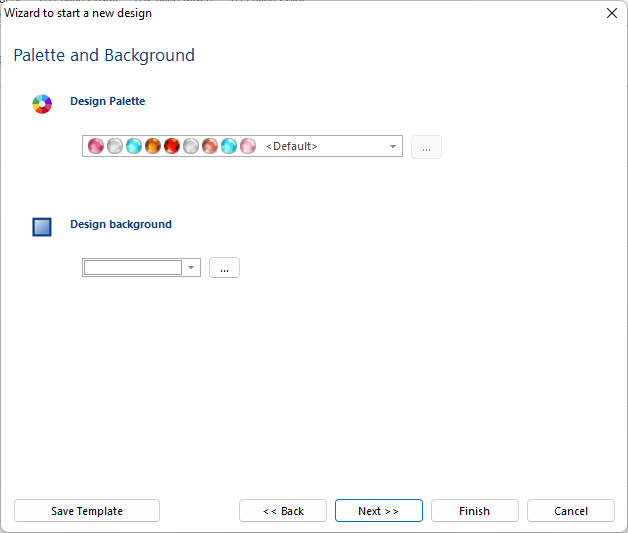
➢On the fourth step, the wizard allows to select the bead palette and the background color.
|
|
➢On the final step, the wizard allows to select a hoop, that will be shown on screen and allows to decide if the working area will be limited to the hoop boundaries. ➢Also, you can select some of the preset guidelines or create your own. ➢You can use the Save Template button to create a document template with some of the parameters you have defined in the wizard. ➢Click on Finish to confirm the entered information in the wizard. |
|