The Options and Preferences tool contains a huge set of general settings for this application (also known as system settings). You can change the factory settings according to your preference. Settings will be saved when you press the OK button and they will be preserved from there on.
How to change the application settings?
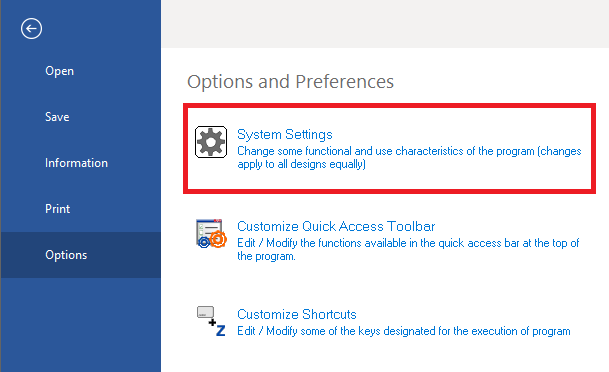
➢Click on the Menu FILE, group "Options"
|
|
The settings are organized in categories and topics. You can select the topic you want to change from the tree view at the left, the left panel will show the corresponding settings. |
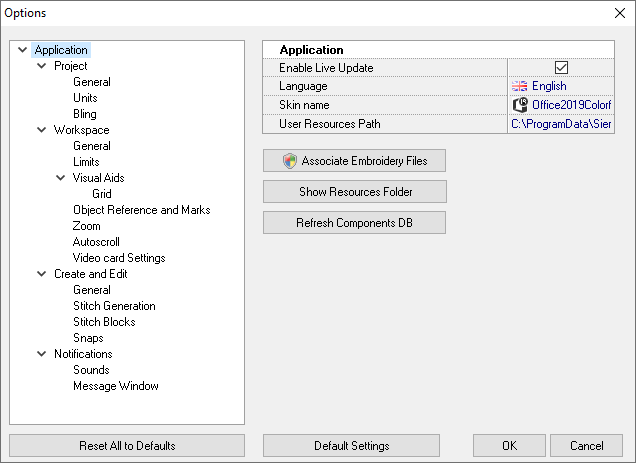
Categories and Topics
Application |
|
|
|
Live Update
|
When enabled, the system checks for updates, services packs, news and special offers available for your product. This option requires internet access. |
|
System language
|
Select the desired program language from this menu. |
|
Skin name
|
Select a skin to change the appearance of the program. |
|
Users Resources path
|
Set the location of the components made by the user. |
Project |
|
|
|
General
|
This category contains options to control how the system starts. |
|
Units
|
Lets you select the measurement units used for different elements. Click the numbers in the Group column and review the brief description, indicating the elements the units apply to. |
|
Bling
|
This category allows you to configure what kind of beads will be shown (Rhinestones / Rhinestuds / Nailheads / Sequins / Spangles), the cutting margin and the way of sorting them. |
Workspace |
|
|
|
General
|
Options for rulers, large cross cursor and ribbon fitting in 1024 pixels wide screens |
|
Limits
|
Set the max. workspace size and decide if the work area is limited to the workspace (system will not allow you to place objects outside the workspace if you check the option). |
|
Visual Aids
|
This group lets you control the Guidelines (or Reference lines) position and color and to define the Grid and Sub grid look and behavior. |
|
Object References
|
Controls in this group allow you to define the visual aspect (color, transparency, etc.) of the marks the system uses to represent nodes, needle marks, sections references, etc. |
|
Zoom
|
Use these controls to define the zoom factors and use of mouse wheel for zooming. |
|
Auto scroll
|
This group controls the automatic scrolling feature: region size, speed, etc. |
|
Video Card Settings
|
These are important settings related with the performance of your display system. If you are using a good video card, you will want to set the Video hardware acceleration to the highest value to get faster screen redraws. It is also recommended to activate the Enhanced line drawing. |
Create and Edit |
|
|
|
General
|
You will find options to control curve types (bezier or arcs), to hide and show some references while create or edit, to manage the Auto Generation mechanism, etc. |
|
Stitch Generation
|
Allows setting automatic trim thread length, sensibility of small stitches filter, extra pull compensation for long corner stitches and corner roundness threshold. |
|
Stitch Blocks
|
This group is related with the integrated Stitch Editor, specifically with its behavior with blocks of stitches. |
|
Snaps
|
Use this controls to enable or disable the snap schema and to define what snap tools you want. Snap is useful when you need to digitize with large accuracy, for example, when creating geometric designs. |
Notifications |
|
|
|
Sounds |
Into this category you will find options to configure sounds for specific events. |
|
Message Windows |
Into this category you will find options to control the Messages Window behavior. |
Reset to Default Values
Settings in each group can be reset to their default values by pressing the Default Setting button located on the corresponding group. If you need to reset all the configurable options to their factory values, use the button Reset All To Default located below the tree panel.
Details about some settings
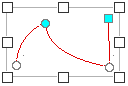
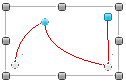
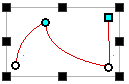
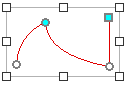
Object References & MarksYou can select the desired grips template to use from the System Settings menu, that can be accessed from the menu FILE > OPTIONS & PREFERENCES or from the tooltab HOME >SYSTEM group. On the left panel, click on "Object Reference and Marks".
Select how the grips are displayed, between four available templates.
Select a template and click OK to apply the changes. |