This effect changes the beads of a bling object (of any object type) according to the range of the gray-scale of a reference image.
|
Sample video including Grayscale Photo Effect |
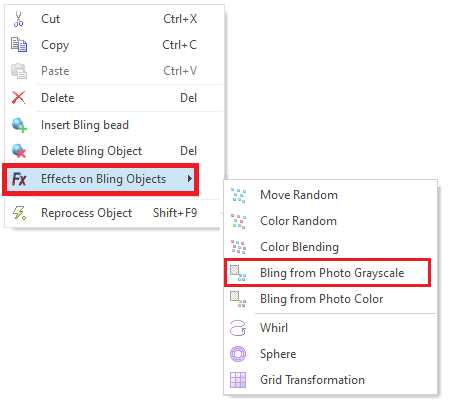
How to apply this effect on a bling object?
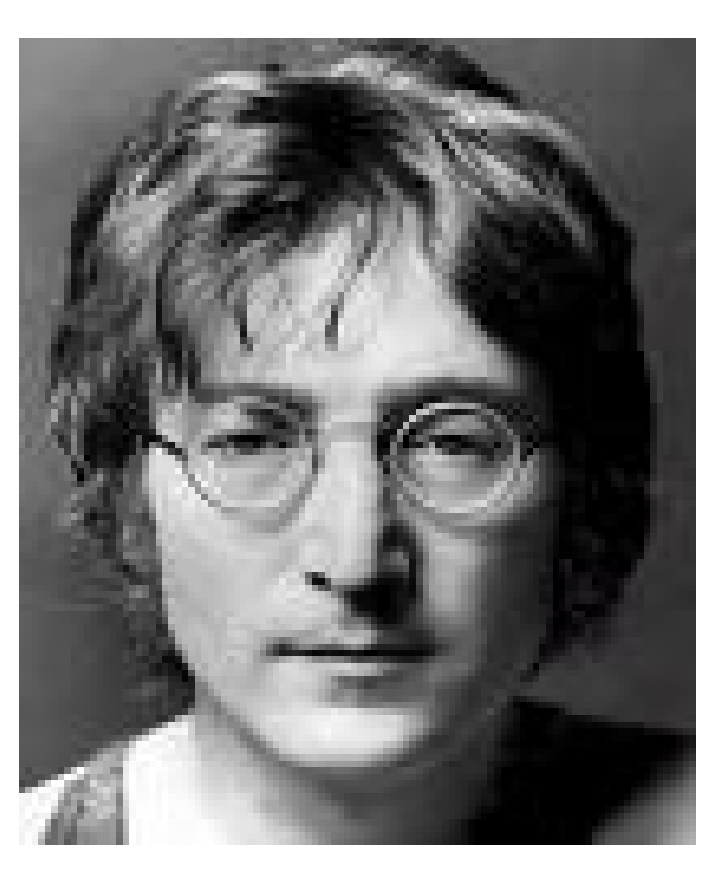
➢Load an image on the workspace. |
|
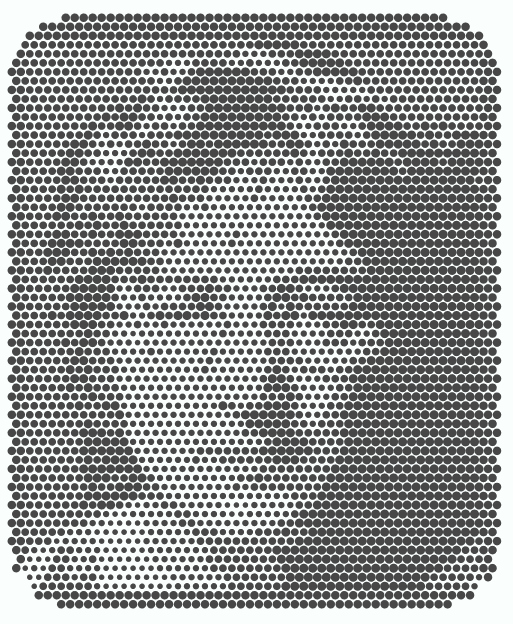
➢Create a bling object. For this example, select the Area with Flat Bling Fill style. ➢Select the Jet Color 10ss rhinestone. ➢Set the beads spacing at 0,5 mm. ➢Set the rows spacing at 0,5 mm. ➢Set the offset at 50%. ➢Insert (digitize) a Round Rectangle from the shapes library. |
|
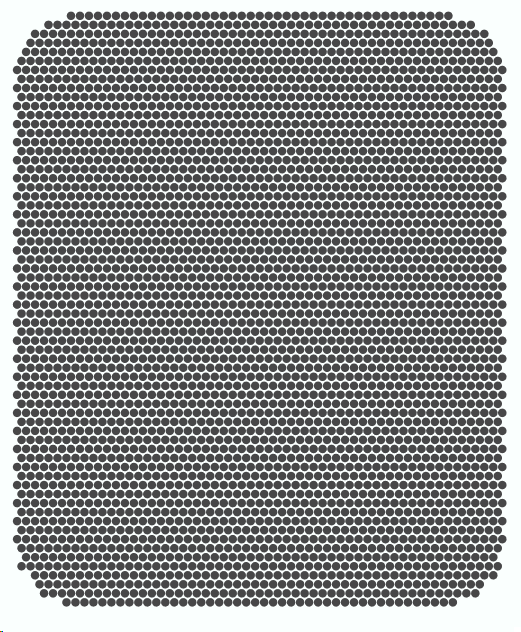
➢Move the bling object and resize it to cover the image. |
|
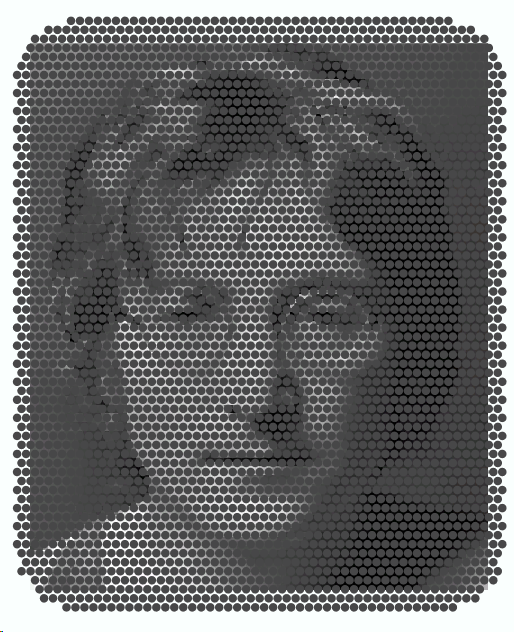
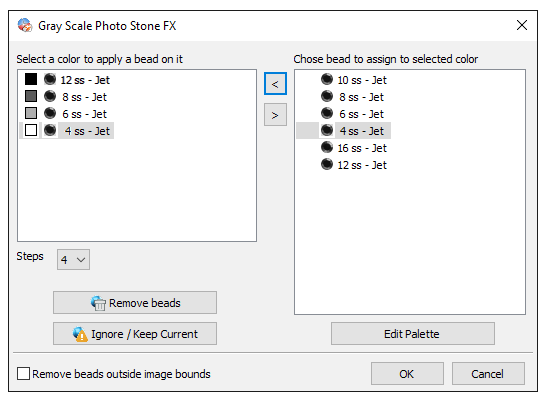
➢Open the Context Menu ➢Click on "Effects on Bling Objects" ➢Click on "Bling from Photo Grayscale". ➢The Grayscale Photo Stone FX box will open. |
|
The left pane shows the grayscale ranges. The right pane shows the bling type of the active bling types palette. The idea is to assign the proper bling types for each grayscale range. ➢Select a bling type from the right pane ➢Select the grayscale range from the left pane ➢Press the [<] button to asign the bead type to the corresponding grayscale range. The selected bling type will appear on the left pane. ➢Repeat this procedure for all the grayscale ranges. ➢Finally press OK. |
|
This is the result.
|
|
|
Tip You can try dark colors of bling beads over light background colors, or light colors of bling beads over dark background colors. In one case the size of the bling types increases with the grayscale range while in the other case the the size of the bling types decreases with the grayscale range. |
This feature is included in the Bling Effect Pack |