This feature refers to the ability to edit individual stitches and machine commands.
Expanded Designs
An expanded designs is basically a sequence of stitches and machine commands. While stitches define the movements of the hoop where the embroidery design is produced, the commands define some actions. Not all the machine models support all the same machine commands (read the machine specifications)
This article refers to the most basic functions related with the expanded design unit: the stitch and machine commands.
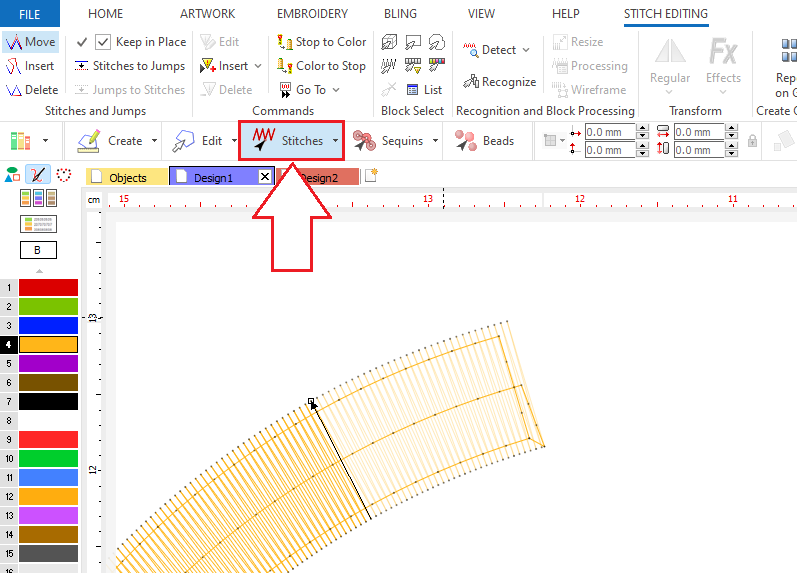
Edit Stitches Tool
|
Click on the EDIT STITCHES from the MAIN toolbar (or press the F12 key) to activate the Stitch Editing mode. Click on any stitch on the working window to select it. The stitch is highlighted with an arrow from the point where the stitch starts to the point where the stitch ends, draw a small rectangle and display an arrow in its final end. Once the stitch is selected, several tools can be applied (move, delete, insert new stitches, etc.). These tools are available from the ToolTab STITCH EDITING or from the context menu.
|
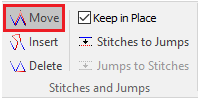
Move Stitches
Move the last end of a selected stitch (where the selected stitch ends, and starts the next one).
|
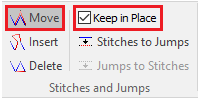
There are 2 options to move the selected stitch, according to the "Keep in place" mark:
Notes: •You can use the Undo command at any moment to correct any mistake. •You can use the Auto Increase and Auto Decrease modes during the edition. •Once you enable this mode, the system will use it until you decide to change it. |

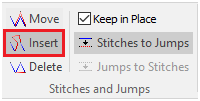
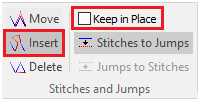
Insert Stitches
Insert stitches at any point of the design (between 2 existing stitches)
|
There are 2 options to insert stitches, according to the "Keep in place" mark:
Notes: •You can use the Undo command at any moment to correct any mistake. •Once you enable this mode, the system will use it until you decide to change it. |

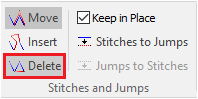
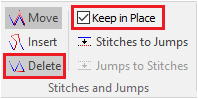
Delete Stitches
Delete the selected stitch.
|
There are 2 options to delete stitches, according to the "Keep in place" mark:
Notes: •You can use the Undo command at any moment to correct any mistake. •Once you enable this mode, the system will use it until you decide to change it. |

Convert Stitches to/from Jumps
Convert a Jump-Stitch into a Stitch and vice-versa.
|
Select the stitch you want to convert from the workspace or (better) from the Stitches Sequence panel Click on the Convert Jumps to Stitches (or Stitches to Jumps) button. |

Machine Commands
The machine commands, also known as machine functions or controls, allows to indicate what the embroidery machine should do regarding the embroidery design. Different machine brands have introduced their own controls.
Stitch type |
Description |
|---|---|
Stitch X,Y (or Normal Stitch) |
The hoop moves the distance X,Y and then the needle penetrates the fabric. |
Jump X,Y (or Jump Stitch) |
The hoop just moves the distance X,Y (the needle does not penetrate the fabric). This type allows "long stitches" when a jump (or several jumps) is followed by a stitch. This type is also used to move the hoop to a far position |
Control 0,0 (Machine Command) |
|
Machine Commands |
Description |
|---|---|
Stop |
This is an instruction to halt the machine. It is used for different purposes: to place an applique, to change the thread, etc. |
Color Change |
This is an instruction to change the thread to a programmed color. If the machine does not have an automatic color changer, it just halts the machine. |
Color Number |
This is an instruction to change the thread to a specific color. |
Trim or Thread Cut |
This is an instruction to trim or cut the thread. |
Sequin On / Sequin Off |
This is an instruction to activate / deactivate the sequin device on the machine |
Chenille On / Chenille Off |
This is an instruction to activate / deactivate the chenille device on the machine |
End |
|
... |
Some machines may have more machine commands (like speed, home, etc) |
|
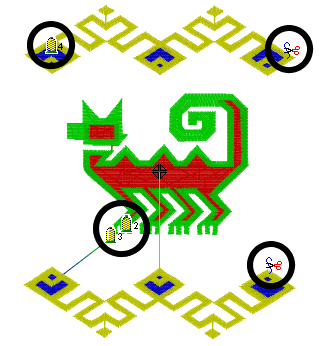
Machine commands are: Color Changes, Thread Cuts, Speed Changes, Borer Start or End, Sequin Insertion, etc. The machine commands can be displayed on the workspace:
You can add, modify or delete these machine commands. Not all the machine commands are available in all embroidery machines, otherwise it will not be executed. |
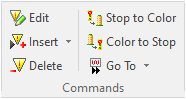
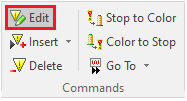
Edit Command
Use this tool to change the command type.
|
You are able to use the Edit Command tool if the stitch selected is a command. |
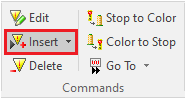
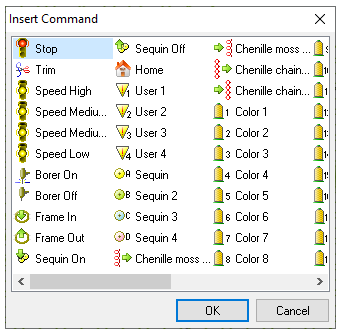
Insert Command
Insert a machine command before the selected stitch.
|
From the "Insert Command" window, select the machine command you want to insert.
|
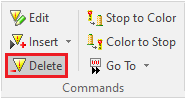
Delete Command
Delete the selected machine command.
|
You can also use the Delete key. |
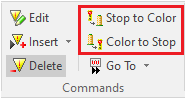
Toogle between Stop and Color Change
Convert Stop commands in Color Change commands and vice-versa.
|
Select the machine command to convert and click on the proper tool. All the Color Change commands present in the embroidery machine will be converted into the Stop commands and vice-versa. |
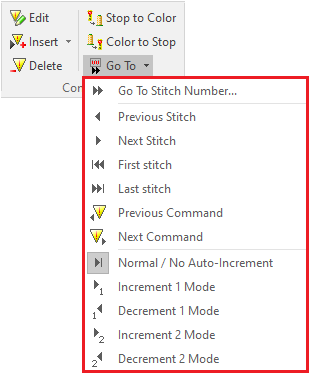
Go to (stitch)
Use this tool to navigate through stitches or machine commands.
|
Available options are: •Go to Stitch Number •Go to First / Last Stitch •Go to Previous/Next Machine Command Auto Increment options are: •Increase/Decrease (in 1 or 2 stitches): after a stitch function, the application automatically select the same stitch, the following stitch or the previous stitch according to this setting. |