Creating a simple embroidery design from a raster image using manual digitizing (classic), and some object editing.
You can create this design while you read this article.
|
This example includes: •Creating a new design document •Load a raster (bitmap) Image. •Smart Design •Embroidery Object Type: Uniform Area + Pattern Fill •Manual Digitizing •Stitch Direction •Object Elements: Holes •Embroidery Object Type: Column + Zig Zag Fill •Embroidery Object Type: Path + Zig Zag Fill •Embroidery Object Borderline |

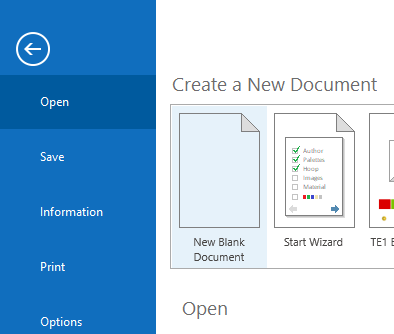
Start a new design
➢In the FILE menu, click on the blank document icon to open a new design document. |
|
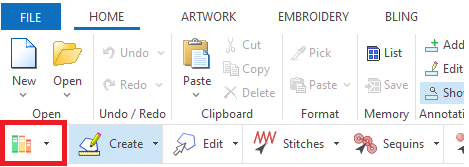
Load a Raster Image
➢Press on the Catalogs button on the MAIN toolbar. |
|
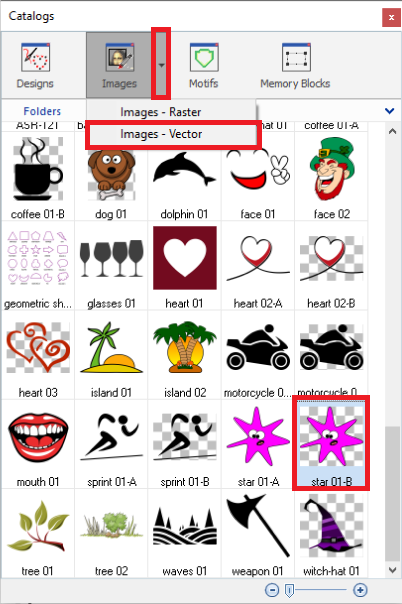
➢Select the media type Images-Raster on the Catalog tool. ➢Select the folder where the image is located. ➢The bottom panel of the Catalog displays the contents of the folder for the selected media type. ➢Select the "star 01-B" raster image from the Artwork Raster folder. ➢Drag the image into the workspace to load it. |
|
Start Digitizing
Define the object type ➢On the tooltab EMBROIDERY, Click on Uniform Area and select Area + Pattern Stitches Fill style. |
|

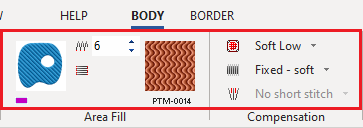
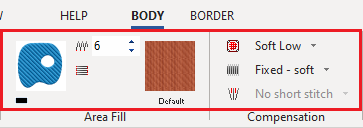
Define the Object Properties ➢Set a stitch density value of 6 lines/mm. ➢Change the color of the section to purple. ➢Select the PTM-0014 pattern. ➢Set a "Fixed - Soft" Stitch Compensation. ➢Set a "Soft Low" Underlay. |
|
Digitize the Object ➢To digitize, you must click on the workspace to place a sequence of nodes (one click, one node) to define the geometric shape of the object. Consecutive nodes will be connected by straight lines or curves, depending on the properties assigned to those nodes The connection (segment) between nodes can be Arc or Bezier curves. |
|
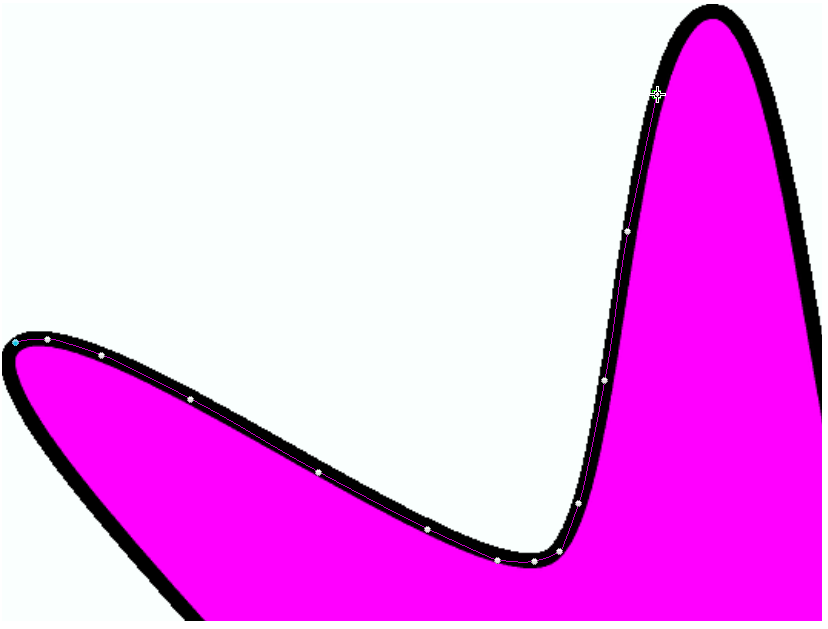
➢Place the last node above the first node to close the area object. ➢Confirm the object by pressing the Enter Key. |
|

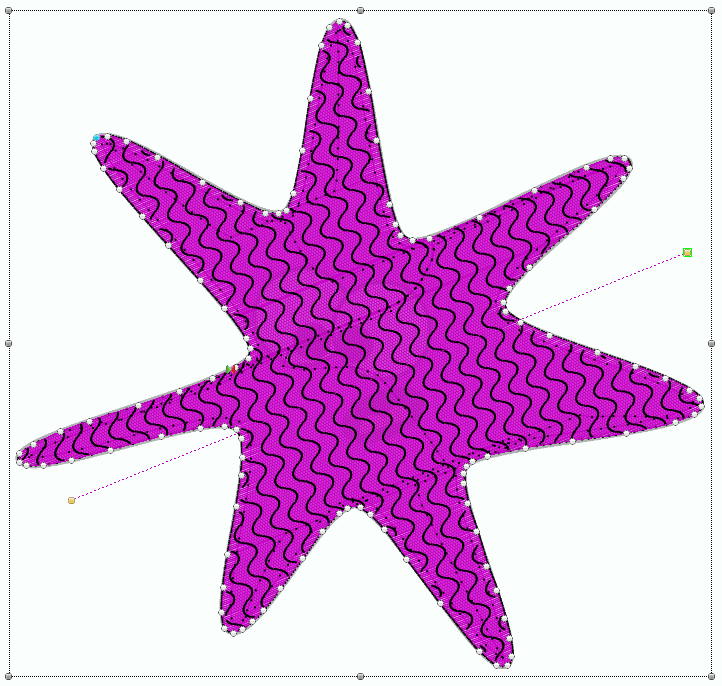
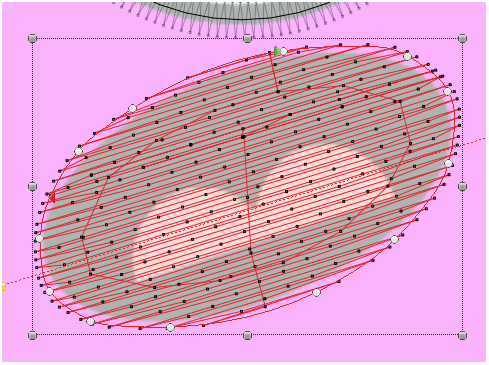
➢An embroidery object is created with the digitized shape and the defined object type, and stitches are generated. Generated stitches are displayed on the working window. |
|

If you want to edit the created object: ➢Click on the Edit Object function ➢Select the object. ➢Modify the stitch direction line of the object. ➢Make any other change on the object. |
|
Create the holes
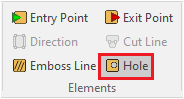
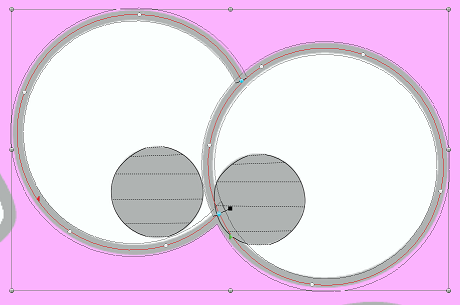
We will create two holes: one for the eyes and the other for the mouth. ➢Click on the "Hole" function on the tooltab. |
|
➢Start digitizing the hole for the eyes. |
|
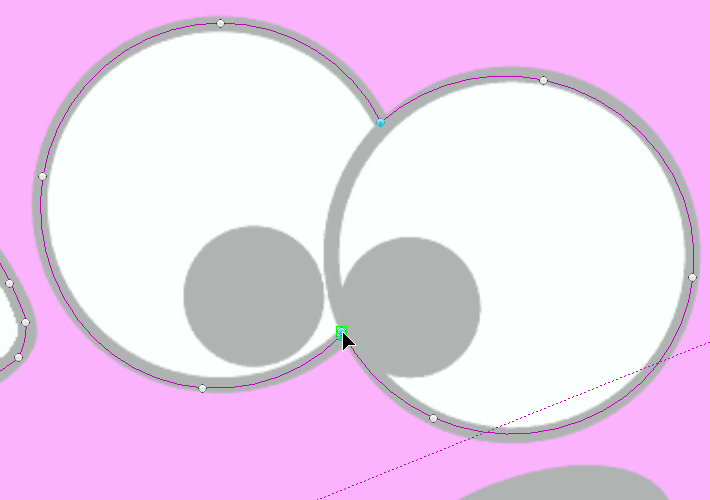
➢Place the last node of the hole above the first node to close the hole. |
|
➢Repeat this process to create the hole for the mouth. |
|
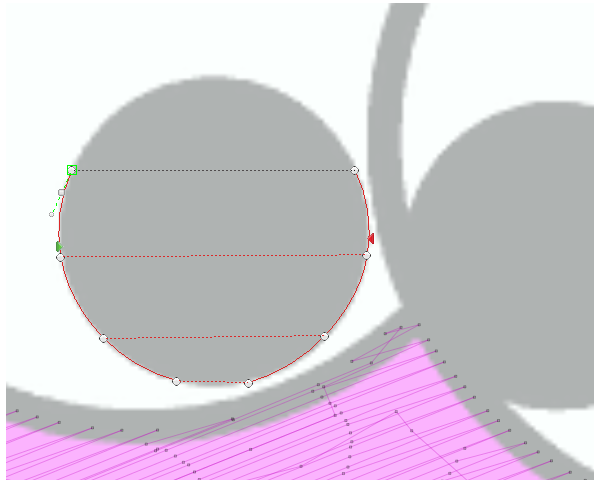
Create the eyes
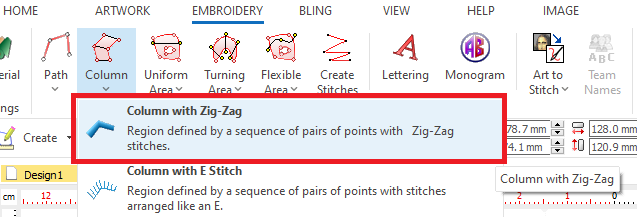
Define the object type ➢On the tooltab EMBROIDERY, Click on Column and select Column + Zig-Zag Stitches Fill style. |
|
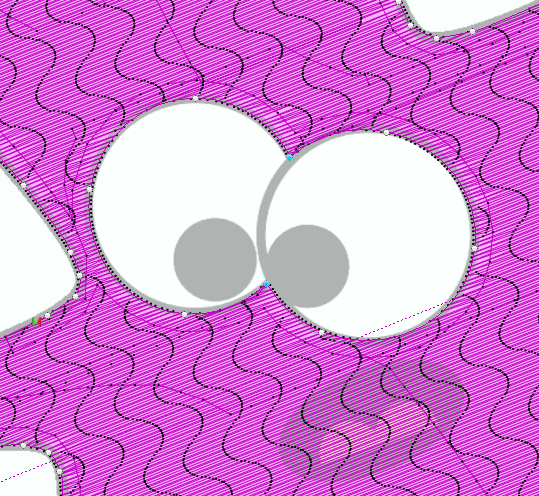
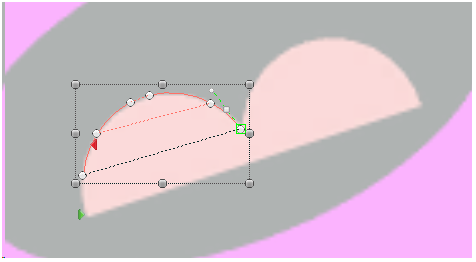
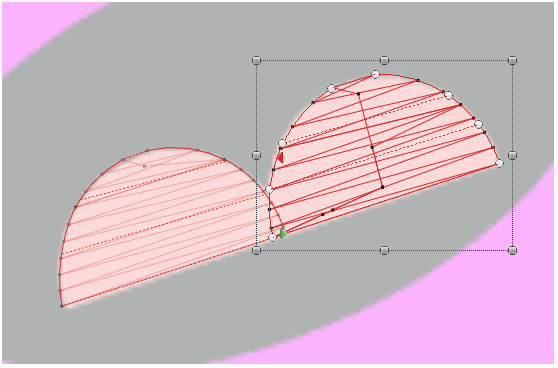
➢Digitize one eye. |
|
➢Once finished, press the Enter key to confirm the object and generate the stitches. ➢Repeat the process for the other eye. |
|
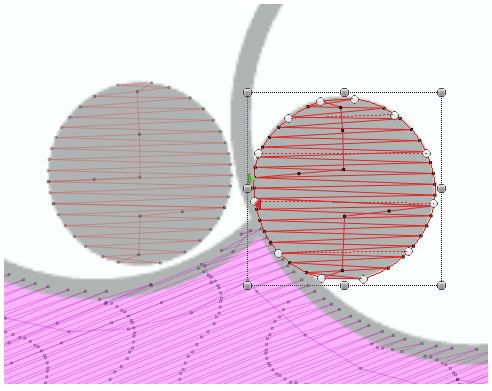
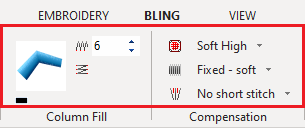
Define the Object Properties We could define the object properties before digitizing the shape. But, as we didn't define them before, now we have to edit this object to set the appropriate values. ➢Click on the Edit Object function ➢Select the object to edit. For the eyes, use these parameters: ➢Set a stitch density value of 6 lines/mm. ➢Change the color of the section to black. ➢Set a "Fixed - Soft" Stitch Compensation. ➢Set a "Soft High" Underlay. |
|
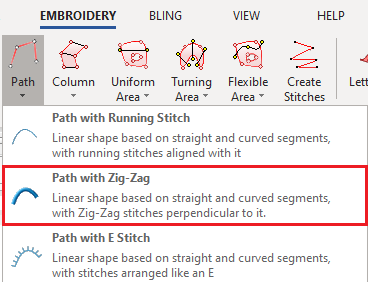
Create the eyes outline
Define the object type ➢On the tooltab EMBROIDERY, Click on Path and select Path + Zig-Zag Stitches Fill style. |
|
➢Digitize the outline. |
|
➢Once finished, press the Enter key to confirm the object and generate the stitches. |
|
Define the Object Properties ➢Click on the Edit Object function on the MAIN toolbar. Then select the object to edit. ➢Set a stitch density value of 6 lines/mm and a path width value of 1 mm. ➢Change the color of the section to black. ➢Set a "Fixed - Soft" Stitch Compensation. |
|
Create the mouth
Define the object type ➢On the tooltab EMBROIDERY, Click on Area and select Area + Pattern Stitches Fill style. |
|
➢Digitize the mouth background. ➢Once finished, press the Enter key to confirm the object and generate the stitches. |
|
➢Click on the Edit Object function on the MAIN toolbar. Then select the object to edit. ➢Modify the stitch direction of the section to match the tongue's inclination. |
|
Define the Object Properties ➢Set a stitch density value of 6 lines/mm. ➢Change the color of the section to black. ➢Use the default pattern. ➢Set a "Fixed - Soft" Stitch Compensation. ➢Set a "Soft Low" Underlay. |
|
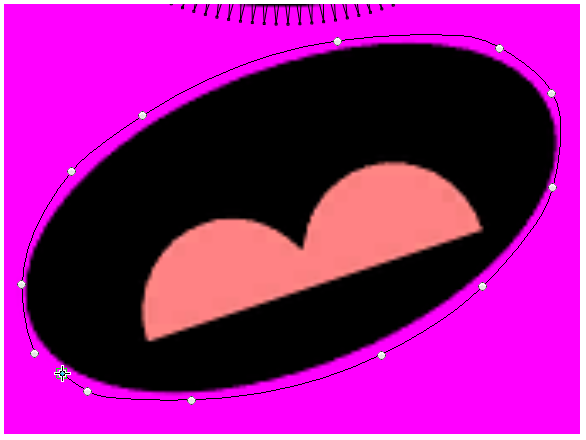
Create the tongue
Define the object type ➢On the tooltab EMBROIDERY, Click on Column and select Column + Zig-Zag Stitches Fill style. |
|
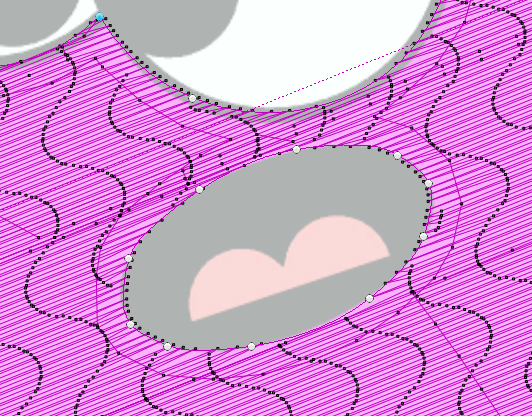
➢Digitize the left side of the tongue. ➢Once finished, press the Enter key to confirm the object and generate the stitches. |
|
➢Digitize the other size of the tongue, overlapping the objects a little bit. |
|
Create the star shape borderline
➢Click on the Edit Object function on the MAIN toolbar. Then select the object to edit. ➢Click on the tooltab BORDER. |
|
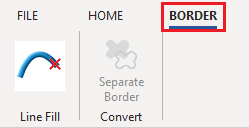
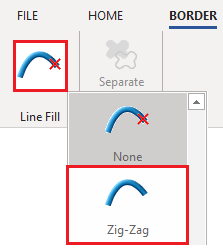
➢Click on the "Line Fill" icon to unfold the list of borderlines available. ➢Select the "ZigZag" borderline. |
|
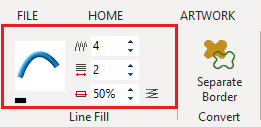
Define the Object Properties ➢Once you select the borderline, you will be able to change its properties. ➢Change the color of the borderline to black. ➢Set a stitch density value of 4 lines/mm and a path width value of 2 mm. |
|
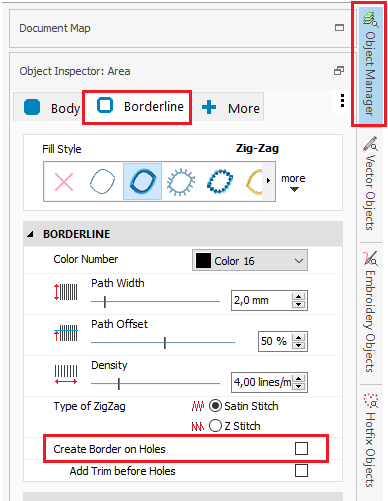
➢The borderline will be created on both the shape and its holes. ➢To remove the borderline of the holes, use the Object Inspector. |
|
➢Open the Object Inspector by clicking on the Object Manager tab on the right side of the screen. ➢Click on the "Borderline" tab. ➢Remove the checkmark on the "Create Border on Holes" option. |
|
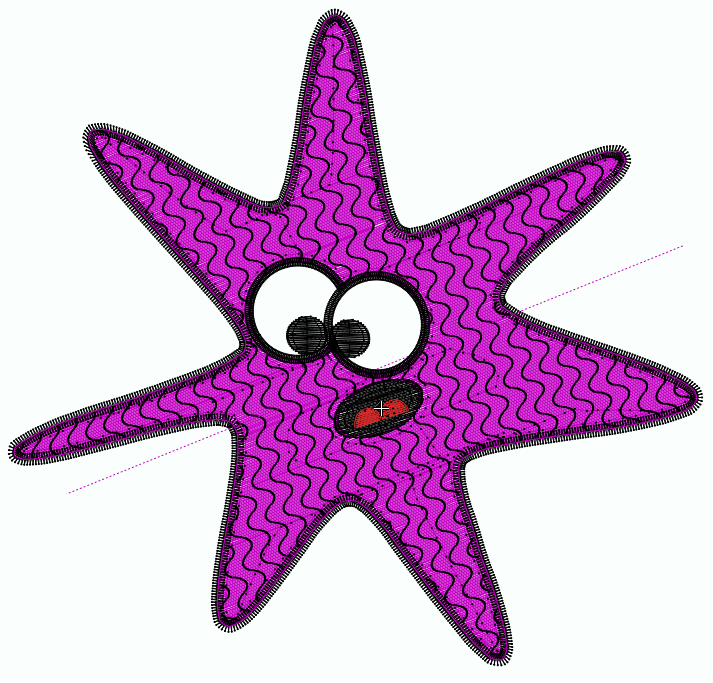
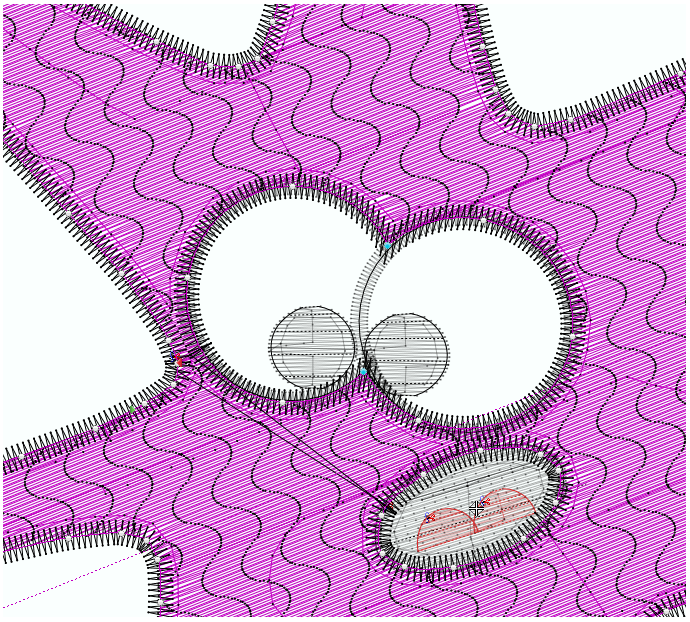
Final Design